

What you will accomplish
- Set up Email, Calling, and SMS from the Channels cards.
- Choose Staff alert defaults so the right teammates get notified.
- Review Customers alerts so reminders and billing messages stay on.
- Connect marketing accounts (optional) if you post reviews or social updates from the app.
Before you start
- You should be signed in as an admin or manager.
- Know the business phone number your facility wants customers to recognize.
- Know which email customers should reply to, such as hello@yourfacility.com.
- Have access to your website or domain provider if email verification records need to be added.
Open Communications settings
Go to Settings > Communications. The page title is Communications. The first section is Channels.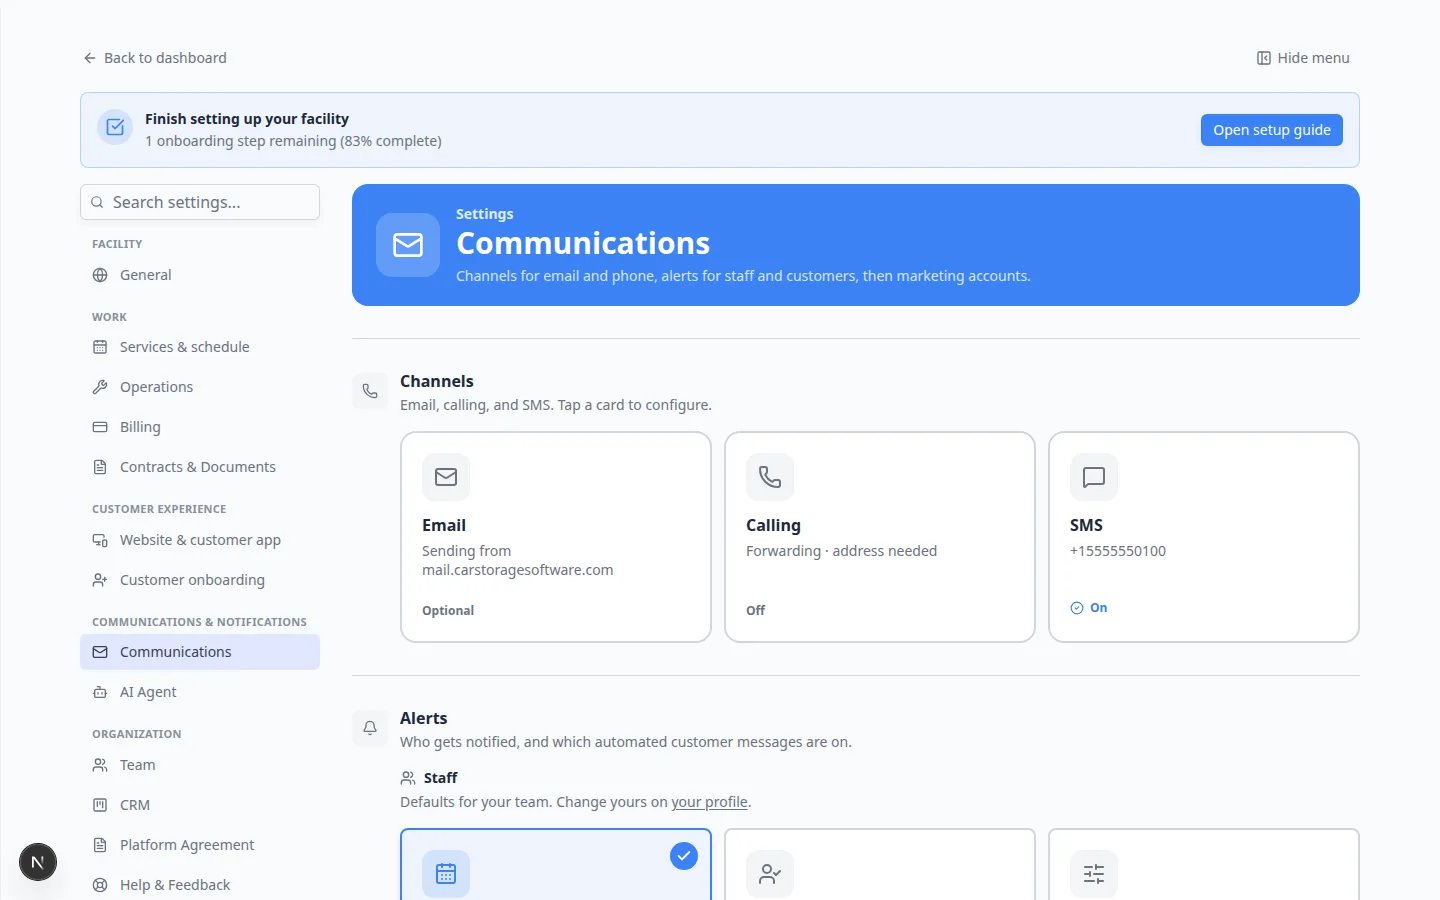
Quick links by job
I need to…
- Set the number customers text — tap the SMS card
- Set call forwarding — tap the Calling card
- Fix emails going to spam — tap the Email card
- Choose which events email your team — scroll to Alerts → Staff
- Turn customer reminders on or off — scroll to Alerts → Customers
- Reply to customer texts — open Inbox. See Configure communication settings for Inbox
Set up Email
1
Tap the Email card
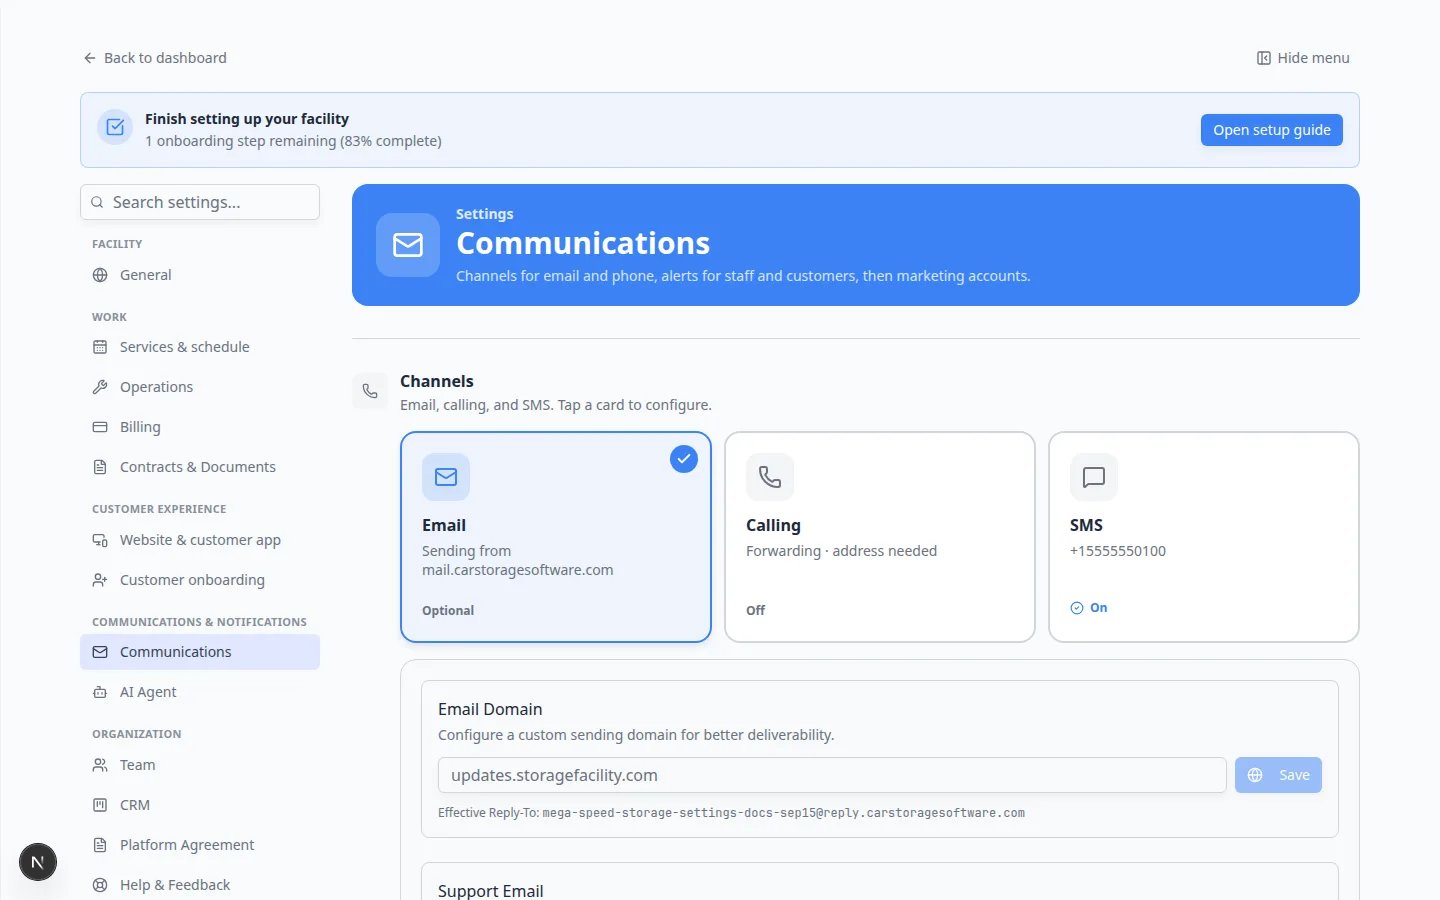
On Settings > Communications, tap Email.The card may say you are sending from a shared address such as mail.carstoragesoftware.com. That works while you get started.
2
Set the reply-to address
Enter the inbox your team actually reads, such as hello@yourfacility.com.Why this matters: Customers hit Reply on invoice and reminder emails. That reply should land in a mailbox someone checks every day.
3
Add your sending domain if you have one
If the page shows domain setup, follow the on-screen instructions to add your business email domain.A domain is the part after the @ symbol, such as yourfacility.com.Expected result: Customer emails, invoice emails, and portal invites can come from a more trusted business address.
Plain English: what domain records do
If the page asks you to add DNS records, think of them as instructions that tell the internet your facility is allowed to send email from your domain.You may see short names such as SPF, DKIM, or DMARC. You do not need to memorize them. Copy each Name and Value exactly as shown, or send them to the person who manages your website.When records are set up correctly, customer invites and invoices are less likely to land in spam folders.
Ask for help with domain records if neededIf this feels overwhelming, that is normal. Many facility owners email the copied records to their website person once, then never think about them again.
Set up SMS (text messages)
1
Tap the SMS card
On Settings > Communications, tap SMS.
2
Choose or confirm your number
Follow the on-screen option to get a number or manage the number you already have.If your facility already uses a business number, ask your manager whether you should keep that number or use a new one.
3
Send a small test
Send a message to an internal staff phone from Inbox before you text customers.Expected result: The message shows your facility’s business number as the sender.
Set up Calling
1
Tap the Calling card
On Settings > Communications, tap Calling.
2
Get an SMS number first if needed
If the page says Get an SMS number first, tap Set up SMS number. Calling uses the same number as text messaging.
3
Set forwarding and your emergency address
When the number is ready, set where inbound calls should ring and confirm the emergency address the provider requires.Expected result: Customers can call the same number they text, and your team can answer or forward the call.
Review Alerts
Alerts has two parts: Staff and Customers.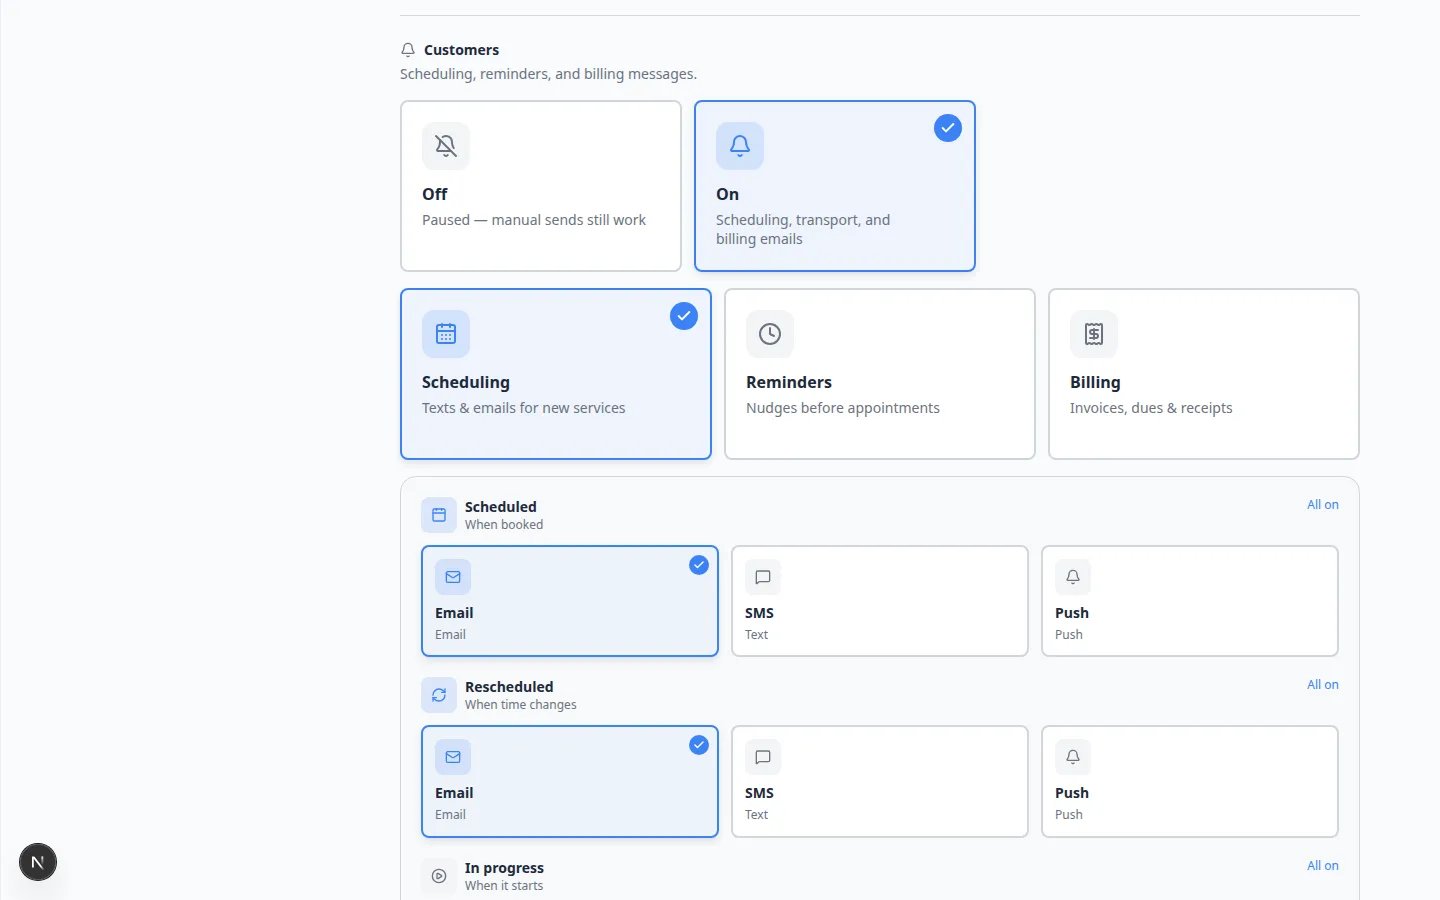
1
Set Staff defaults
Under Alerts, find Staff.Turn on the notifications your team needs, such as new bookings, event updates, or payment received.Avoid sending every alert to everyone. Choose the people who can act on each message.Teammates can still change their own alerts on Your profile.
2
Review Customers alerts
Scroll to Customers.These are scheduling, reminders, and billing messages customers receive automatically.Expected result: Reminders stay on for appointments you promised, and billing messages stay on if you invoice online.
Connect marketing accounts (optional)
Scroll to Marketing if you want to sign in to the platforms you post from. Google Business is included here. You can skip this section until you are ready to ask for reviews or post from the app.Test your setup before going live
1
Send yourself a test email
After email is set, send a portal invite or test invoice to your own work email.Expected result: The message arrives in your inbox (not spam) and shows your facility name.
2
Send a test text (if SMS is on)
Text an internal staff phone from Inbox.Expected result: The message shows your facility’s business number as the sender.
3
Trigger one staff alert
Turn on one Staff alert, then complete a test action (for example, submit a practice registration).Expected result: Only the teammate who should act on that alert receives it.
What success looks like
- Your team has a clear email reply-to address.
- SMS is on if you plan to text customers, and the number is one they will recognize.
- Calling is set only after the SMS number exists.
- Staff alerts go to people who can act — not to everyone.
- You sent at least one test email and text to yourself before messaging customers.