

What you will accomplish
Your team will test every customer-facing link in a safe order, fix problems before launch, and know where each submission appears in the staff dashboard.Overview
Use this checklist before you put Car Storage Software links on your website, in emails, on social media, or in printed materials. When you finish, your team will know the public pages open correctly, the words make sense to customers, and every button sends people to the right next step. This guide is helpful when you are about to launch a new facility page, registration form, marketplace, customer login link, vendor invoice portal, or custom domain.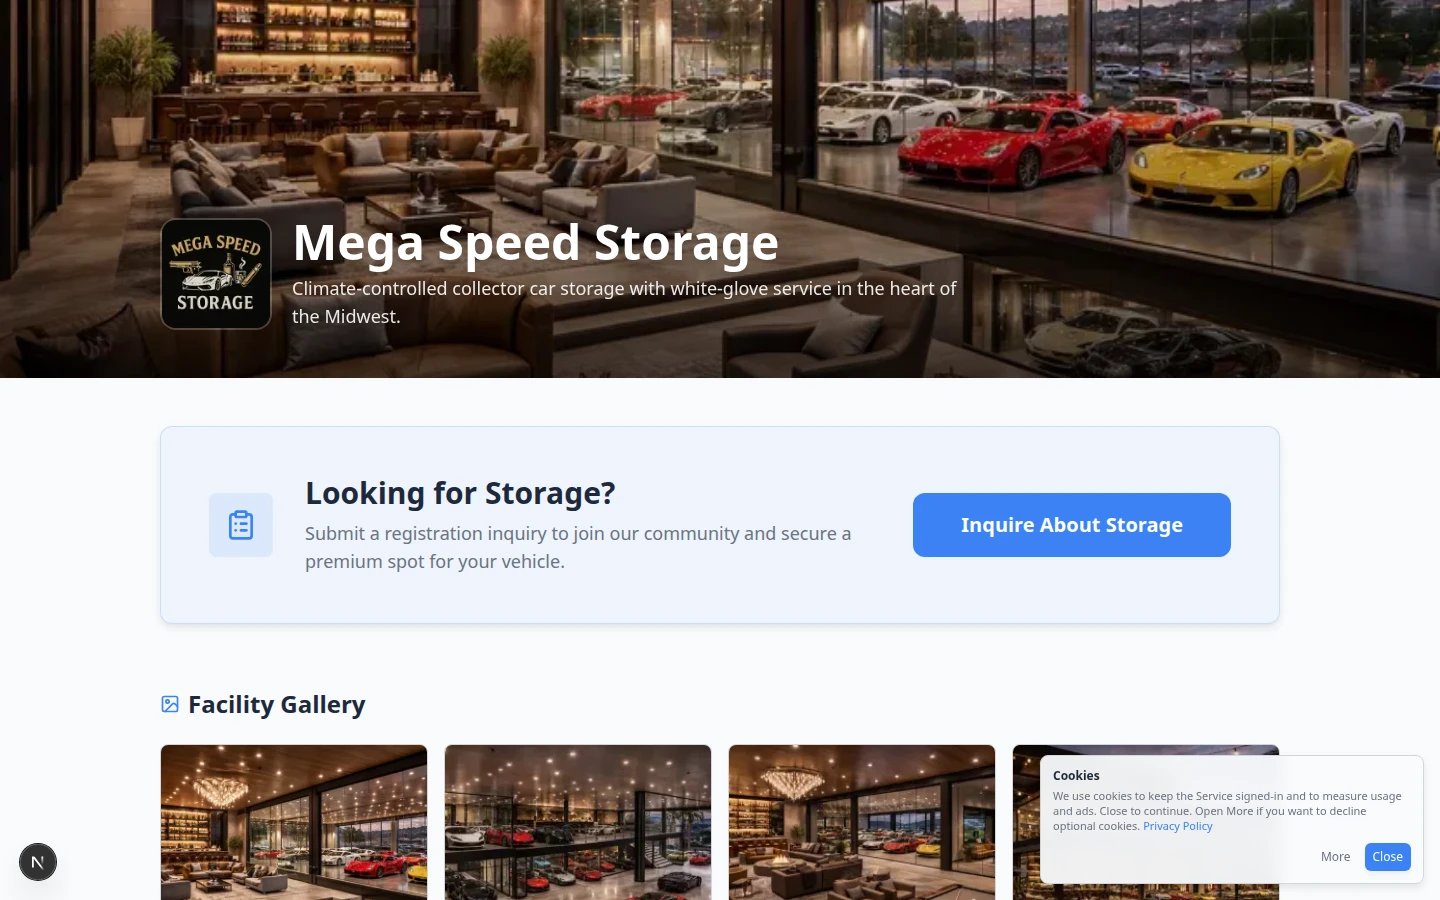
Before you start
- Your team has access to Settings > Website & customer app.
- Your Public website is turned on only if you are ready to test it.
- You have one test customer email address your team can recognize.
- If you sell items online, payment processing is set up and tested.
- If you use a custom domain, the person who manages your domain can help with DNS if needed.
Not sure which link to test first?Use Choose the right public link to share to match each link to the right audience before you run this checklist.
Launch checklist
Work through each item. Skip optional sections if your facility does not use that feature yet.Required for most facilities
- Public Facility Pages is on and Facility slug is saved in Settings > Website & customer app.
- Main page opens in a private window and shows correct facility name, description, and services.
- If you use the website editor, you clicked Publish and the top bar says Live before you share Main page. Unpublished drafts are not what visitors see.
- If you added Location & map, Hours of operation, Contact people, or Social links, those sections appear on Main page (not only as gray hints in the editor). See Add hours, map, contacts, and social links to your website.
- Registration link works; a test submission appears in Contacts.
- Customer login opens the sign-in page at your facility address (usually ending in
/signin)—not the staff dashboard. - Customer app home sections and Bottom navigation look clear in the live preview on Website settings.
- If customers buy in the app, Shop prices and tags were reviewed with Configure the customer shop.
- If owners should add vehicles themselves, Customers can add cars was reviewed with Let customers add their own cars.
- Marketplace link opens and shows the correct Cars and Products tabs when you use marketplace features.
- Every public page was checked on a phone-sized screen.
Optional — marketplace
- Vehicle marketplace (
/marketplace) shows only approved car listings. - Product marketplace (
/marketplace/products) shows items with Show on marketplace turned on. - Product checkout was tested with Test marketplace checkout.
Optional — vendor invoices
- Vendor invoice portal opens at
/facility/your-slug/invoices. - Form fields (name, email, invoice number, amount, file upload) are clear to vendors.
- Staff know to review submissions on the Vendor tab in Payments > Invoices.
Optional — website and custom domain
- Website buttons or badge embed open the correct Car Storage Software pages (Add a website embed).
- Custom domain shows Complete in Settings > Custom domain and all Shareable links were re-copied after DNS finished.
Step 1: Confirm the main public page
Open Settings > Website & customer app. Scroll to Public website. If your team uses the website editor, open it from Open website editor (beta) and check the status in the top bar. Unpublished changes means visitors still see the last published page. Click Publish only after you review every page tab on desktop and phone views. See Edit your website with the AI website editor.A few details skip the draftAddress, hours, website contacts, social accounts, and similar facility facts go live when you save them in Settings. Publishing only releases the page layout and wording you changed in the editor.
- Public Facility Pages is turned on.
- Facility slug is short and easy to recognize.
- The facility name, description, and services are correct.
- The buttons you want customers to see are turned on.
Expected result
The public page opens without a staff login and clearly explains what your facility offers.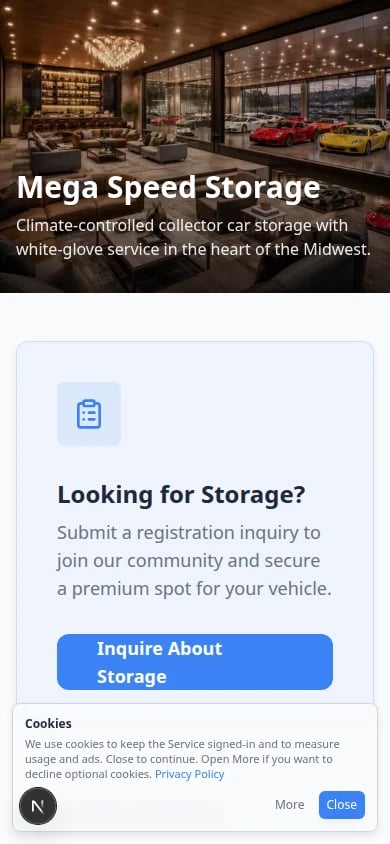
Step 2: Test new customer registration
If prospects should request storage online, copy Registration from Shareable links and open it in a private window.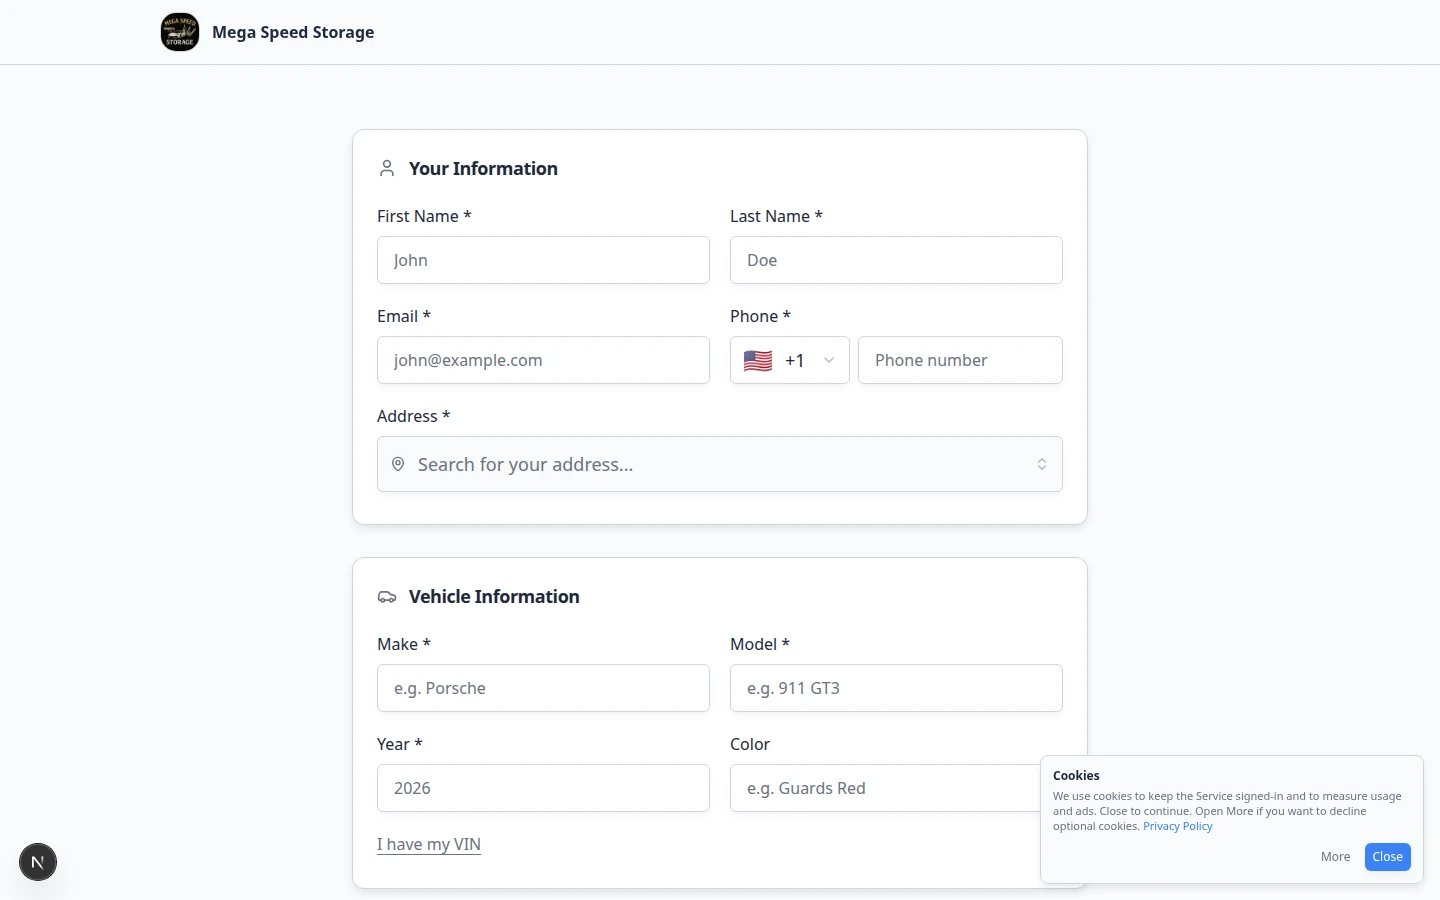
/facility/your-facility-name/registration
Submit a test request using a clear test name, such as Test Registration.
Check:
- The form asks for the right information.
- The required fields make sense.
- The confirmation message is clear.
- Your staff can find the new request in Contacts.
Step 3: Test customer login links
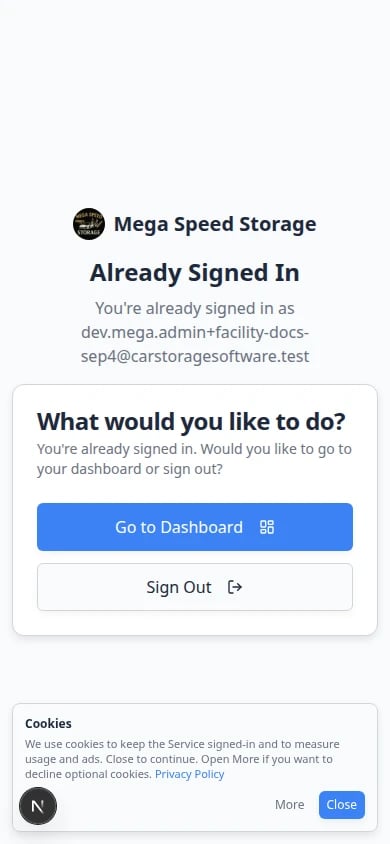
If existing customers need to sign in from your website, copy Customer login from Shareable links on Settings > Website & customer app.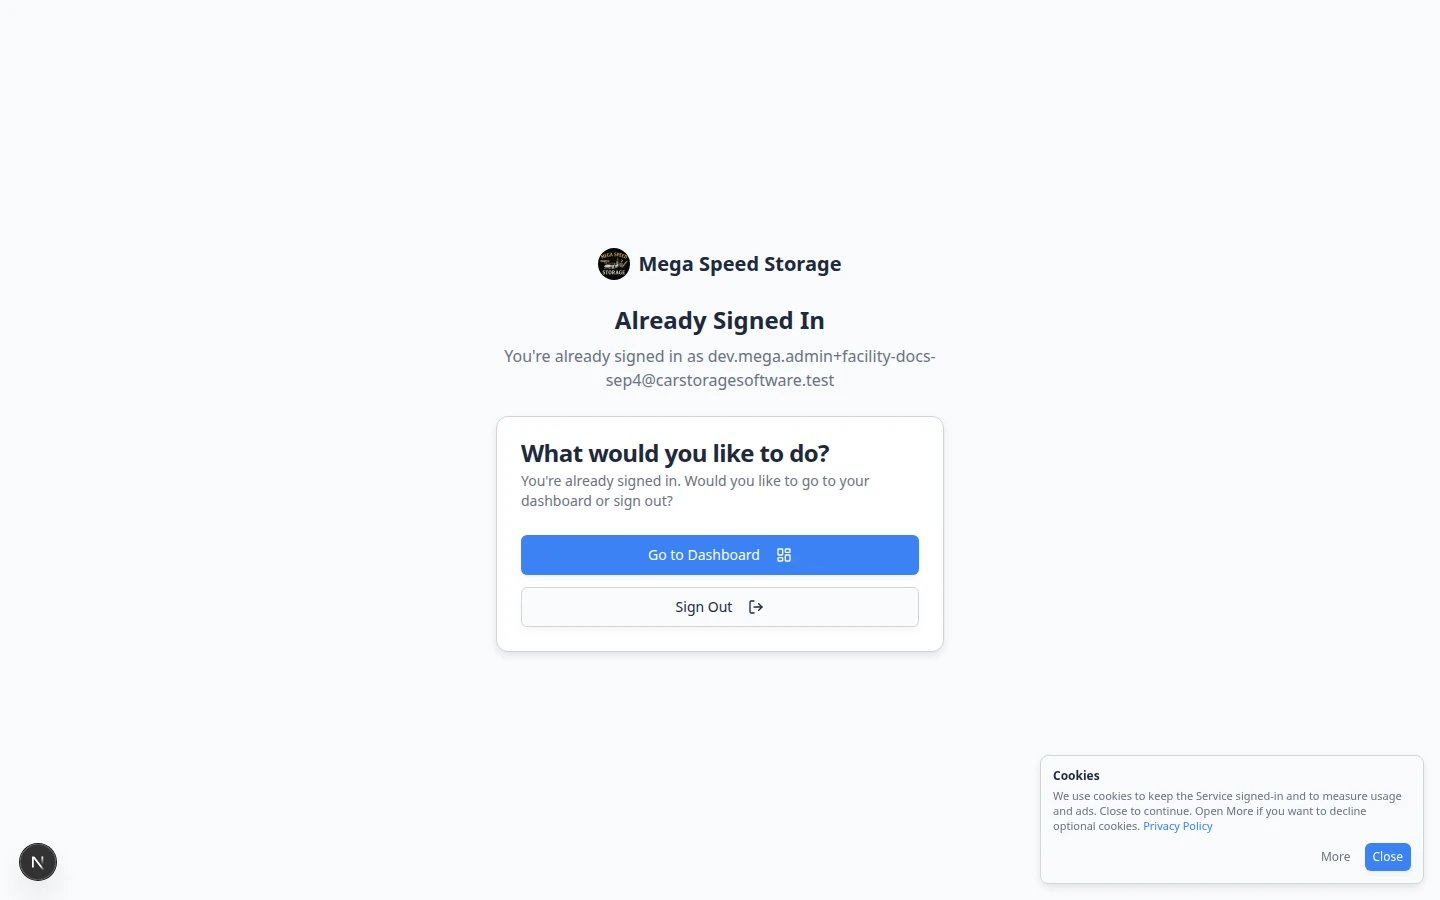
- The sign-in page uses the correct facility name.
- The customer knows they should enter their email address.
- The link does not send customers to the staff dashboard.
Step 4: Test marketplace pages and checkout
If you use marketplace listings, open the public marketplace page and review it like a customer.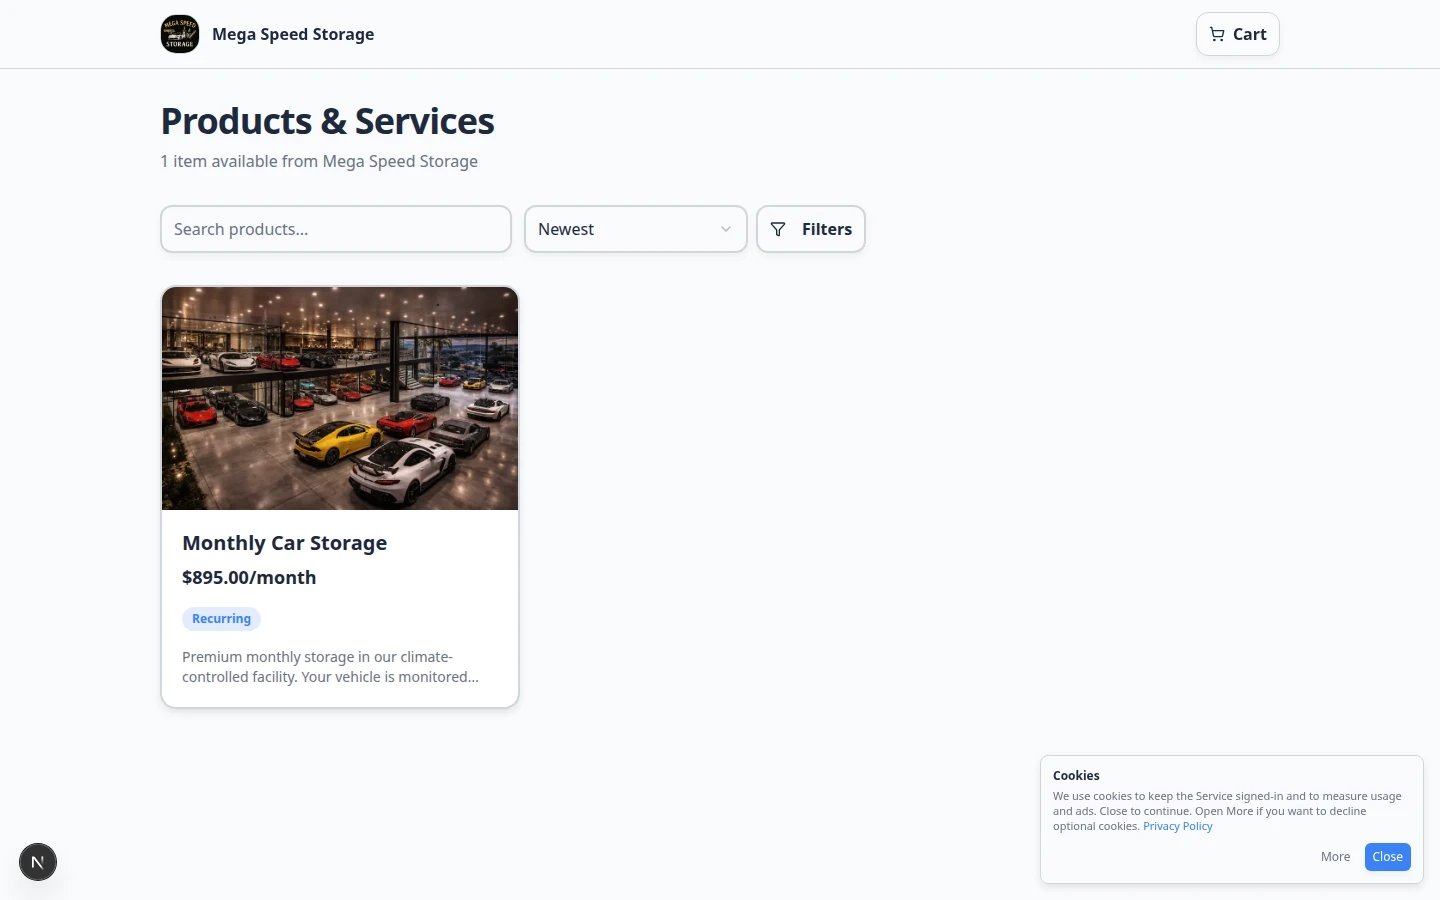
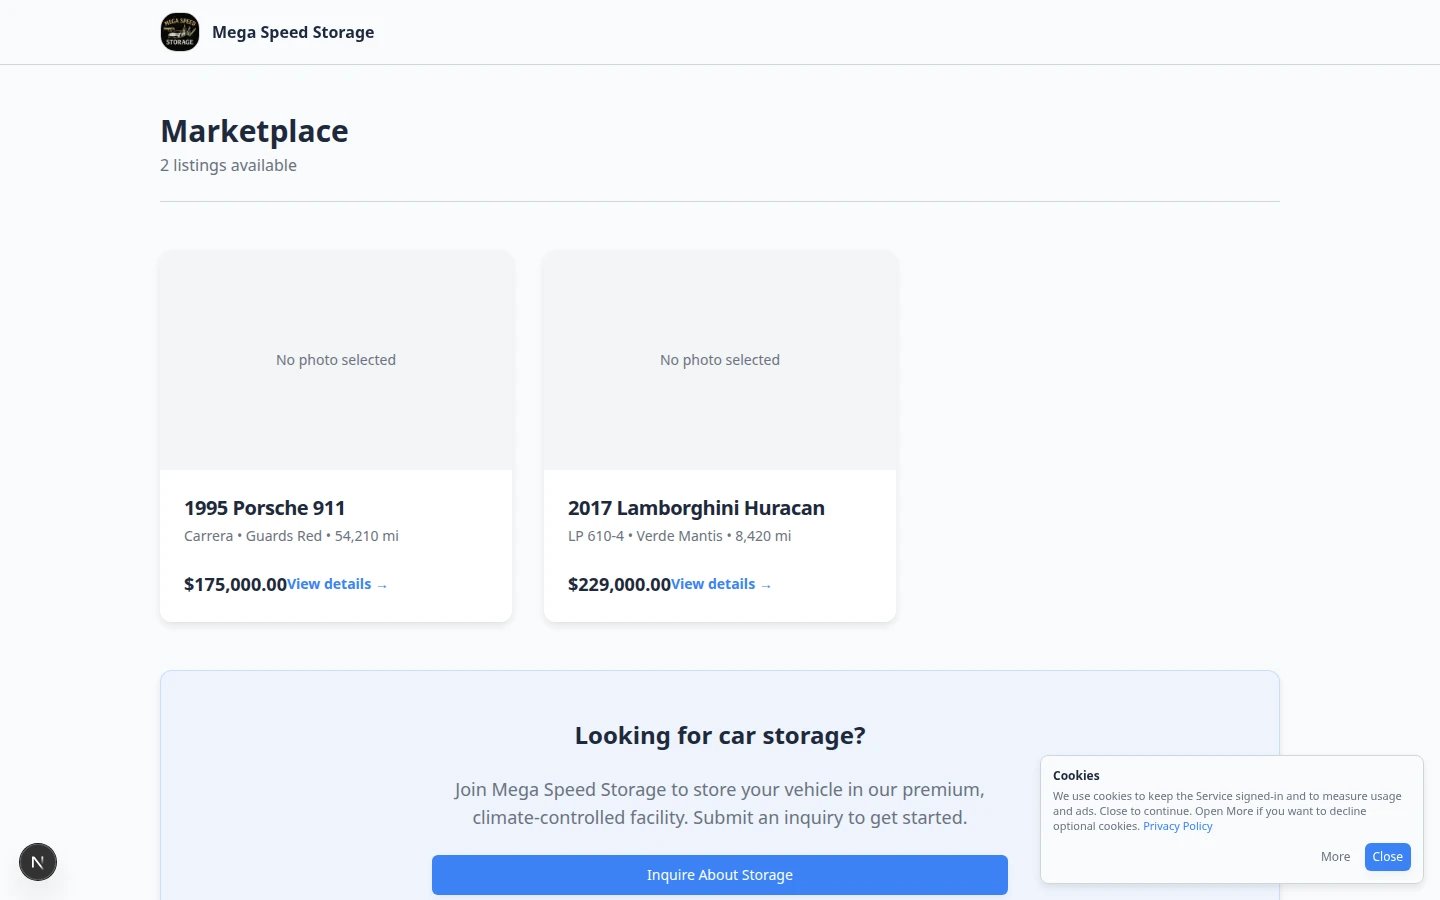
- Only items you want to share are visible.
- Names, descriptions, prices, and photos are correct.
- Buttons such as View details, Add to cart, or Checkout lead to the right place.
- Your team knows where new purchases or requests will appear.
Step 5: Test the vendor invoice portal
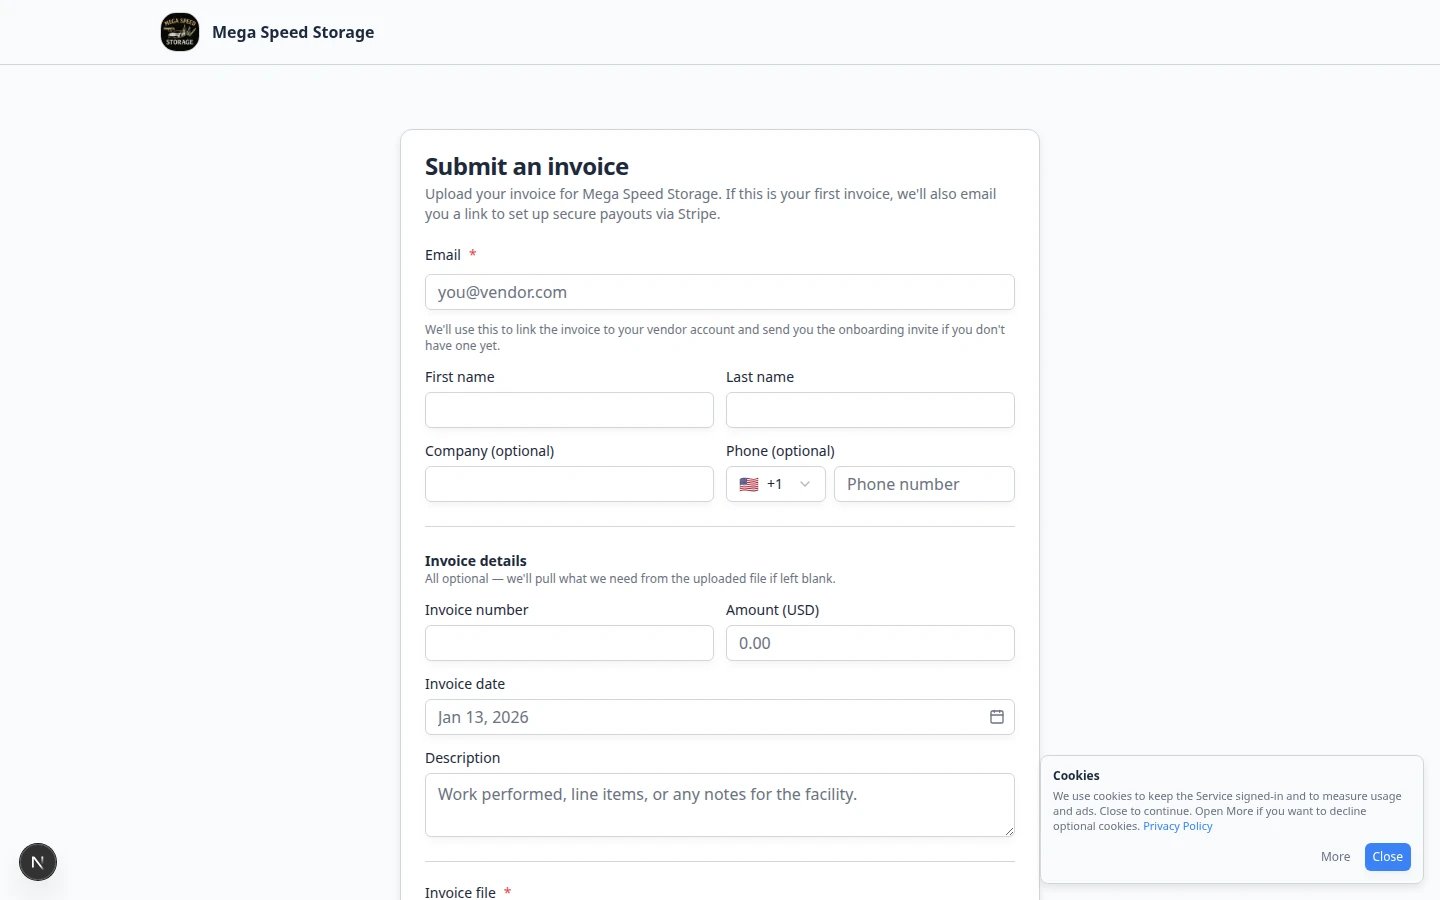
/facility/your-facility-name/invoices
Check:
- The form asks for first name, last name, email, invoice number, amount (USD), invoice date, description, and a required invoice file upload.
- The instructions are clear enough for a vendor who does not use your staff dashboard.
- Your team knows to review submissions in Payments > Invoices.
Step 6: Test links from your own website
If you added a button, menu item, or embed to your existing website, open the public website like a customer would. Check:- The button or widget is easy to find.
- The words tell the visitor what will happen next.
- The link opens the correct facility page, registration page, marketplace, or login page.
- The page works on a phone-sized screen.
Step 6b: Complete one real test action per feature
After pages load correctly, walk through the same path a customer or vendor would:1
Registration
Submit a test registration from the Registration link. Confirm it appears in Contacts. Follow Review and approve registration requests.
2
Customer login
Open Customer login in a private window. Confirm it asks for an email—not the staff dashboard.
3
Marketplace (if used)
Run Test marketplace checkout before sharing product links.
4
Customer shop (if used)
Sign in as a test customer and open Shop. Confirm prices and tags match Configure the customer shop.
5
Customer-added cars (if used)
If Customers can add cars is on, add one test car from the customer Cars page and find it in Cars. See Let customers add their own cars.
6
Vendor invoices (if used)
Open the vendor link in a private window and confirm the upload form loads.
Step 7: Confirm the custom domain, if you use one
If customers should use your own domain, open the custom domain in a browser. Check:- The page opens without an error.
- The address bar shows your domain.
- Registration, marketplace, vendor invoice, and login links still work.
Step 8: Test on a phone-sized screen
Many customers open your links from a text message on their phone—not from a desktop computer.1
Open Main page on a narrow screen
Copy Main page from Shareable links. Open it in a private window and shrink the browser, or use your phone.Expected result: Text is readable, buttons are easy to tap, and photos are not cut off.
2
Repeat for Registration and Customer login
Test each link you plan to share. A page that looks fine on a large monitor may feel cramped on a phone.
What success looks like
- Your public links open without a staff login.
- Customers can understand what to do without calling your team for basic instructions.
- Test registration, checkout, and vendor invoice paths have been reviewed by staff.
- Your website, emails, and printed instructions use the same final links.
- Your team knows where each submitted request appears in the staff dashboard.