Documentation

How-to guides for Car Storage Software

Practical guides for setting up your facility, managing cars and customers, and running day-to-day operations.

Search documentation

Search documentation guides and how-to articles.

Browse documentation

Cars

Review car activity, notes, and photos

Understand what has happened with a vehicle by reading its activity history, notes, and photo sections.

Use a car's activity, notes, and photos when you need to understand the vehicle's history before taking the next step.

This guide shows you where to look, what each section means, and how to use the information without confusing internal notes with customer-facing updates.

What you will accomplish

You will read the car's timeline, internal notes, and photos so you can answer customer questions or plan the next step without guessing.

Expected outcome: You know what work already happened, what is still scheduled, what your team wrote down internally, and which photos belong to which event.

When to use this guide

Use these steps when:

  • A customer asks what happened during a recent inspection, intake, pickup, or delivery.
  • A teammate needs context before moving, servicing, or releasing a car.
  • You want to check whether photos or notes were added during an event.
  • You need to see whether a car has upcoming or previous work.

Before you start

  • Open the correct car from Cars.
  • If you are not sure which car to open, use Find and filter cars.
  • Remember that notes may be internal. Do not copy internal notes to a customer unless your team has confirmed they are appropriate to share.

Read the Activity Feed

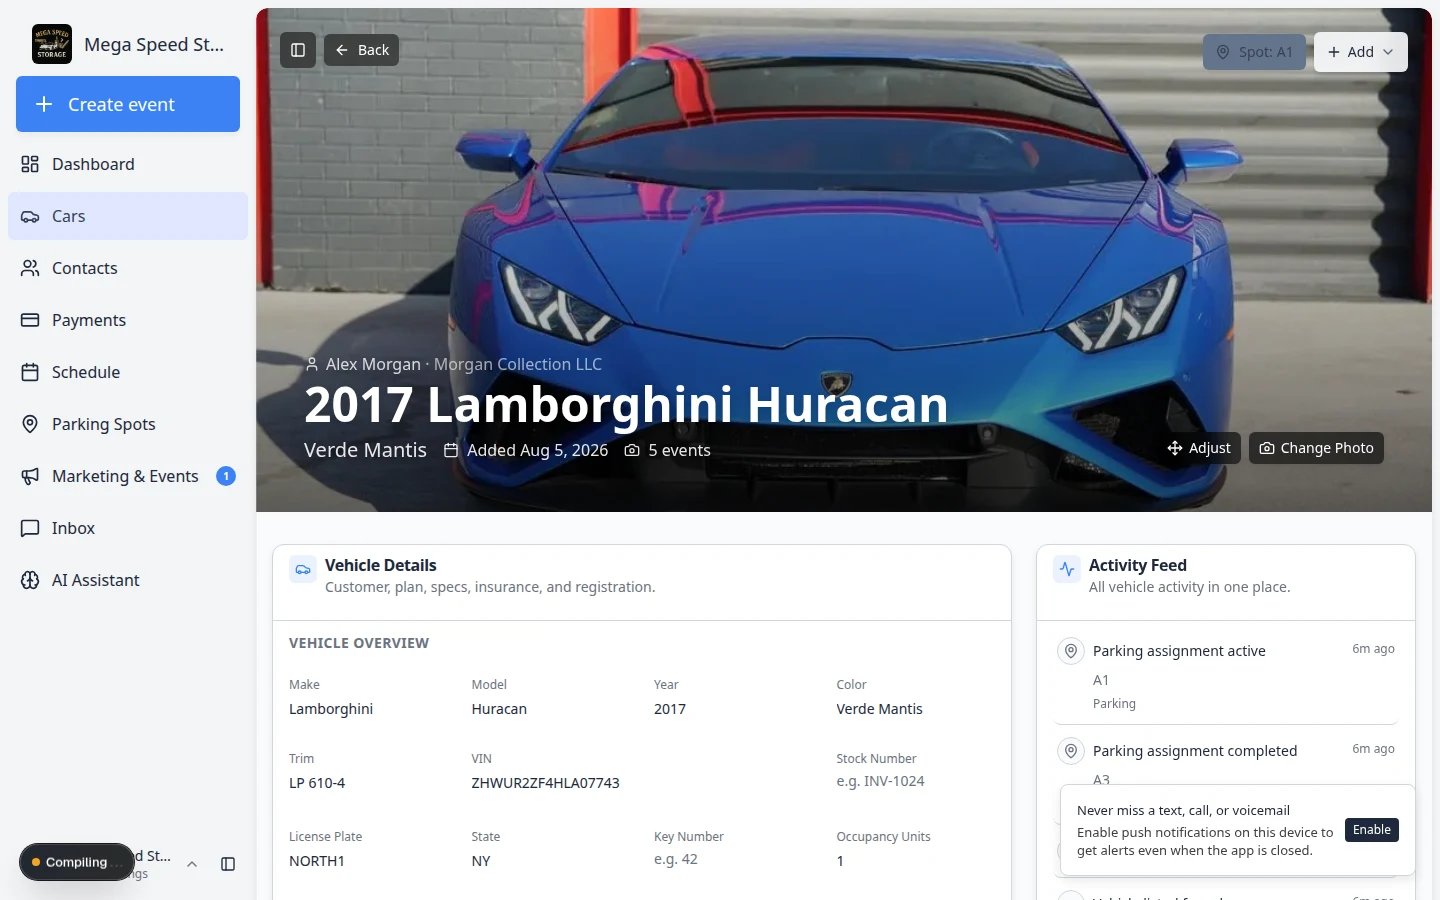
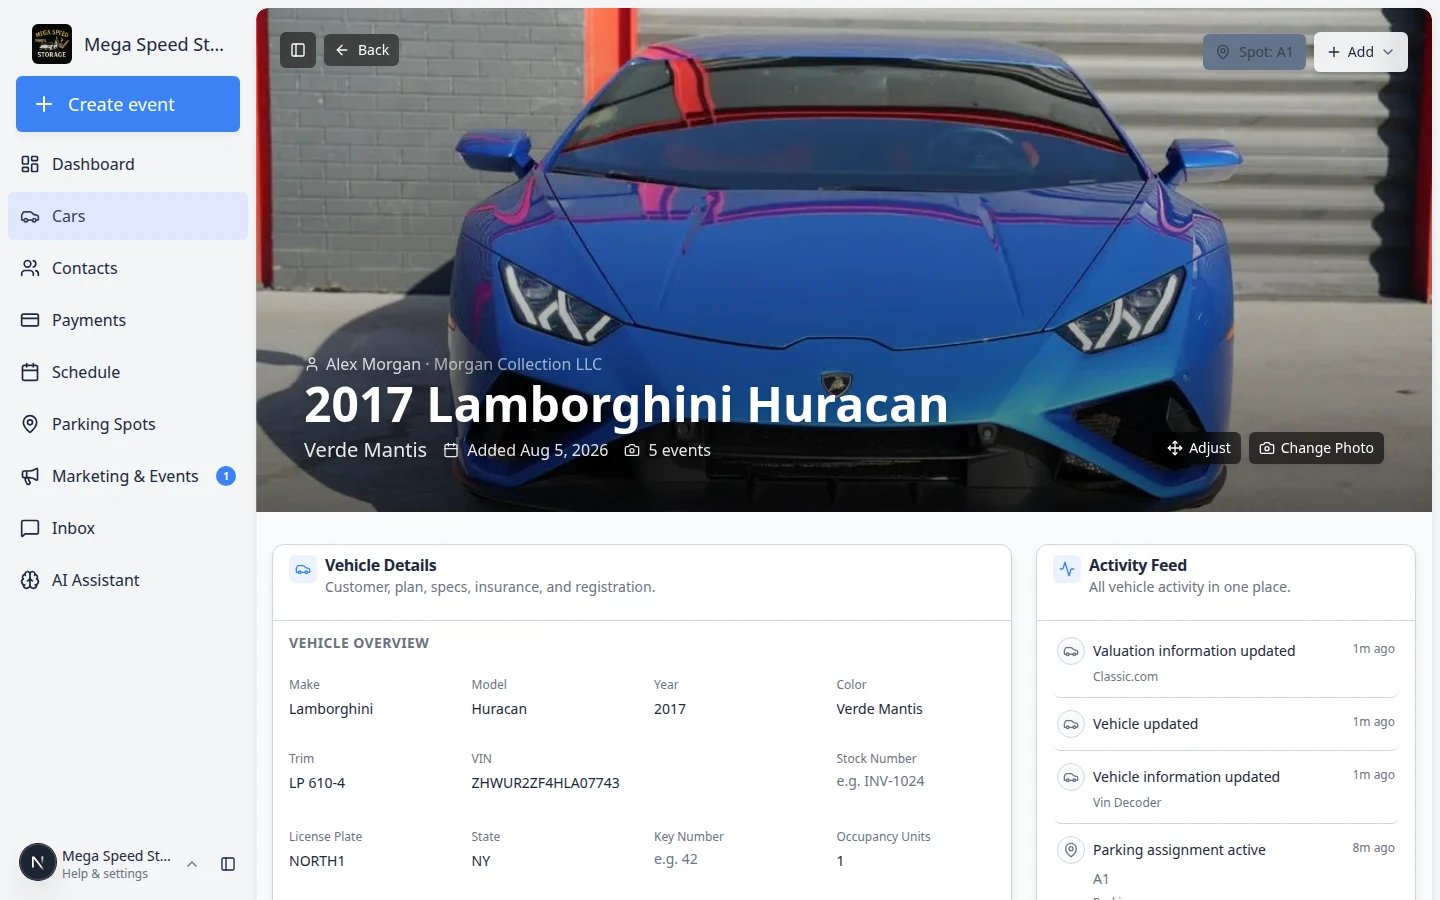
The Activity Feed is the car's timeline. It helps your team answer, "What has happened with this car?"

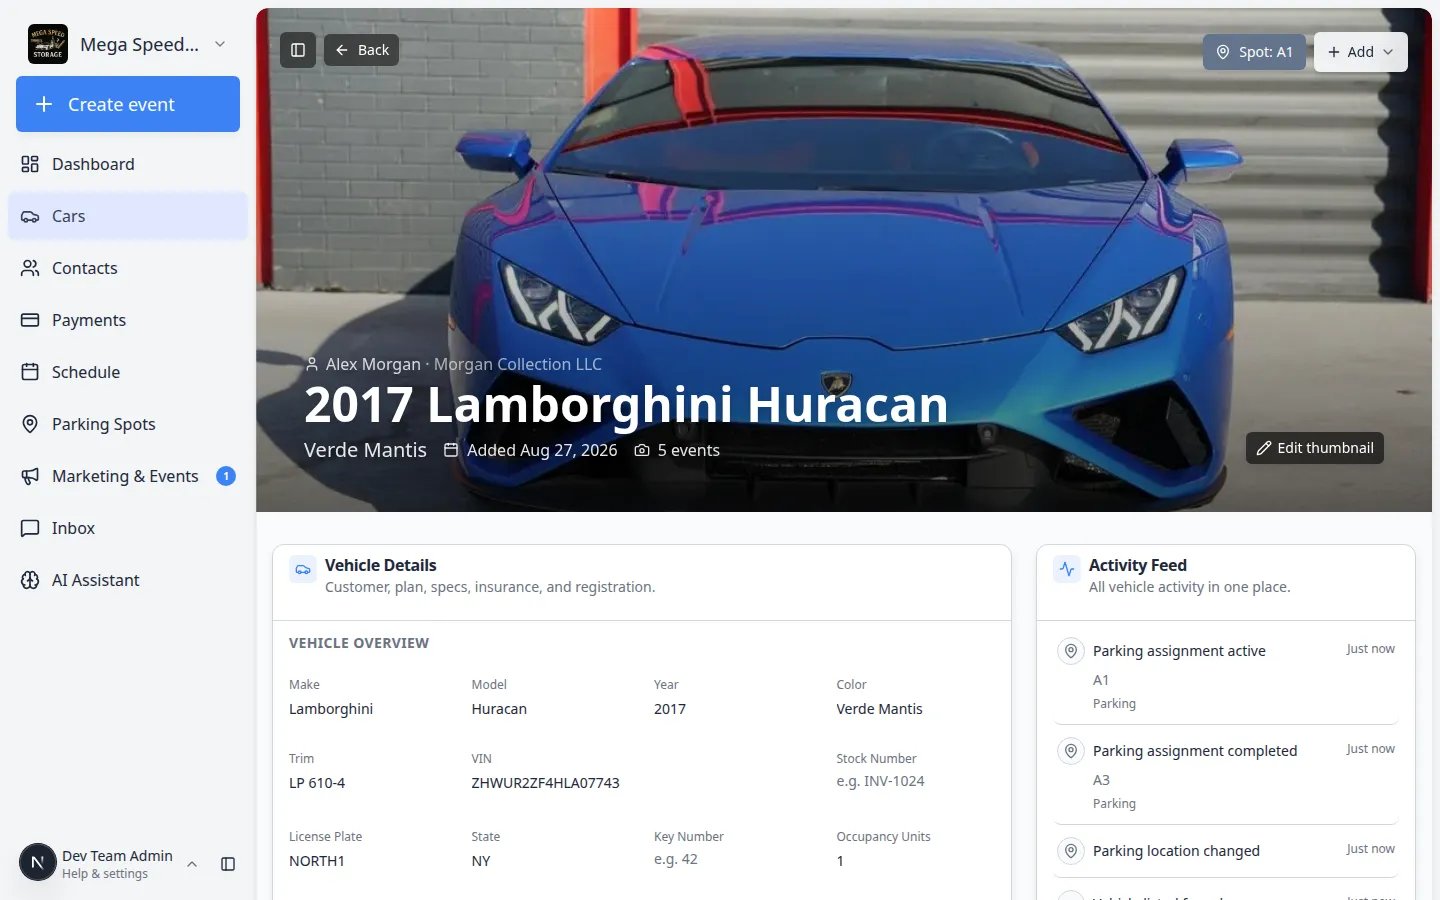
On wide screens, the Activity Feed appears on the right side of the car detail page. On smaller screens, scroll down past Vehicle Details to find it.

  1. Open the car record

    Go to Cars and click View on the vehicle.

    Expected result: The car detail page loads with Activity Feed visible on the right or below the main details.

  2. Find the Activity Feed card

    Look for the card titled Activity Feed with the subtitle "All vehicle activity in one place."

  3. Review each row

    Each row may show:

    • The event name (for example, dealer service, internal service, or vehicle transport)
    • The date or time
    • The status (scheduled, in progress, or complete)
    • Short summaries such as parking changes, listing updates, or completed work

    Read the newest rows first when you need a quick answer about recent work.

    Why this matters: Status labels tell you whether work is still planned, happening now, or already finished. Do not tell a customer a job is done if the row still says Scheduled or In progress.

  4. Open the event if you need more detail

    Click an activity row when you need the full story — every photo, reading, signature, and checklist answer from that session.

    Expected outcome: A detail window or page opens. You can see the scheduled time, assigned staff, vehicle, customer, status, and any notes tied to that event.

    Why this matters: The feed shows a short summary. The event detail shows everything your team captured during that visit.

  5. View all activity when the list is long

    If many events exist, click View all or View more activity at the bottom of the feed to see the full history in one place.

    Expected result: A larger list opens with search and filters so you can scroll through every parking move, service visit, and listing change for this car.

    For a full walkthrough of that page, read View full vehicle activity history.

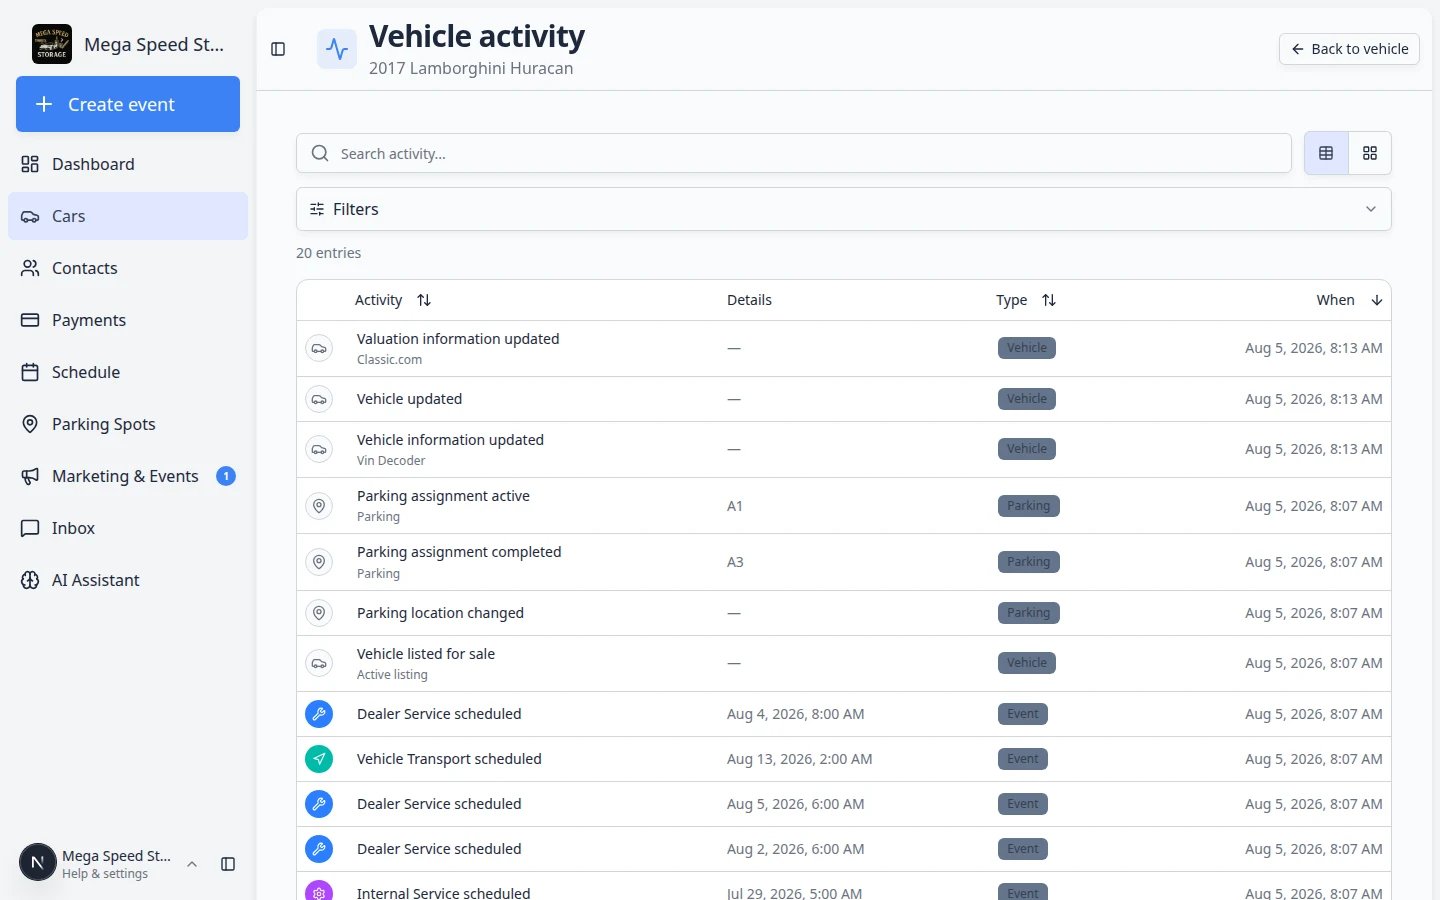
Open the full Vehicle activity page

When the short Activity Feed on the car detail page is not enough, open the dedicated Vehicle activity page for the same car. This page is built for deep searches across months of history.

  1. Start from the car record

    Open the car from Cars. On the Activity Feed card, click View all or View more activity—or go directly to the activity page for this vehicle using the link pattern /dashboard/cars/[car id]/activity (your browser will show the real car ID in the address bar after you open it once).

  2. Use search and filters

    On the Vehicle activity page, use the search box to find a keyword (for example intake, transport, or a teammate's name). Use filters to narrow by activity type or date range when available.

    Why this matters: A collector may ask what happened six months ago. The full activity page keeps that history in one searchable list instead of scrolling a short feed.

  3. Open any row for details

    Click an activity row to see photos, readings, signatures, and notes from that session—same as opening an event from the short feed.

    Expected outcome: You can answer detailed customer questions without opening Schedule and hunting through the whole facility calendar.

    Vehicle activity page showing searchable full history for one car with Back to vehicle button
    The Vehicle activity page shows every event, parking move, and billing change for one car—with search when the short Activity Feed is not enough.
Activity Feed on a car detail page showing parking assignments, dealer service, vehicle transport, and marketplace events with different statuses
Each row in the Activity Feed shows what happened and its status. Parking moves, service appointments, and listing updates all appear here.
Car detail page showing Activity Feed with event rows and Notes section below
The Activity Feed and Notes sit together so your team sees recent work and internal comments on one screen.

Parking moves appear in the Activity Feed too

When staff assign or move a car on the Parking Spots map—or from the car record—the change often shows up as its own line in the Activity Feed.

  1. Look for parking or location rows

    Scroll the feed for lines that mention a spot name, zone name, or a move between locations.

    Expected result: You can see when the car last changed spots without opening the parking map.

  2. Open the row when the customer disputes location

    If a customer says “You moved my car without telling me,” click the parking row to see the date and time the system recorded the move.

    Why this matters: The feed timestamp is your team's shared record of when the assignment changed—not when someone remembered to update it later.

  3. Fix the map if the feed and the building disagree

    When the feed shows the wrong spot, follow Move a car to correct the record. Teach floor staff to update the app during the physical move so the feed stays trustworthy.

Understand activity status

Statuses tell you where an event stands. Look at the label on each row before you promise a customer that work is finished.
Event detail window showing dealer service status, scheduled time, vehicle, customer, and assignment information
Click any activity row to open the full event detail. Check status, time, and notes before you reply to a customer.
View all activity panel showing a searchable list of every event and change on a car record
Use View all when the short feed is not enough. Search and scroll through the complete history for this vehicle.

Common meanings:

  • Scheduled means the work is planned but has not happened yet.
  • In progress means someone started the workflow but has not finished it.
  • Completed means the event was finished and saved.
  • Cancelled means the event will not happen.

Your team may also see parking moves, valuation updates, and marketplace changes mixed in with service events. If you are unsure what a status means, ask your team admin or manager.

Review internal notes

Notes help teammates share context without relying on memory.

  1. Find Notes

    Below the Activity Feed card, look for the Notes card with the subtitle "Internal notes and comments."

  2. Read the newest notes first

    Notes usually show the most recent context near the top. Read enough history to understand the current situation.

  3. Click Add note when you need to record context

    Click Add note. A window opens where you can type your message and choose who can see it.

    Why this matters: Notes stay on the car record for your team. They are not automatically sent to the customer unless you choose Customer visible.

  4. Choose who can see the note

    At the top of the note window, pick one option:

    • Customer visible — the customer can see this note in their portal (use only for information you are comfortable sharing).
    • Internal only — only your staff see the note (default for shop talk, pricing, or sensitive details).

    Expected result: The toggle shows which option is selected before you save.

  5. Save the note

    Type your note, then save it. Confirm the new note appears in the Notes list with today's date.

    Expected outcome: The next teammate who opens this car sees your note—and the customer sees it too only if you picked Customer visible.

Add note dialog on a car record with Customer visible and Internal only options and a text field
Choose Customer visible only when the customer should read the note in their portal. Use Internal only for shop handoffs and sensitive details.

Write useful notes

Good notes help the next teammate take action.

  • Write what matters for the next step, not every small detail.
  • Use clear names and dates when helpful.
  • Explain special handling instructions, customer preferences, or follow-up needs.
  • Keep the tone professional, even for internal notes.

Find documents uploaded for this car

Insurance scans, signed contracts, and registration files usually live on the customer record even when you start the upload from a car.

  1. Start from the car banner

    On the car detail page, click the customer name at the top of the banner (or open the CUSTOMER block in Vehicle Details).

    Expected result: You open the customer record in Contacts.

  2. Open the Documents area on the customer

    On the customer page, find the documents or files section your facility uses. Browse for insurance, registration, or contract files linked to this vehicle.

    Why this matters: Customers often email “Can you send my insurance card?” The answer may already be in the system from intake—you do not need to ask them to resend it.

  3. Upload a missing file from the car

    If nothing is on file yet, return to the car and use Add → Upload document. See View and edit vehicle details or Start a car session.

Review photos

Photos appear when they were captured during a session (such as intake or inspection) or added to the car record another way.

  1. Look for Latest Photos

    Inside the Vehicle Details section, scroll until you see Latest Photos. If the car has recent images, you will see small thumbnails with a count of how many came from the most recent activity.

  2. Open a photo to inspect it

    Click a thumbnail to open a larger view. Use this when a customer asks about condition, when you need to verify a VIN or odometer photo, or when you are comparing before-and-after damage.

  3. Check the related event when needed

    If you need to know why a photo was taken, open the related row in the Activity Feed. The session page shows every photo from that event in order.

    Expected outcome: You can answer customer questions with confidence because you saw the actual images tied to the work.

  4. Open the full gallery for older photos
    Below the thumbnails, click view all when you need every image from every session—not only the latest batch. See Manage vehicle photos for filters, damage search, and banner images.

Car photo gallery showing multiple vehicle images from intake and service sessions
Latest Photos inside Vehicle Details shows recent images. Open the related activity for the full set from each session.

Find documents linked to this car

Uploaded insurance cards, registration scans, and signed contracts are usually stored on the customer record, not inside the car's photo gallery.

  1. Open the linked customer

    On the car banner, click the customer name—or scroll to the CUSTOMER block in Vehicle Details and open the customer from there.

  2. Go to Documents

    On the customer record, find Documents or Documents & Contracts (the exact label may vary). This section lists files linked to that customer and, when applicable, to this car.

  3. Upload from the car when needed

    If you are standing at the vehicle with a file in hand, you can also use Add → Upload document on the car banner. See Start a car session or Upload a document for a customer.

    Expected outcome: The file appears on the customer record and is linked to the correct car when you chose a car-specific document type.

What success looks like

After reviewing activity, notes, and photos:

  • You understand the most recent work or upcoming work for the car.
  • You know whether there are internal notes your team should consider.
  • You can find photos or know why none are available.
  • You can take the next step with more confidence.

Common mistakes to avoid

  • Do not assume a note was sent to the customer. Check whether the note was saved as Customer visible or Internal only.
  • Do not rely on memory when a note should be added. If the next teammate needs to know it, write it down.
  • Do not treat an unfinished session as complete. Check the status before promising a customer that work is done.
  • Do not share photos outside your team unless your facility's policy allows it.

Troubleshooting

What to do next