Documentation

How-to guides for Car Storage Software

Practical guides for setting up your facility, managing cars and customers, and running day-to-day operations.

Search documentation

Search documentation guides and how-to articles.

Browse documentation

Contacts

Import customers, cars, events, and photos

Bring existing customer lists, vehicle records, historical events, and photo archives into Car Storage Software using the Import Data page.

Use Import Data when you already have information in a spreadsheet or photo archive from another system, a paper list, or files your team kept in Excel or Google Sheets.

What you will accomplish

You will upload files, match spreadsheet columns to the correct fields, review a preview, and create many records at once—without typing each item by hand.

The Import Data page has four tabs:

  • Customers — names, emails, phones, addresses, tags, and additional contacts.
  • Cars — vehicles linked to customers by email, VIN, or license plate.
  • Events — historical service visits, intakes, and activity from a legacy system.
  • Photo ZIP — folders of inspection or event photos tied to customers and cars.
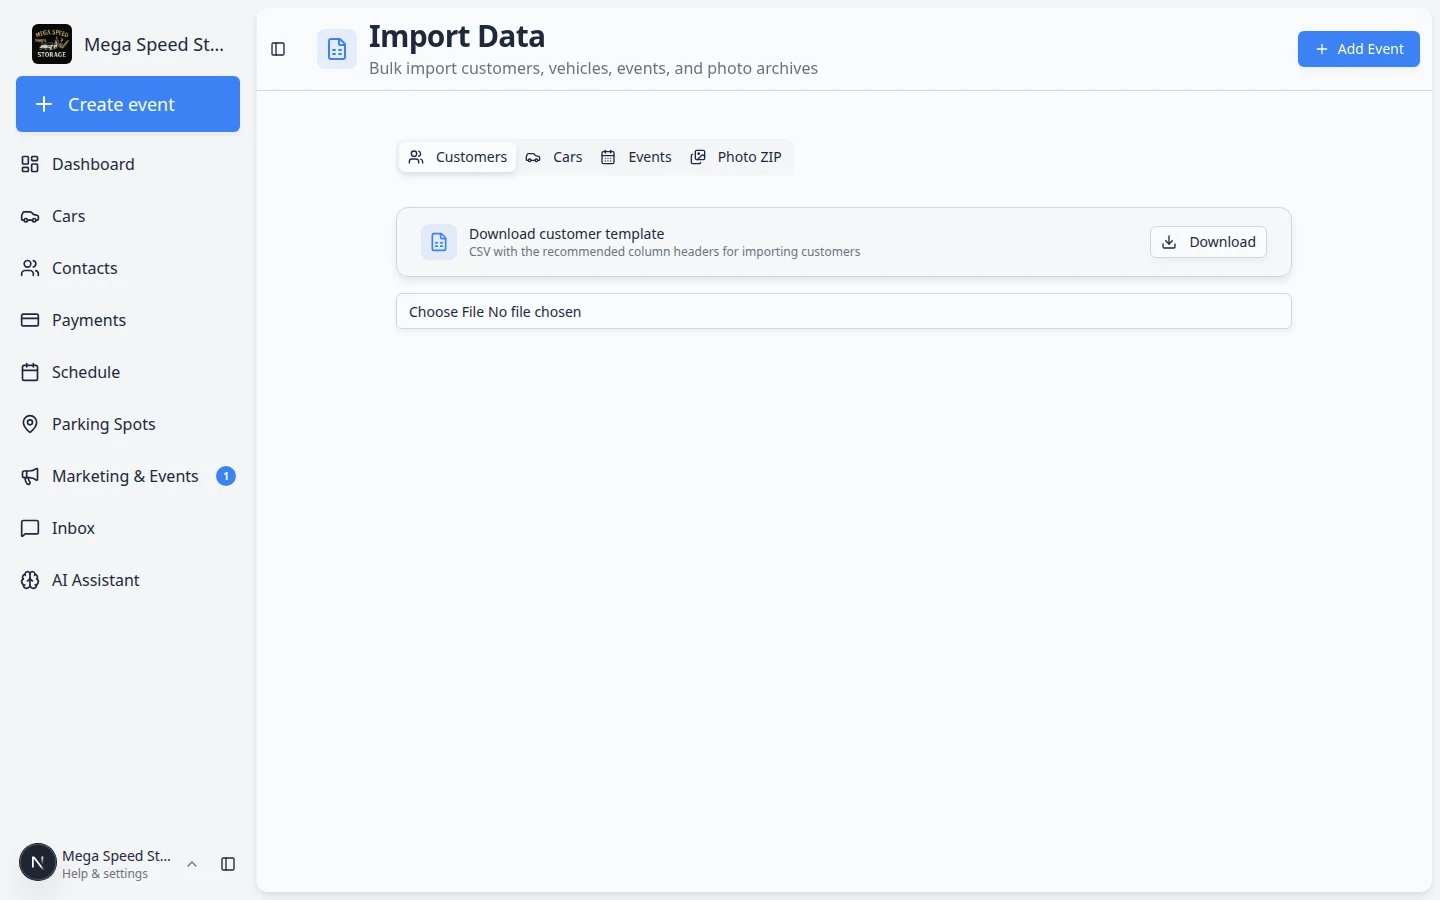
Import Data page showing Customers, Cars, Events, and Photo ZIP tabs at the top
Open [Import Data](/dashboard/import) from the sidebar. Each tab handles a different kind of bulk upload.

Recommended import order

Follow this order when you are moving a facility onto Car Storage Software for the first time:

  1. Import customers first

    Customer records are the foundation. Cars, events, and photos all link back to people.

  2. Import cars second

    Vehicles connect to customers when your spreadsheet includes a matching email, VIN, or plate.

  3. Import historical events third (optional)

    Use the Events tab when you have past service history in a spreadsheet.

  4. Import photo ZIP last (optional)

    Use Photo ZIP when you have folders of photos from a previous system. Photos link best after customers and cars exist.

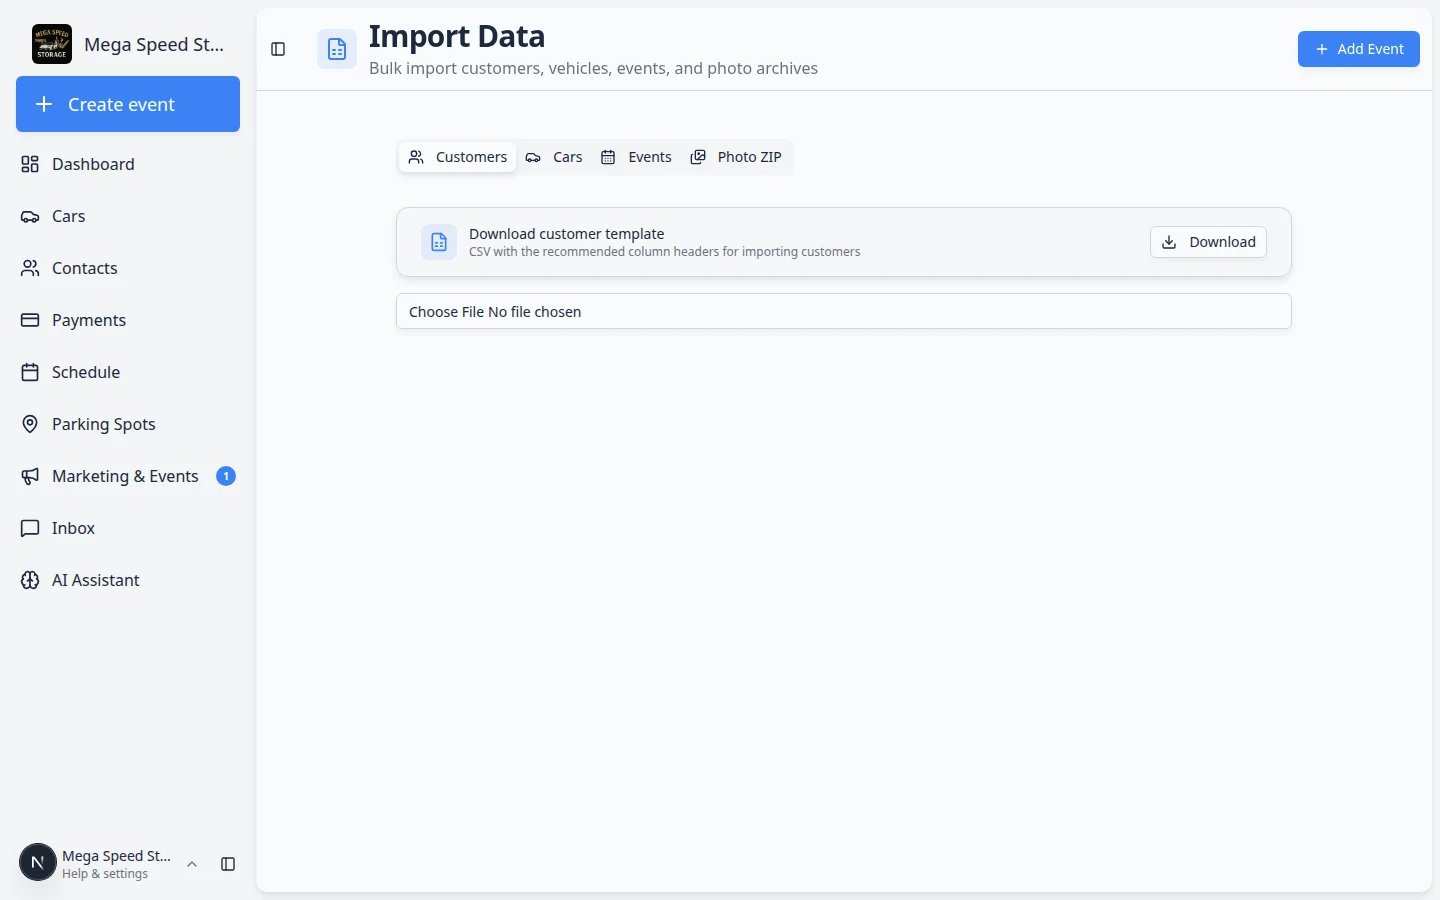
Import Data page showing tabs for Customers and Cars with a customer template download card
The Import Data page lets you import customers first, then cars if you have vehicle records to bring in.

Before you start

  • Open your spreadsheet and make sure each customer is on one row.
  • Use clear column names, such as First Name, Last Name, Email, Phone, Street Address, City, State, and ZIP.
  • Save the file as a CSV, XLS, or XLSX file.
  • If you want cars to connect to customers automatically, include a shared value such as the customer's email address, the car VIN, or the license plate.
  • If possible, import customers before importing cars. Cars need a customer record to connect to.

Step 1: Open the import page

Import lives on its own page—not inside the contacts list. That keeps bulk upload separate from day-to-day customer lookup. After import, open All Contacts to confirm new records appear.

  1. Go to Import Data

    In the left sidebar, open Import Data, or go directly to Import Data.

    If your facility is still onboarding, the setup checklist may also link you here.

    Expected result: You see tabs for Customers, Cars, Events, and other import types your team uses.

  2. Stay on the Customers tab

    The page opens on the Customers tab. Use this tab for names, emails, phone numbers, addresses, tags, and additional contacts.

  3. Download the template if you are not sure what to use

    Click Download on the Download customer template card. The template shows the recommended column names.

Step 2: Upload the customer file

  1. Click the file picker

    Click the file field below the template card.

  2. Choose your spreadsheet

    Select your CSV, XLS, or XLSX file from your computer.

  3. Wait for the row count

    After the file loads, the page shows how many rows were found. This tells you the file was read successfully.

Step 3: Match spreadsheet columns to customer fields

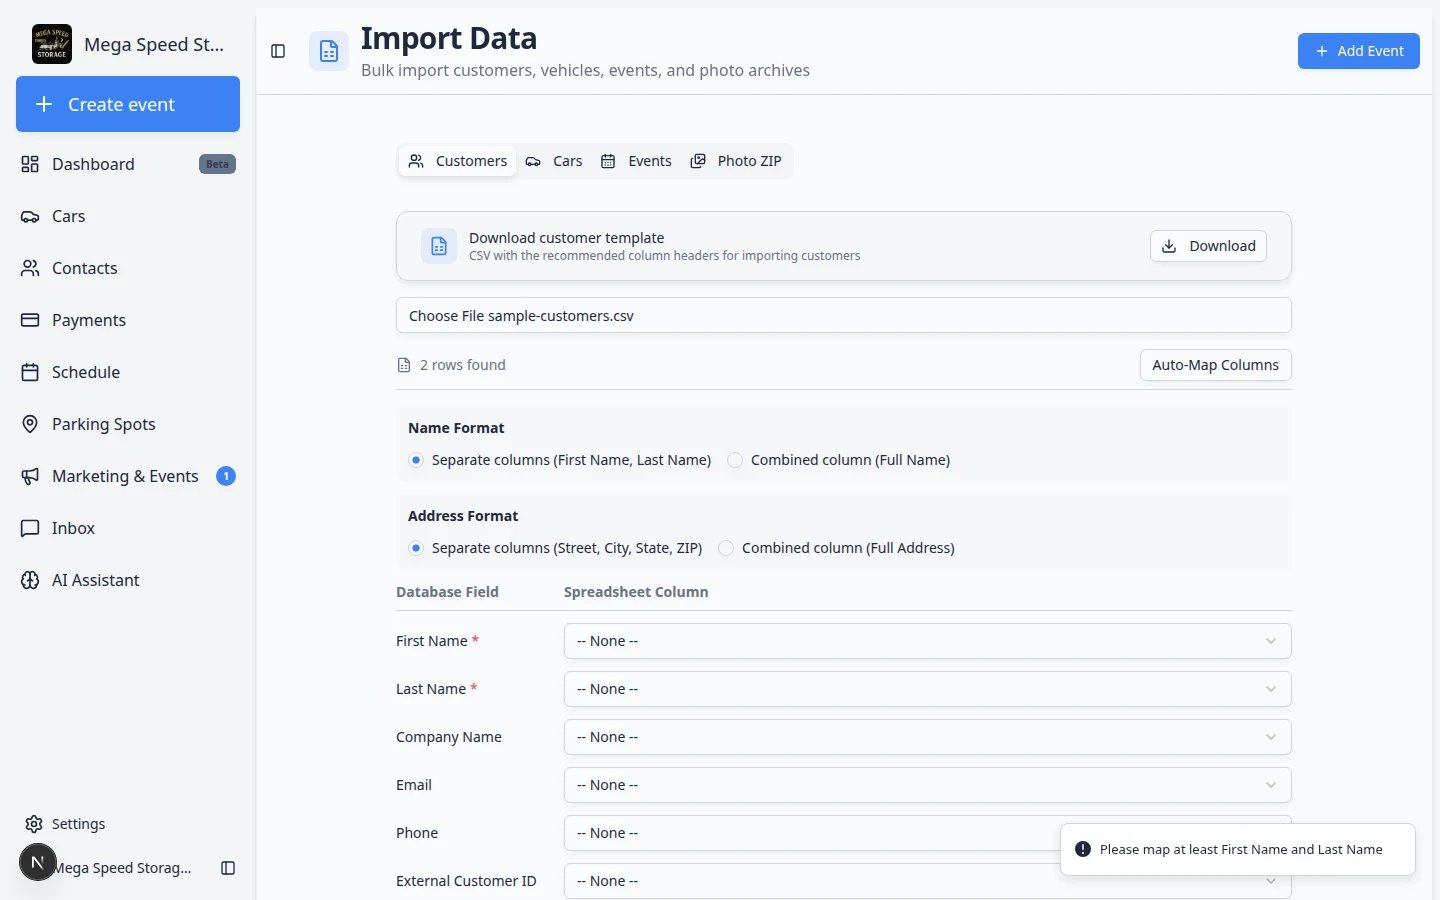
After the file loads, you will see a mapping area. "Mapping" means telling the system which spreadsheet column belongs in each customer field.
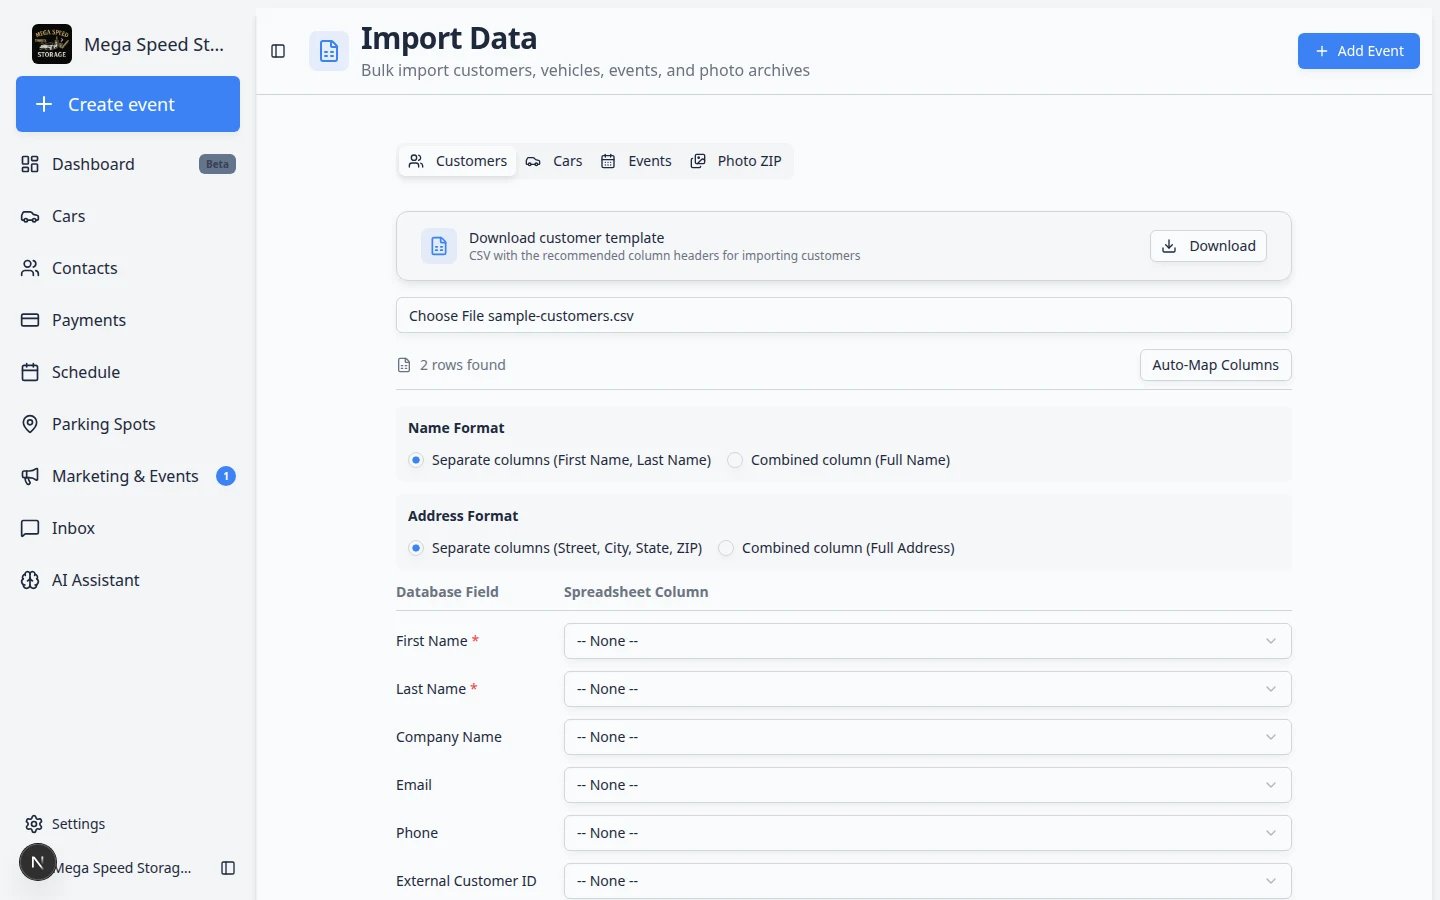
Customer import mapping screen showing name format, address format, database fields, spreadsheet columns, additional contacts, and auto-link car options
The mapping screen lets you review every field before you create customer records. Match each Database field on the left to the correct Spreadsheet column on the right.
  1. Choose the name format

    Select Separate columns (First Name, Last Name) if your spreadsheet has one column for first name and one column for last name.

    Select Combined column (Full Name) if your spreadsheet has one full name column, such as "Alex Morgan".

  2. Choose the address format

    Select Separate columns (Street, City, State, ZIP) if those details are in separate columns.

    Select Combined column (Full Address) if the full address is in one column.

  3. Click Auto-Map Columns

    Click Auto-Map Columns. The system will try to match common column names for you.

  4. Review each row in the mapping list

    Look at each Database Field and the selected Spreadsheet Column beside it.

    If a match is wrong, open the dropdown and choose the correct column. If you do not want to import a field, choose -- None --.

  5. Map additional contacts if needed

    If each customer has an assistant, spouse, bookkeeper, or other related person in the spreadsheet, use Additional Contacts (optional).

    Click Add Contact, then map the contact's name, email, and phone columns.

  6. Use Auto-Link Car only when you have a reliable match

    Use Auto-Link Car if your customer file includes a VIN or license plate that already exists in your car records.

    This helps the system connect imported customers to existing cars automatically.

Step 4: Review before importing

  1. Click Review Import

    Click Review Import at the bottom of the mapping screen.

  2. Look for missing required information

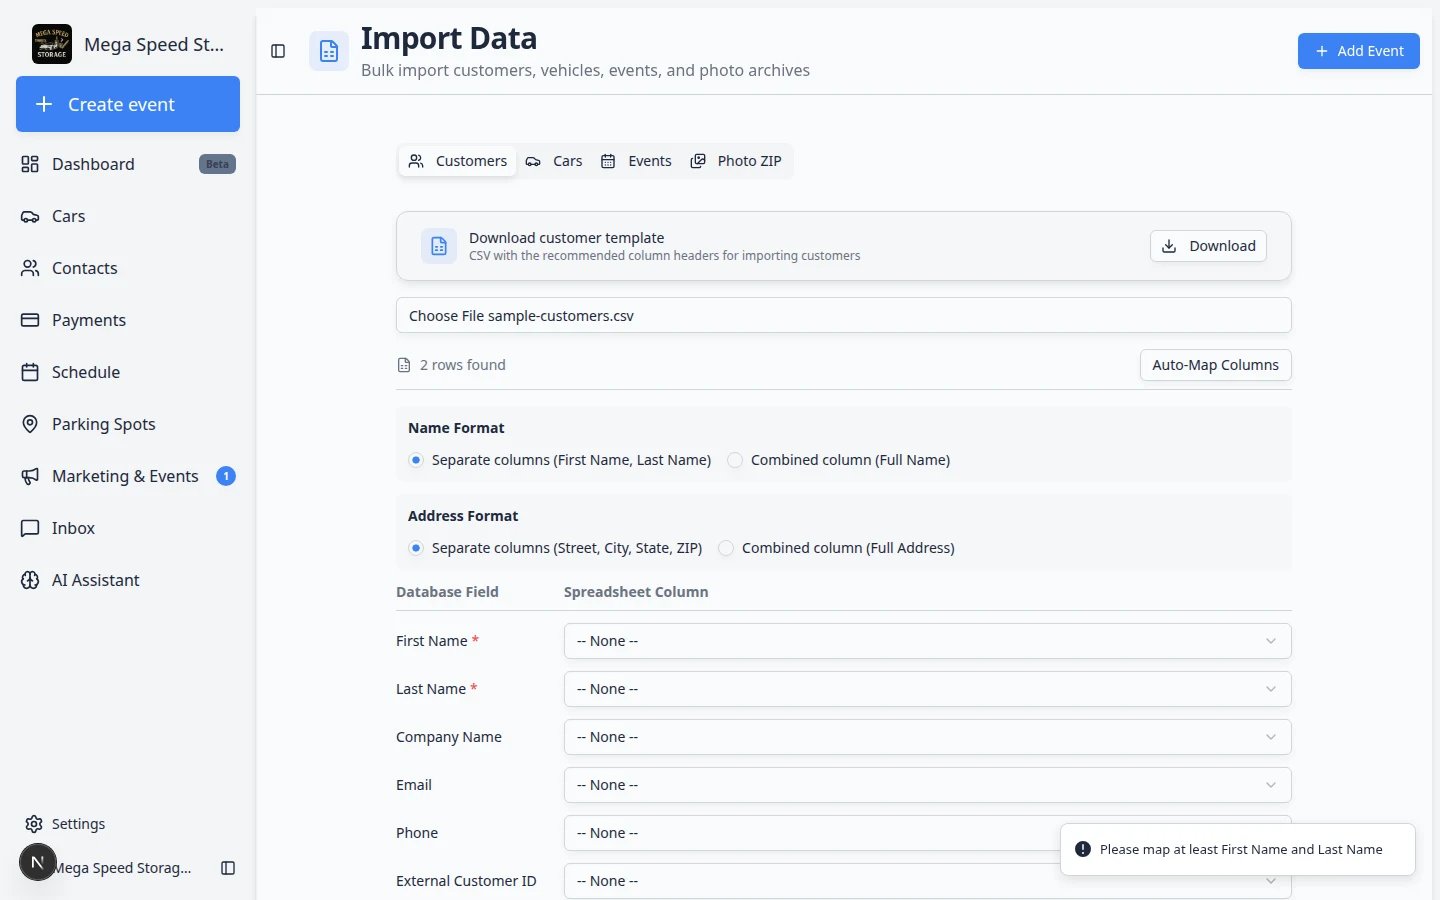
    Every customer needs a first name and last name. If either one is missing, go back and fix the mapping or update the spreadsheet.

  3. Check for duplicates

    Review any customers that look like they may already exist. Duplicate records make billing, cars, documents, and portal access harder to manage.

  4. Confirm the import

    When the preview looks correct, confirm the import. The system creates the customer records.

Customer import review screen showing a preview of rows before records are created
Review Import shows a preview so you can catch missing names, wrong columns, or possible duplicates before you create records.

Step 5: Import cars after customers

If you also have a vehicle spreadsheet, return to Import Data and choose the Cars tab.
Import Data page with the Cars tab selected showing the car import template and file upload area
After customers are in the system, use the Cars tab to bring in vehicle records and connect them to the right owners.
  • Include vehicle details such as make, model, year, VIN, color, license plate, and declared value if you have them.
  • Include Customer Email when possible. This helps match each car to the correct customer.
  • After the car import, spot check a few customer records to confirm their cars appear in the Customer's Cars section.

Step 6: Import historical events (optional)

Use the Events tab when your old system exported past visits—intakes, detail sessions, transport runs, or other activity you want in customer history.

  1. Open Import Data and choose Events

    Go to Import Data and click the Events tab.

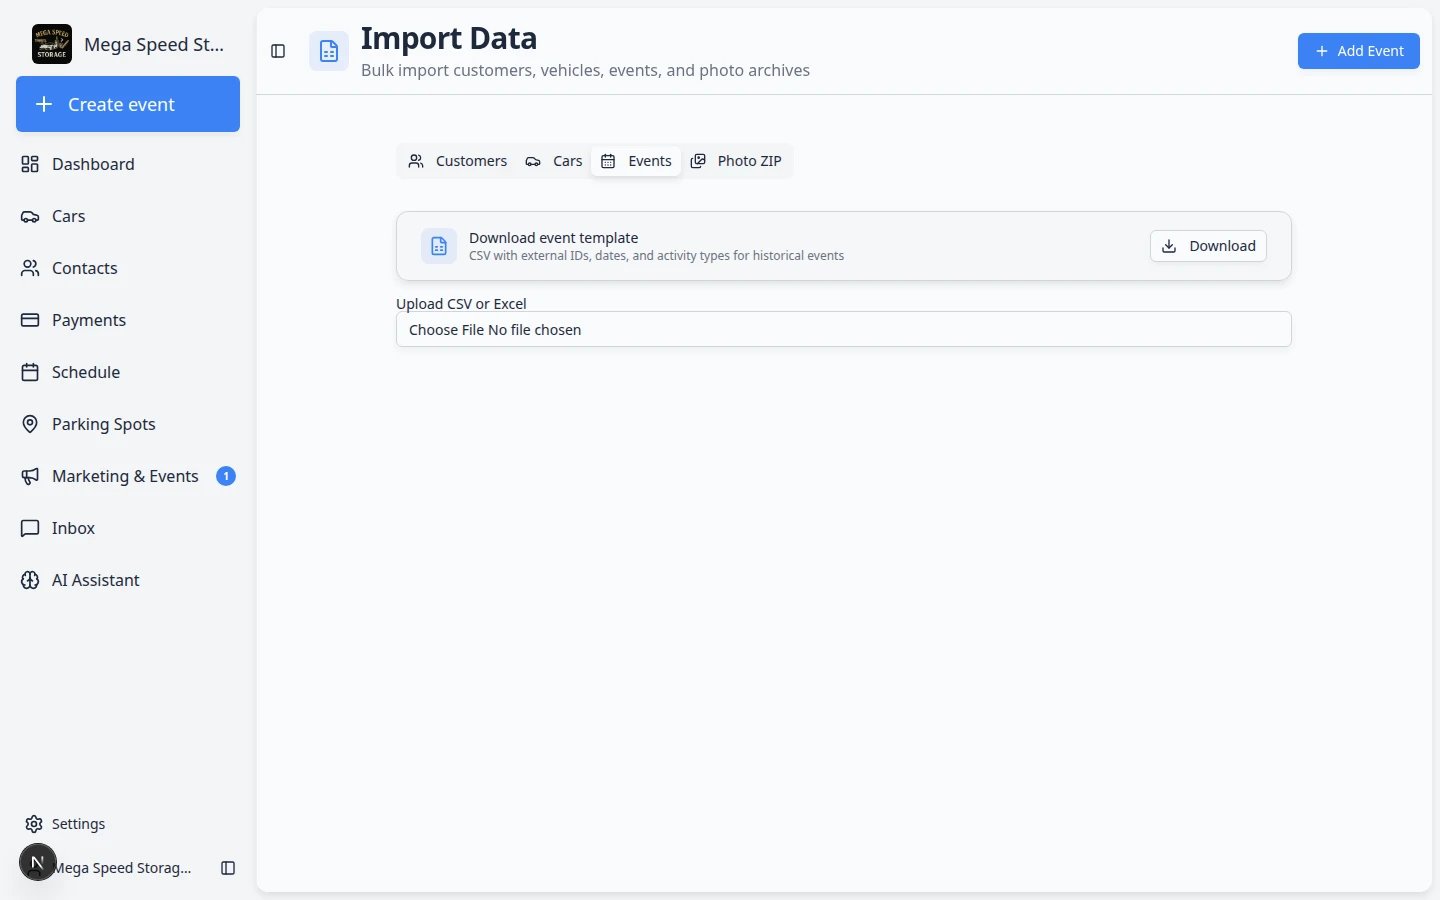
    Expected result: You see Download event template and an upload area for CSV or Excel files.

  2. Download the event template

    Click Download on the template card if you are building a file from scratch.

    The template includes columns such as External Event ID, Composite Car ID, Customer Email, VIN, Event Date, Activity Type, Title, Notes, and Mileage.

  3. Upload your event spreadsheet

    Click the file field and choose your CSV, XLS, or XLSX file.

    Expected result: The page shows how many rows were found and a mapping table appears.

  4. Map spreadsheet columns to event fields

    Review each Field row and choose the matching Spreadsheet Column.

    Click Auto-Map Columns if your headers are close to the template names.

    Why this matters: At least one identifier should connect each row to a customer or car—such as Customer Email, VIN, Composite Car ID (for example 0003.001), or External Customer ID / External Car ID from your old system.

  5. Click Review Import

    Click Review Import at the bottom of the mapping area.

    Expected result: You move to the import preview page where you can confirm each row before records are created.

  6. Confirm the import on the preview page
    Read each row on the preview screen. Skip or fix rows that do not match a customer or car in your system.

    When the preview looks correct, confirm the import.

    Expected result: Historical events appear on customer activity timelines and on vehicle history where they belong.

Import Data page with Events tab selected showing download event template card and upload area
The **Events** tab is for spreadsheet history—not for scheduling future work. Use [Schedule](/dashboard/schedule) for upcoming appointments.

Step 7: Import event photos from a ZIP file (optional)

Use Photo ZIP when you have folders of photos from a previous system—inspection pictures, intake photos, or event images stored on a hard drive.

  1. Open Import Data and choose Photo ZIP

    Go to Import Data and click the Photo ZIP tab.

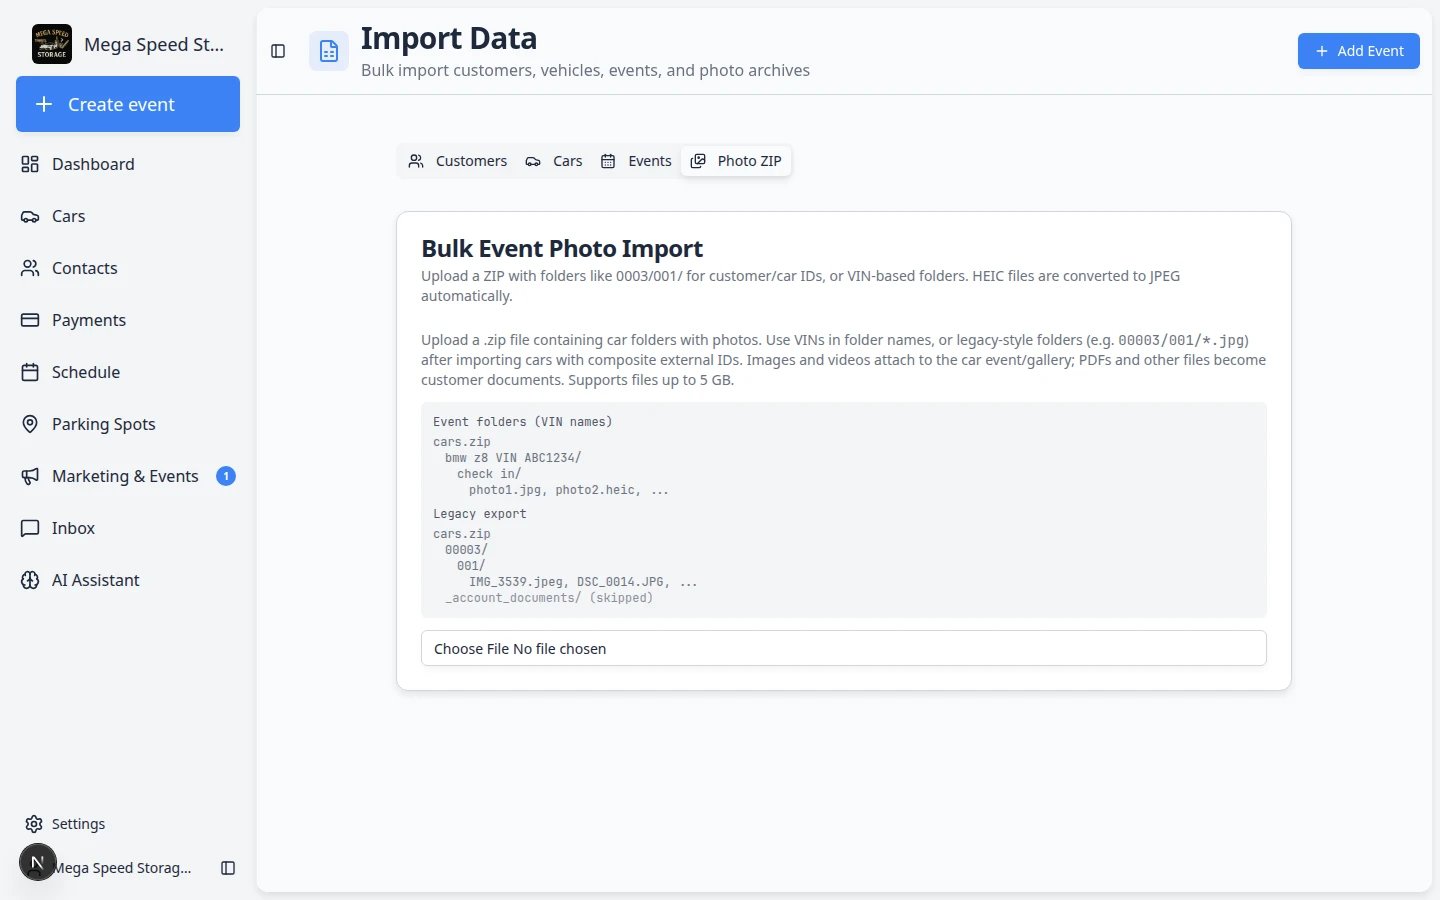
    Expected result: You see Bulk Event Photo Import with instructions about folder structure.

  2. Prepare your ZIP folder structure

    Organize photos in folders before you zip them. Common patterns:

    • Legacy IDs: folders like 0003/001/ where numbers match external customer and car IDs from your old system.
    • VIN folders: a folder named with the vehicle VIN, with event subfolders inside.

    Why this matters: The importer uses folder names to guess which customer and car each photo belongs to.

  3. Zip the folders and upload

    Create one .zip file containing your folder structure. Click Upload (or choose the file) on the Photo ZIP tab.

    Expected result: The file uploads and the system analyzes the folder structure. This step can take a few minutes for large archives.

  4. Review matched cars and events

    After parsing finishes, review which folders matched vehicles in your facility.

    Fix any folders that did not match by linking them to the correct car before you start the import.

    Expected result: You see how many cars and photos were found before anything is created.

  5. Confirm and run the import

    When matches look correct, confirm the import. The system creates events and attaches photos.

    Expected result: Photos appear on the correct vehicle records and in customer activity history.

Import Data Photo ZIP tab showing Bulk Event Photo Import card with folder structure instructions and upload button
**Photo ZIP** imports many photos at once. HEIC files from iPhones are converted to JPEG automatically during import.

What happens next

After customers are imported, go to All Contacts and search for a few names from your spreadsheet.

Then open one customer record and confirm:

  • The name, email, phone, and address look right.
  • Tags were imported cleanly and are not duplicated.
  • Cars are linked to the correct customer.
  • Additional contacts, if imported, appear in the Contacts section.
  • Historical events, if imported, appear in customer activity.
  • Imported photos, if used, appear on the correct vehicle records.

Troubleshooting