

What you will accomplish
You will open the Customer Report, read the columns your team cares about (cars, portal sign-in, payment setup, monthly recurring charges), and export a spreadsheet when you need to share data outside the app. Use this guide when a manager asks questions like:- Who still needs to sign in to the portal?
- Which customers do not have a payment method on file?
- How much monthly recurring revenue is tied to each customer?
- Can I get a list of every customer with their cars and contact details?
Report vs All Contacts listUse All Contacts for day-to-day lookups, portal invites, and opening one customer. Use Report when you need many rows, extra billing columns, sorting, or a spreadsheet export.
Before you start
- You can open Contacts in the dashboard (any team member with customer access can use the report).
- Know what question you are trying to answer—for example portal sign-in status, payment method, or monthly recurring totals.
- Optional: payment processing is connected in Settings > Billing if you need In Stripe, Payment Method, or Monthly Recurring columns.
Open the Customer Report
1
Go to All Contacts
In the left sidebar, click Contacts, then All Contacts. You can also open All Contacts directly.Expected result: You see your customer list with the search bar and action buttons near the top.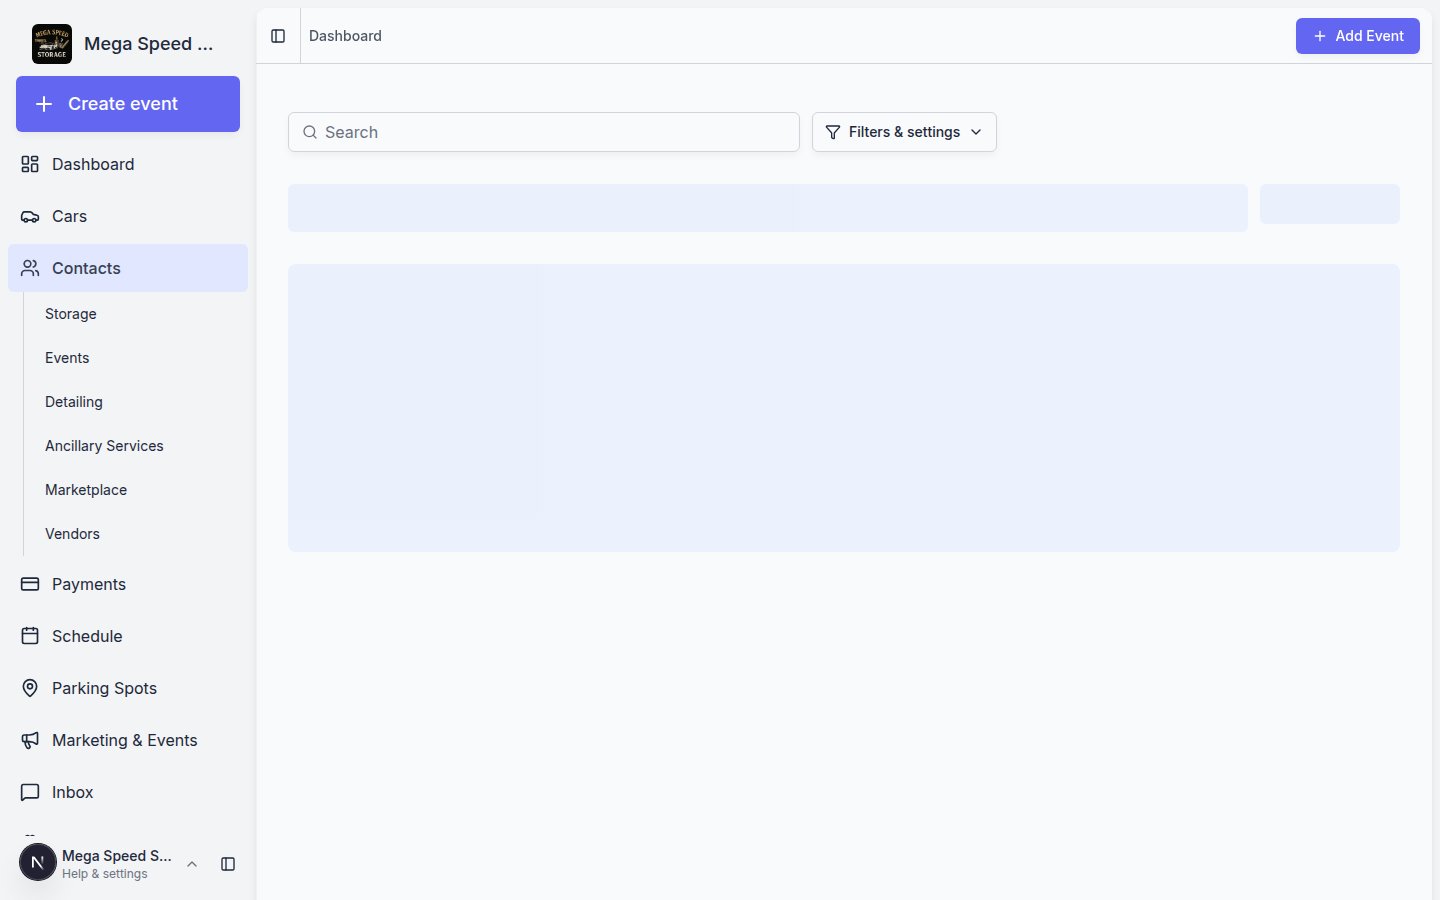
2
Click Report
In the top-right area of the page (near Create New Customer), click Report.Why this matters: The report is built for reviewing and exporting many customers at once. The main contacts list is better for day-to-day lookups and sending portal invites.
3
Wait for the table to load
The page title says Customer Report. A table appears with one row per customer.Expected result: You see how many records were found (for example, “12 records found”) above the table. That count includes every active customer unless you filtered the main contacts list before opening Report.
Understand the main columns
The report starts with a practical set of columns. You can show or hide more using the Columns button (see the next section).Sort and choose columns
Sorting helps you answer questions like “Who owes the most in monthly recurring?” or “Which customers still need to sign in?”1
Sort by a column
Click a column heading that shows a sort icon (for example Last Name or Monthly Recurring). Click again to reverse the order.Expected result: Rows reorder so you can scan the top or bottom of the list—for example, customers with the highest monthly recurring total.
2
Open Columns
Click Columns above the table on the right side.Expected result: A menu lists every available column with checkboxes. Checked columns appear in the table.
3
Show billing or portal columns
Turn on columns such as Portal Access, In Stripe, Default Payment Method, or Payment Method when you are preparing a billing or onboarding review.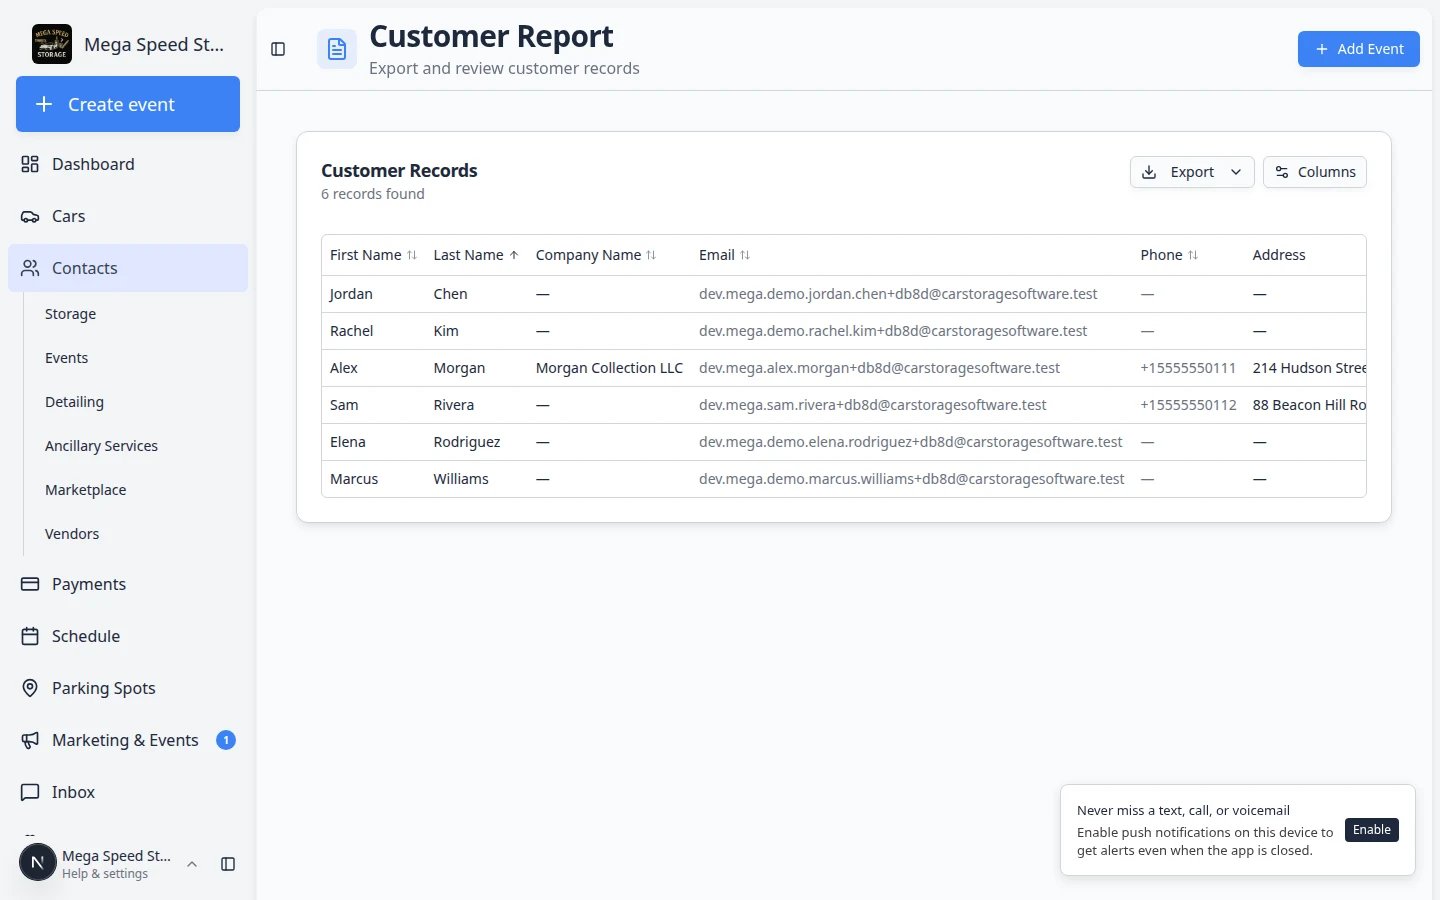
Export to CSV
When you need to email a list to ownership, share with bookkeeping, or work in Excel or Google Sheets:1
Set up the columns you want
Use Columns so only the fields you need are visible. The export includes the columns currently shown in the table.Why this matters: If you forget to turn on Payment Method before exporting, that column will be missing from the spreadsheet.
2
Click Export
Click Export above the table, then choose Export as CSV.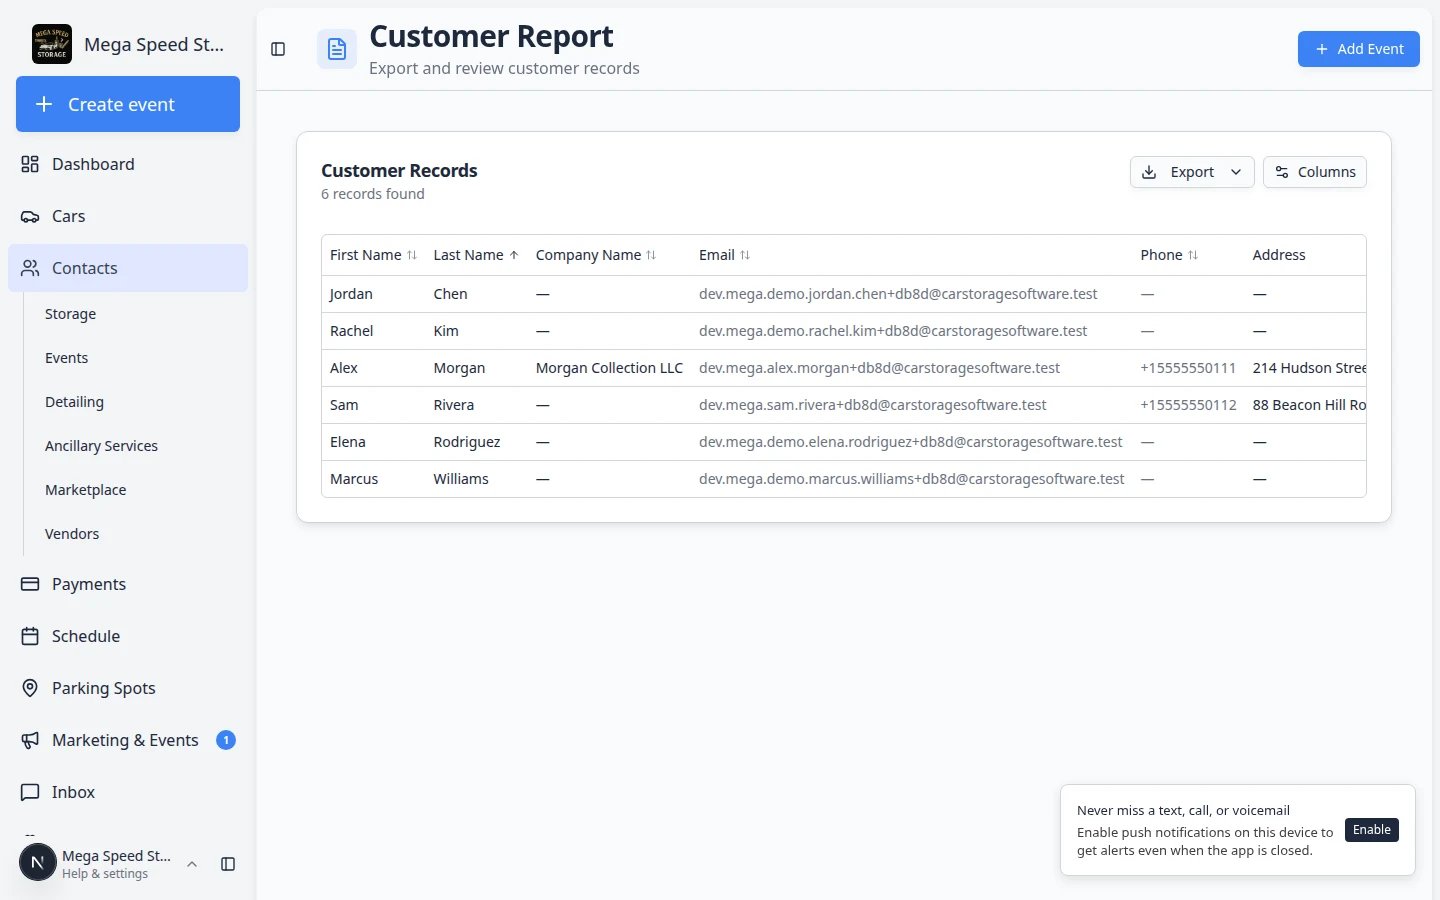
3
Open the file
Your browser downloads a
.csv file. Open it in Excel, Google Sheets, or another spreadsheet app.Expected result: Each row is one customer. Each column matches what you had visible in the report. If a column was hidden before export, it will not appear in the file—open Columns and try again if something is missing.Common ways teams use the report
- Portal onboarding — Sort or scan by Account Status to find customers who have not signed in yet. Pair with Invite a customer to the portal.
- Payment readiness — Show In Stripe and Payment Method before month-end billing. Pair with Manage billing on a customer record.
- Revenue review — Sort by Monthly Recurring for a quick picture of storage and service subscriptions per customer.
- Ownership review — Export with name, email, cars, and city for a monthly snapshot.
- Ticket-only vs Full customers — Enable Portal Access when your manager wants to see who has limited event access versus full storage portal access.
Troubleshooting
What to do next
- Customers missing portal sign-in? Follow Invite a customer to the portal.
- Need payment methods on file? Read Manage billing on a customer record.
- Want to change who appears on All Contacts? Use Find and filter contacts for daily list work.