

What you will accomplish
Use this guide after you have already created a campaign record from Create a campaign. When you finish, your campaign will have:- A clear message customers will see (subject line, email body, text, or push text)
- The right audience selected so the message goes to the intended customers
- A send date and time your team agrees on
- A published or scheduled status your team can track on the calendar
Why this step mattersCreating the campaign record is only the first step. Customers do not receive anything until the message, audience, and publish steps are complete and correct.
When to use this guide
- You already created a campaign and landed on its detail page.
- You need to write or edit the customer-facing message before anyone receives it.
- You need to choose which customers receive the campaign.
- You are ready to schedule a send time or publish the campaign.
Before you start
- You already clicked Create Campaign and landed on the campaign detail page.
- You know what you want to say and who should receive the message.
- If you plan to send texts, confirm text messaging is ready in Settings > Communications.
- Ask a teammate to review the message before you publish if your facility requires a second set of eyes.
- For email, add your logo and a facility photo in Marketing Assets first so the email can use your pictures. See Organize your marketing photos and files.
Open your campaign setup wizard
After you create a campaign, Car Storage Software opens a setup wizard that walks you through four steps in order:- Design — write what customers will see
- Audience — choose who receives the message
- Schedule — pick the send date and time
- Review — confirm everything, then start the campaign
1
Go to Marketing & Events
Open Marketing & Events from the left sidebar.
2
Find your campaign
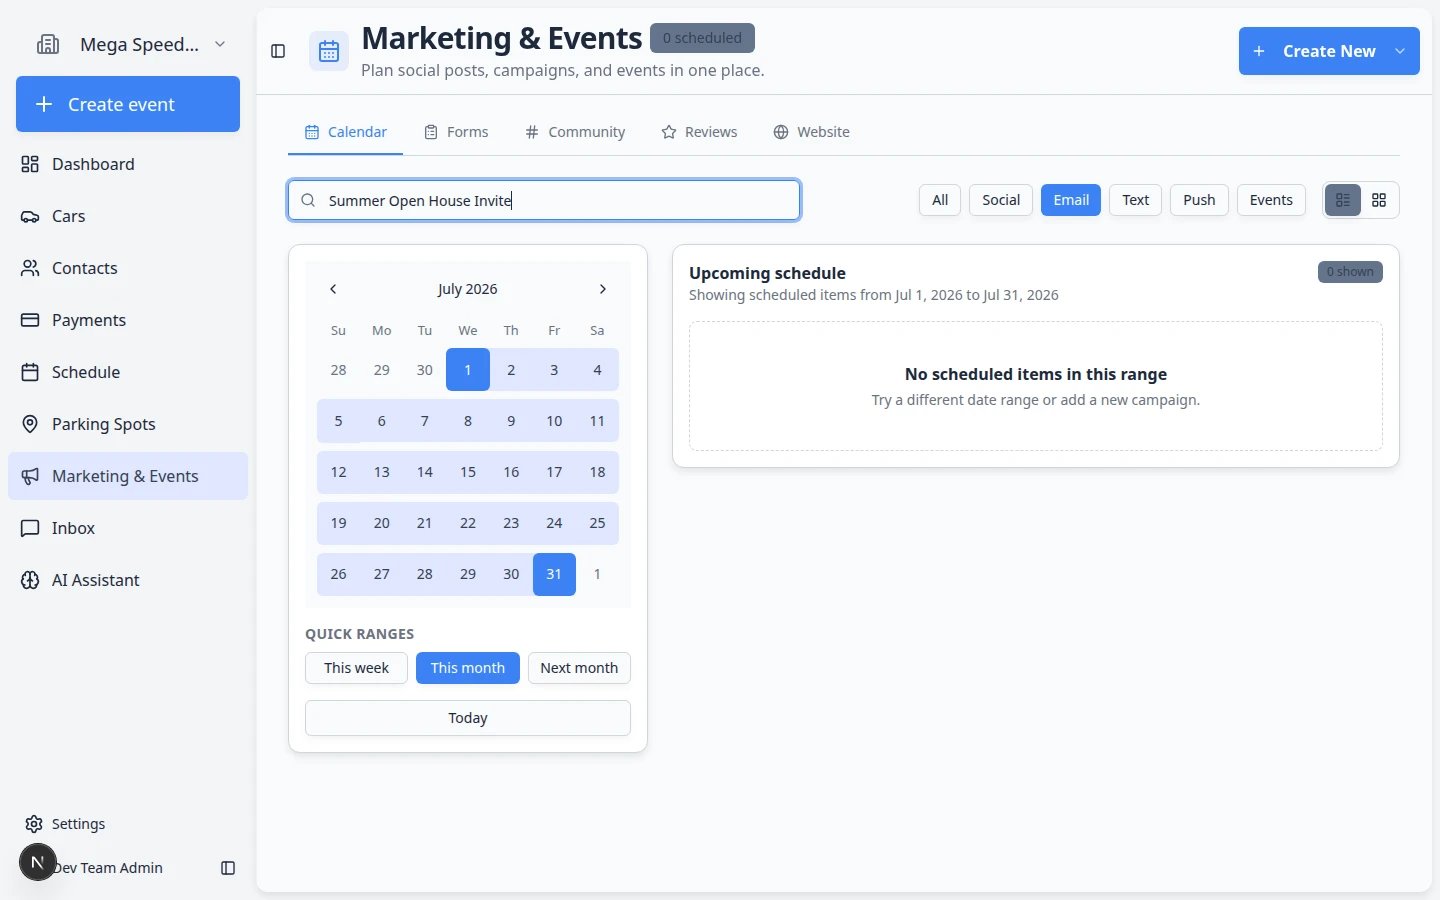
In Upcoming schedule, click your campaign row (for example June Open House Invitation). You can also click its day on the calendar.Expected result: The setup wizard opens. You see step pills across the top—Design, Audience, Schedule, and Review—and the page title matches the step you are on (for example Design with the note “Write the email people will get.”).
3
Use Exit if you need to come back later
Click Exit in the top-left corner to return to the calendar without losing your draft. Open the campaign again from Upcoming schedule to continue where you left off.Why this matters: Customers still do not receive anything until you finish all four steps and click Start campaign on the Review step.
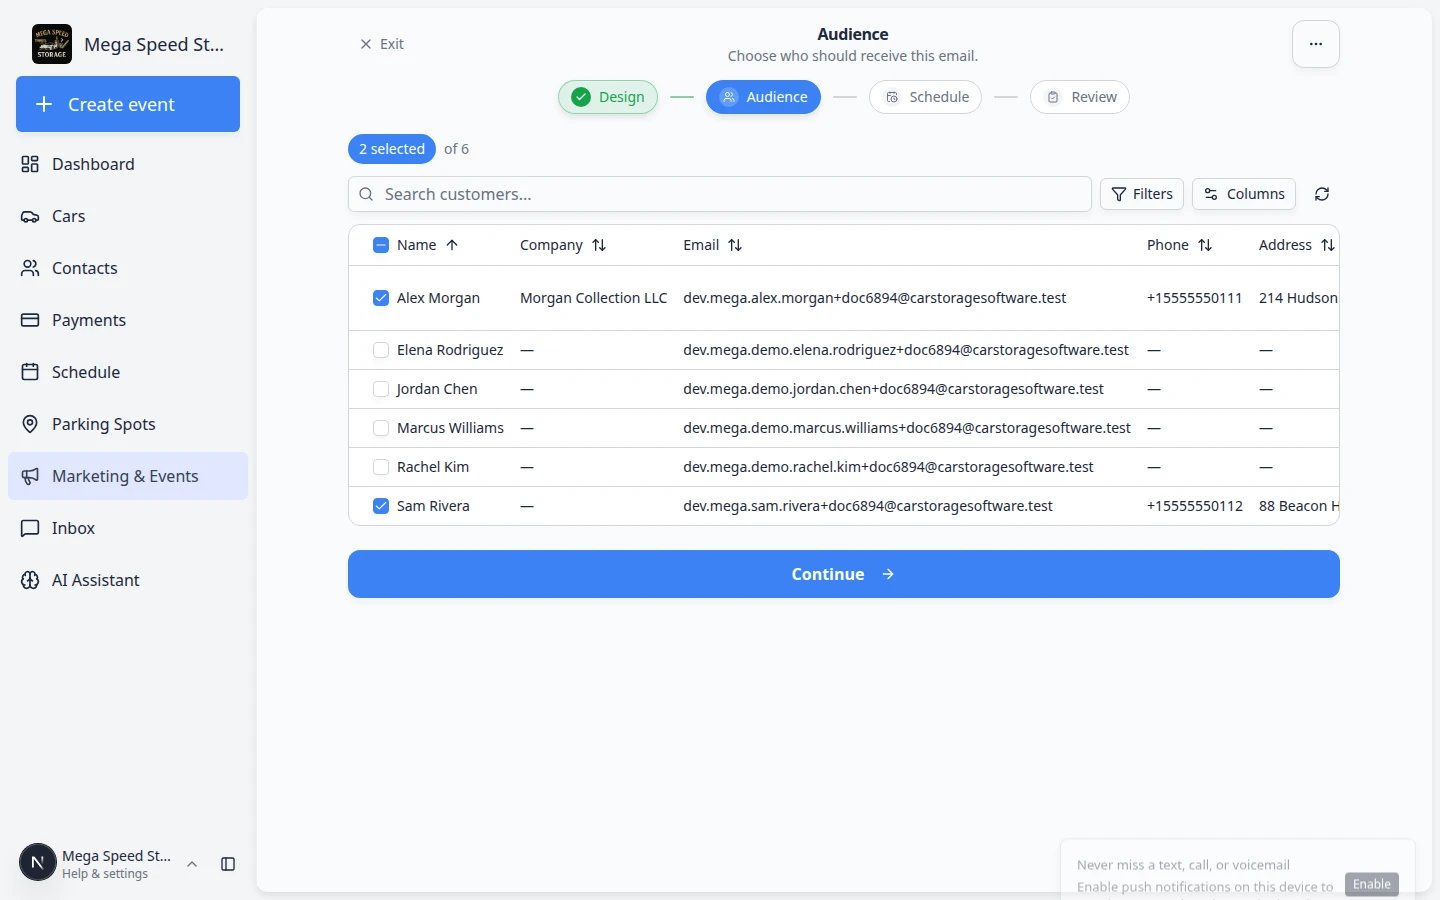
Step 1: Design — write the customer-facing message
The first wizard step shows a preview of what customers will receive. The channel label matches what you picked: Email, SMS, Push, or Social.1
Review the preview
On the Design step, read the preview area in the middle of the page.
- Email: you see the subject line and body preview with Desktop and Mobile tabs.
- SMS or push: you see the short text (and title for push) exactly as it will appear on a phone.
2
Click Design Email (or Design SMS / Design Push)
Click the large button at the bottom—for example Design Email.Expected result: A full editor opens where you write the subject and body (email), the text (SMS), or the title and message (push).
3
Add the message details
Fill in the fields your team needs:
- Email: add a Subject and the body text (or designed email content). Use the Desktop and Mobile preview tabs to see how the message looks on different screens.
- SMS: add the short text customers will receive on their phone. Keep it under about 160 characters when you can so it stays in one text bubble.
- Push: add the notification title and message shown in your facility’s mobile app. Customers must have the app installed and notifications turned on.
4
Save and return to the wizard
Save your work in the editor and return to the campaign setup wizard.Expected result: The Design step preview shows your subject and message. The Design step pill gets a green checkmark when content is ready.
5
Click Continue
After the preview looks correct, click Continue at the bottom of the page (or click the Audience step pill when it becomes clickable).Expected result: The wizard moves to Audience.
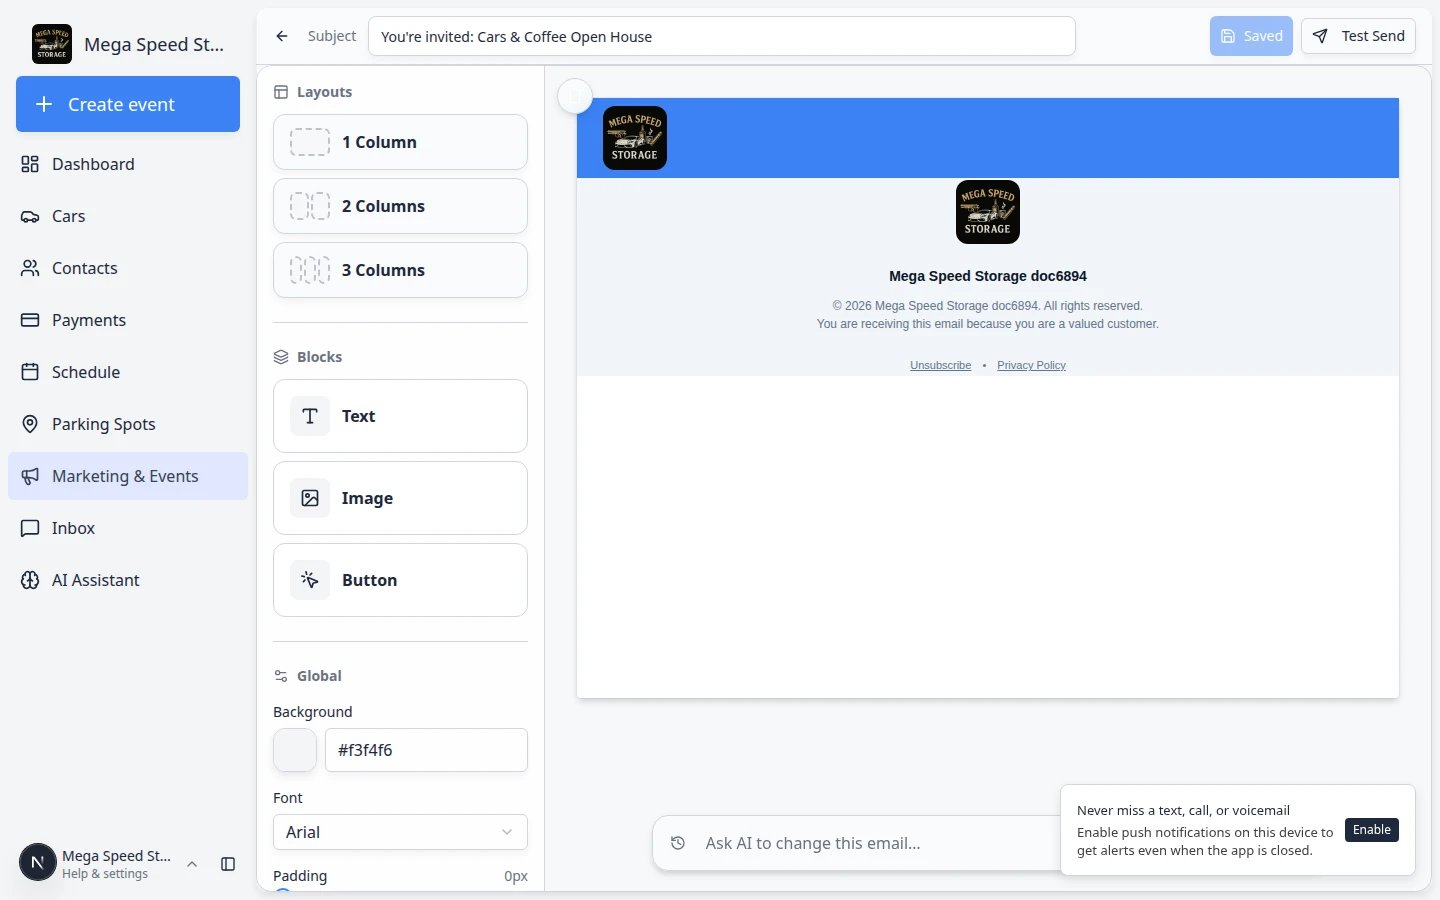
Let AI design the email
The email editor has an Ask AI box at the bottom of the canvas. Describe the email you want in plain words, and the AI builds a complete, on-brand design you can then edit like any other email.1
Describe the email
Type what you need, including anything specific: the occasion, the date, the photo you want, and the button. Long requests are fine—the box grows as you type. Press Enter to send (Shift+Enter adds a new line).Example: “Generate me an email for a Cars and Coffee car meetup for this Saturday, and find a cool image of a Ferrari F40 to use as our hero image. I also want an ‘RSVP Now’ button that will link out to an event.”
2
Watch the progress list
While the AI works (usually 30–60 seconds), a list above the box shows each step: understanding your request, finding and checking photos, looking up your upcoming events, composing the email, and reviewing it. A reviewer checks the design against your request and sends it back for another pass if something is missing.Expected result: The new email appears between your branded header and footer, and the Subject and Preview text are filled in.
3
Review and adjust
Click any block to edit it, or ask for changes in the same box—for example, “Make the closing section shorter” or “Add a quote from a member.” Use the history button next to the box to go back to an earlier version.
- Photos come from license-cleared public photo libraries and are checked to make sure they show what you asked for. A small photo credit line is added at the bottom of the email, as the photo licenses require.
- Event links: if the email is about one of your social events, the AI links buttons to that event’s page and uses its real date, time, and location. Create the event first for the best result.
- If the AI does not know where a button should go, it shows a warning and leaves the link for you to add. Click the button in the canvas and fill in Link URL before you send.
Unsubscribe and privacy links in the email footer
Every marketing campaign email includes a working Unsubscribe link and a Privacy Policy link in the footer. You do not need to add or edit these links.- Unsubscribe link: Car Storage Software personalizes the link for each recipient when the email is sent. The link stays in the footer of the branded email template, so leave it in place when you edit the footer.
- Privacy Policy link: points to the privacy policy page at
/legal/privacy. - Custom HTML: if your email content has no unsubscribe link (for example, you pasted your own HTML or deleted the footer), Car Storage Software adds a short unsubscribe footer to the bottom of the email automatically.
- Inbox Unsubscribe button: each campaign email also carries a one-click
List-Unsubscribeheader. Gmail, Yahoo, and other mailbox providers use it to show their own Unsubscribe button next to the sender name.
SMS and push campaigns
If you created an SMS or Push campaign instead of email, click Design SMS or Design Push on the Design step. There is no subject line—only the short text (and title for push) that customers see on their phone.- SMS: Keep it under about 160 characters when possible. Include the key detail (date, time, link) near the start.
- Push: Add a clear title and one sentence. Customers must have your facility app installed and notifications turned on.
- Both: The Audience, Schedule, and Review steps work the same as for email.
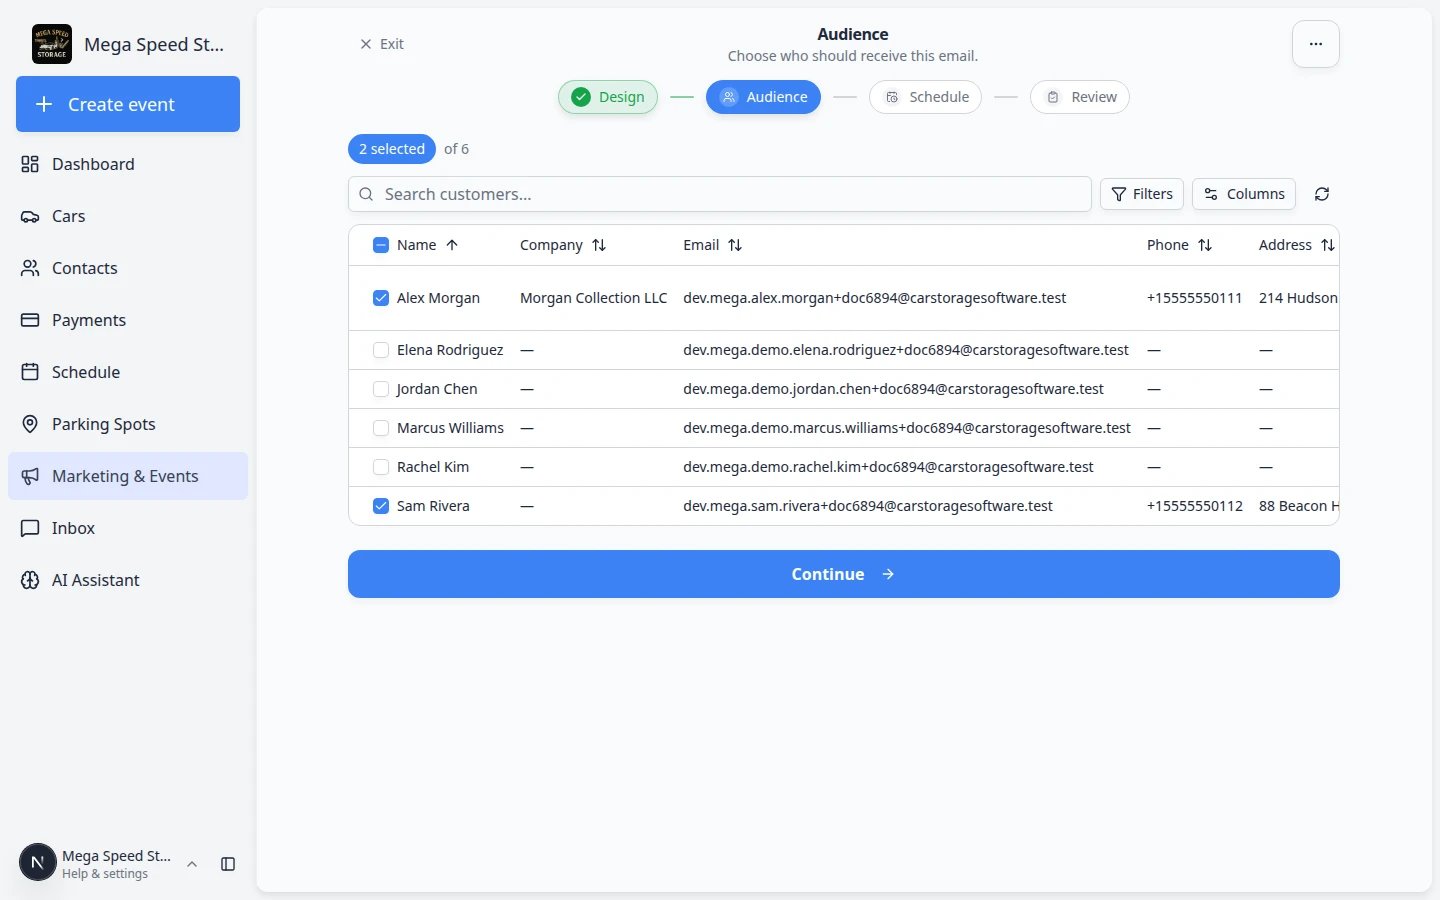
Step 2: Audience — choose who receives the campaign
On the Audience step, you pick exactly which customers should receive this message.1
Open the Audience step
Click Continue from Design, or click the Audience step pill at the top when it is available.Expected result: You see a searchable customer list with checkboxes. Near the top, a counter shows how many people are selected—for example 2 selected of 6.
2
Search for customers
Use the search box to find a customer by name, email, or phone number.
3
Check the right people
Check the box next to each customer who should receive this campaign. Uncheck anyone who should not receive it.Why this matters: Starting the campaign without the right audience can send a storage reminder to event-only guests, or miss the people you meant to reach.
4
Confirm the recipient count
Read the selected of counter before you continue. If it shows 0 selected, customers will not receive the message.Expected result: The number matches the group you intend to reach (for example storage customers only).
5
Click Continue
Click Continue at the bottom when the audience looks correct.Expected result: The wizard moves to Schedule.
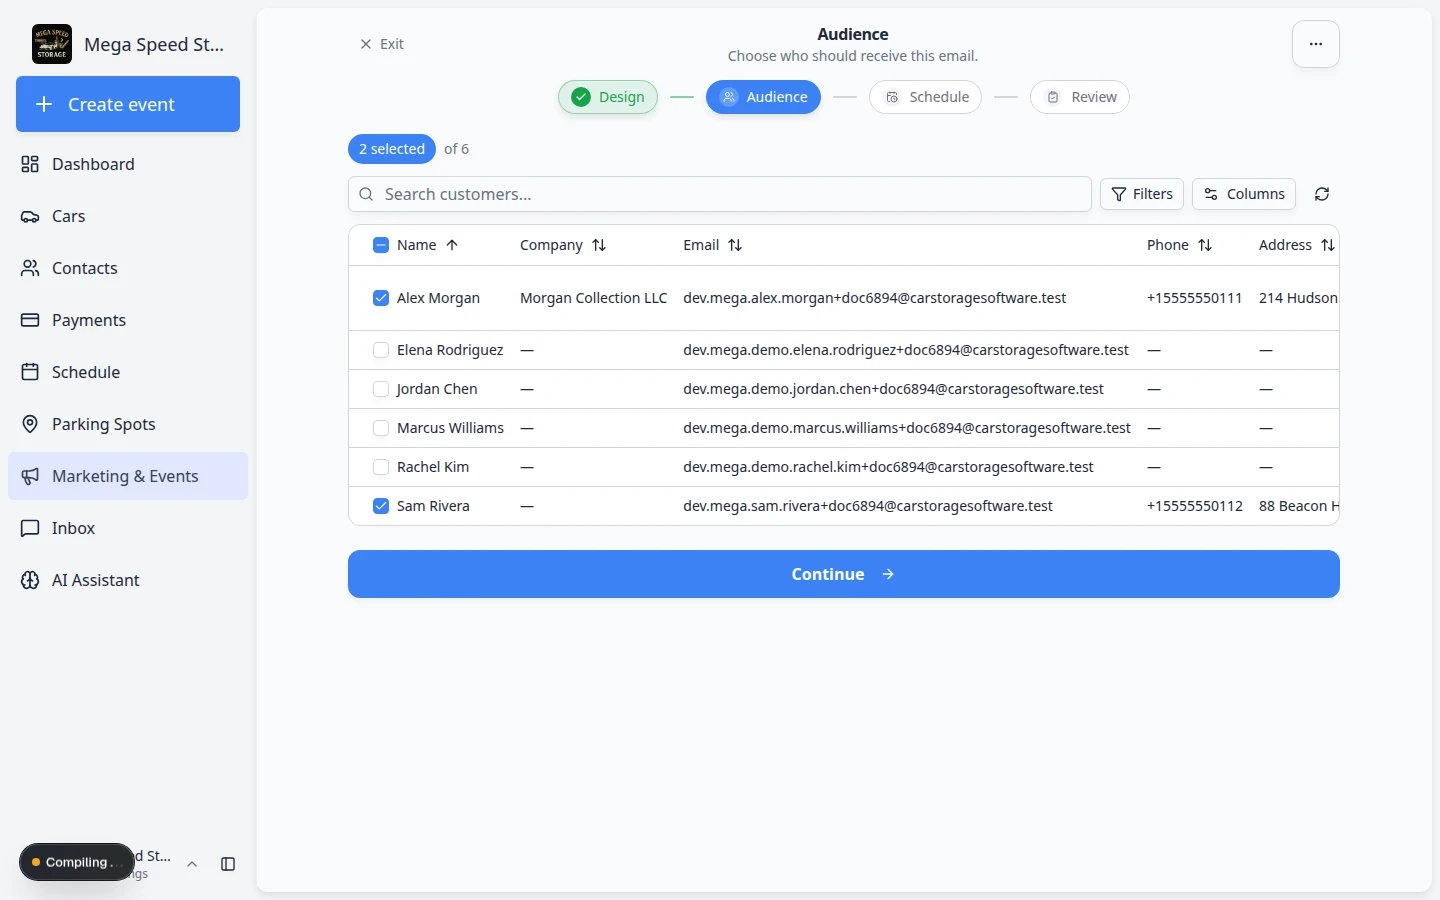
Step 3: Schedule — set when the message goes out
1
Open the Schedule step
Click Continue from Audience, or click the Schedule step pill.Expected result: You see Send date and Send time fields with a short note such as “Will send Tuesday, Sep 15, 2026 at 9:00 AM.”
2
Pick a send date
Click the Send date field and choose the day customers should receive the message.
3
Pick a send time
Set the hour, minute, and AM or PM. Double-check morning vs. evening—this is a common mistake.Why this matters: Scheduling lets you write reminders during the day but send them the morning of your event.
4
Read the preview line
Confirm the line below the fields shows the date and time you expect in your facility’s time zone (Settings > General).Expected result: The preview matches what you intend—for example Will send Tuesday, Sep 15, 2026 at 9:00 AM.
5
Click Continue
Click Continue at the bottom when the schedule looks correct.Expected result: The wizard moves to Review.
Step 4: Review — start the campaign
The Review step shows a summary before anything goes out to customers. Before you click Start campaign, walk through this safety checklist with a teammate when the message goes to more than a handful of customers.- The Subject and body have no placeholder text (for example “TBD” or “INSERT DATE”).
- The Recipients count matches the group you intend—storage customers only, event invitees only, and so on.
- Links in the message open correctly when you click them from the preview.
- The send date and time are in the future and match your facility time zone in Settings > General.
- For texts, the message is short enough to read on a phone screen without scrolling.
1
Read the summary cards
On Review, confirm:
- Recipients shows the right number (not zero)
- Channel matches what you picked (Email, SMS, Push, or Social)
- Send time shows the date and time you chose on the Schedule step
2
Review the preview one last time
Scroll to the Preview section and read the message as a customer would see it.
3
Click Start campaign
Click Start campaign at the bottom. The button may show the recipient count—for example Start campaign (2).Expected result: The campaign is queued to send at the scheduled time. It appears on the Marketing & Events calendar on that day with a status such as scheduled or active (wording may vary by channel).
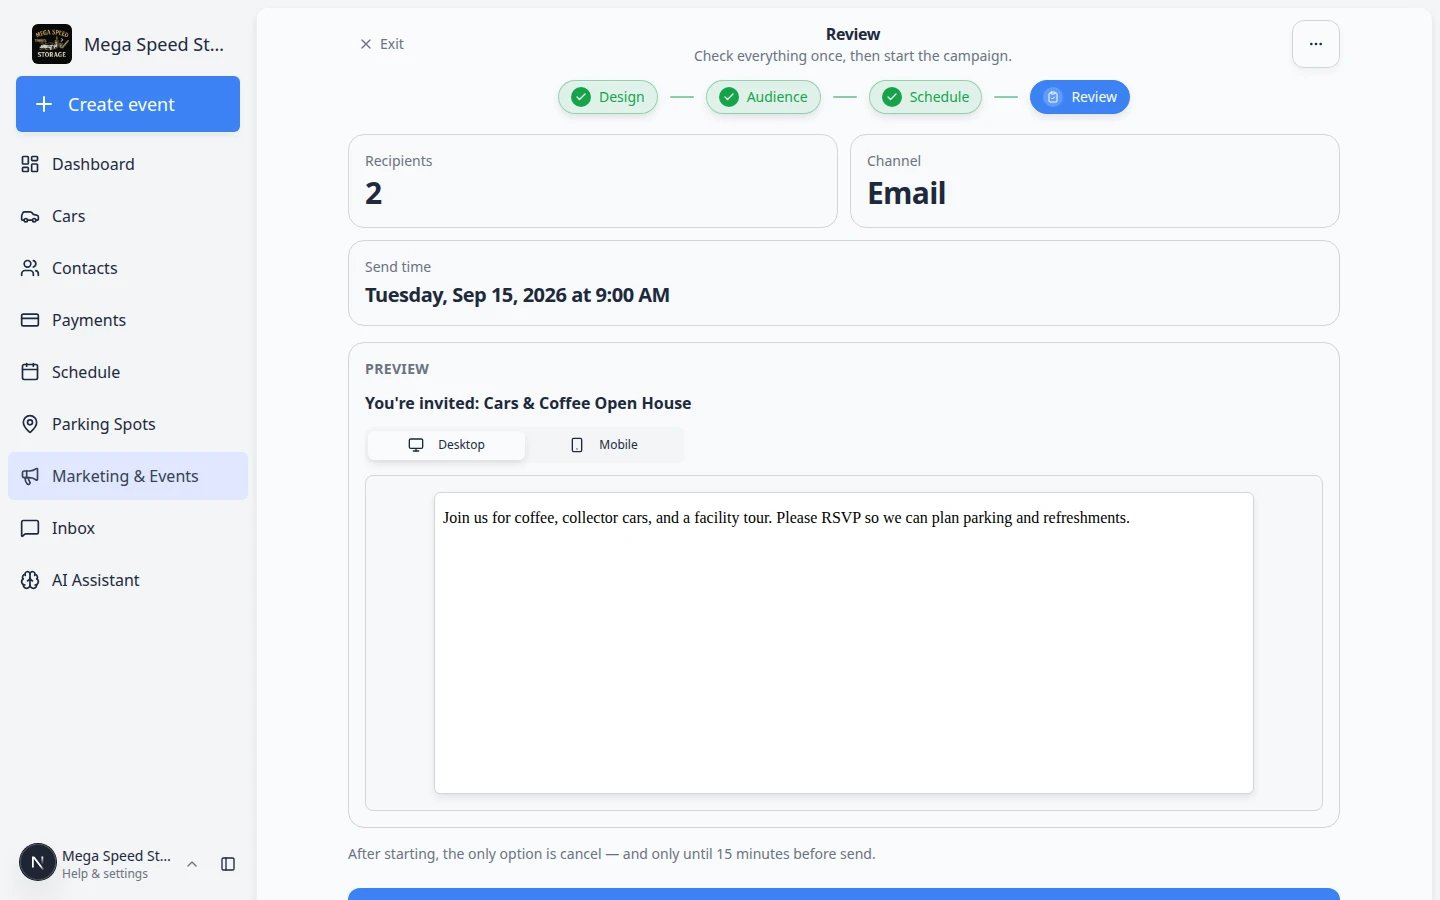
15-minute cancel windowAfter starting, the only option is cancel—and only until 15 minutes before the scheduled send time. Plan your review accordingly.
After you start the campaign
- The campaign appears on the Marketing & Events calendar on the scheduled date.
- The status badge at the top changes from draft to active (or scheduled, depending on timing).
- Email and SMS campaigns show delivery and engagement stats on the campaign page after messages go out.
Email unsubscribes and opt-outs
Recipients can opt out of your facility’s marketing emails at any time. Opt-outs apply to every future email campaign from your facility.What the recipient sees
When a recipient clicks Unsubscribe in the email footer, they land on an unsubscribe page branded with your facility’s name and logo. The page asks Unsubscribe from marketing emails? and shows the email address that will be removed. After they click Unsubscribe, the page confirms You’re unsubscribed. If the recipient uses the Unsubscribe button in Gmail, Yahoo, or another mailbox provider, the opt-out happens in one click. They do not see the confirmation page.What an opt-out stops
- Stopped: all future marketing campaign emails from your facility to that email address, including later steps of campaigns already in progress.
- Still sent: account emails such as invoices, receipts, and appointment notices.
- Scope: opt-outs are per facility. A recipient who unsubscribes from your facility still receives marketing email from other facilities that use Car Storage Software, and the reverse.
- Other channels: an email opt-out does not affect SMS or push campaigns. Customers opt out of texts separately by replying STOP.
How opt-outs appear in campaigns
- When a recipient unsubscribes from a campaign email, that message’s status changes to unsubscribed on the campaign page.
- If you later include an opted-out recipient in a campaign audience, Car Storage Software skips them at send time. Their message shows as failed with the reason Recipient unsubscribed from marketing email.
- Unsubscribes and spam reports that the email delivery provider (SendGrid) receives also create an opt-out for your facility. Recipients who click Report spam stop receiving your marketing emails, just like recipients who click Unsubscribe.
You do not need to remove opted-out customers from your audience. Car Storage Software filters them out automatically on every send.
Pause, duplicate, or fix a published campaign
Sometimes you need to stop a send, copy a campaign for next month, or fix a typo after publishing.1
Open the campaign from the calendar
Go to Marketing & Events and click the campaign in Upcoming schedule or on its calendar day.Expected result: You see the campaign detail page with its current status (active, paused, or similar).
2
Pause before you edit
If the campaign is active and you need to change the message, click Pause Campaign at the top first.Why this matters: Active campaigns cannot be edited until they are paused. Pausing prevents customers from receiving a message while you fix it.Expected result: The status badge changes from active to paused, and Edit Email (or Edit SMS) becomes available again.
3
Open the More menu
Near the top-right of the campaign page, click the More button (three dots).Expected result: A small menu opens with actions such as Duplicate Campaign and Archive Campaign.
4
Duplicate for a similar send later
Choose Duplicate Campaign from the menu.Expected result: A new draft copy opens with the same message and audience. Change the name, schedule, and wording before you publish the duplicate.Why this matters: Duplicating is safer than retyping a long email when you run the same open house invite every quarter.
5
Delete a campaign you no longer need
Open the More menu (three dots) and choose Delete Campaign. Type DELETE when the app asks you to confirm.Why this matters: Deleting removes clutter from the calendar. Only delete draft campaigns you are sure nobody needs—or campaigns that were created by mistake.Expected result: The campaign disappears from Marketing & Events.
Common mistakes to avoid
- Do not publish before a teammate reviews the audience and message.
- Do not schedule AM when you meant PM—or the day before the event.
- Do not select every customer when only one tag should receive the message.
- Do not edit an active campaign without pausing it first.
Troubleshooting
What to do next
- If the campaign promotes an in-person gathering, continue with Create a social event and Review social event RSVPs and attendees.
- On event day, use Check in social event attendees.
- To ask happy customers for a Google review afterward, use Request and manage reviews.