

What you will accomplish
You will connect contract templates and required uploads to customer onboarding so new portal customers finish paperwork during their first sign-in—not only when staff sends a one-off email. When this works, customers complete profile, vehicles, uploads, and signing in a sensible order, and your team can confirm the signed PDF on the customer record.When to use this guide
Use this guide when:- Every new storage customer must sign the same storage agreement.
- Customers should sign before they finish portal setup.
- Your agreement uses vehicle fields and customers may need to add a car first.
- Customers must also upload insurance or registration during onboarding.
- You have already created and tested a contract template.
Before you start
- Complete Create a contract template.
- Place required signature, initials, customer, and car fields on the template.
- If uploads are required, complete Configure document requirements.
- Sign in as a team member who can open Settings.
Manual send vs onboarding
Customer onboarding is best when every new customer should sign the same agreement during portal setup.Manual send from a customer record is best when only some customers need the agreement or staff must review each case first.
Step 1: Confirm the template is ready
1
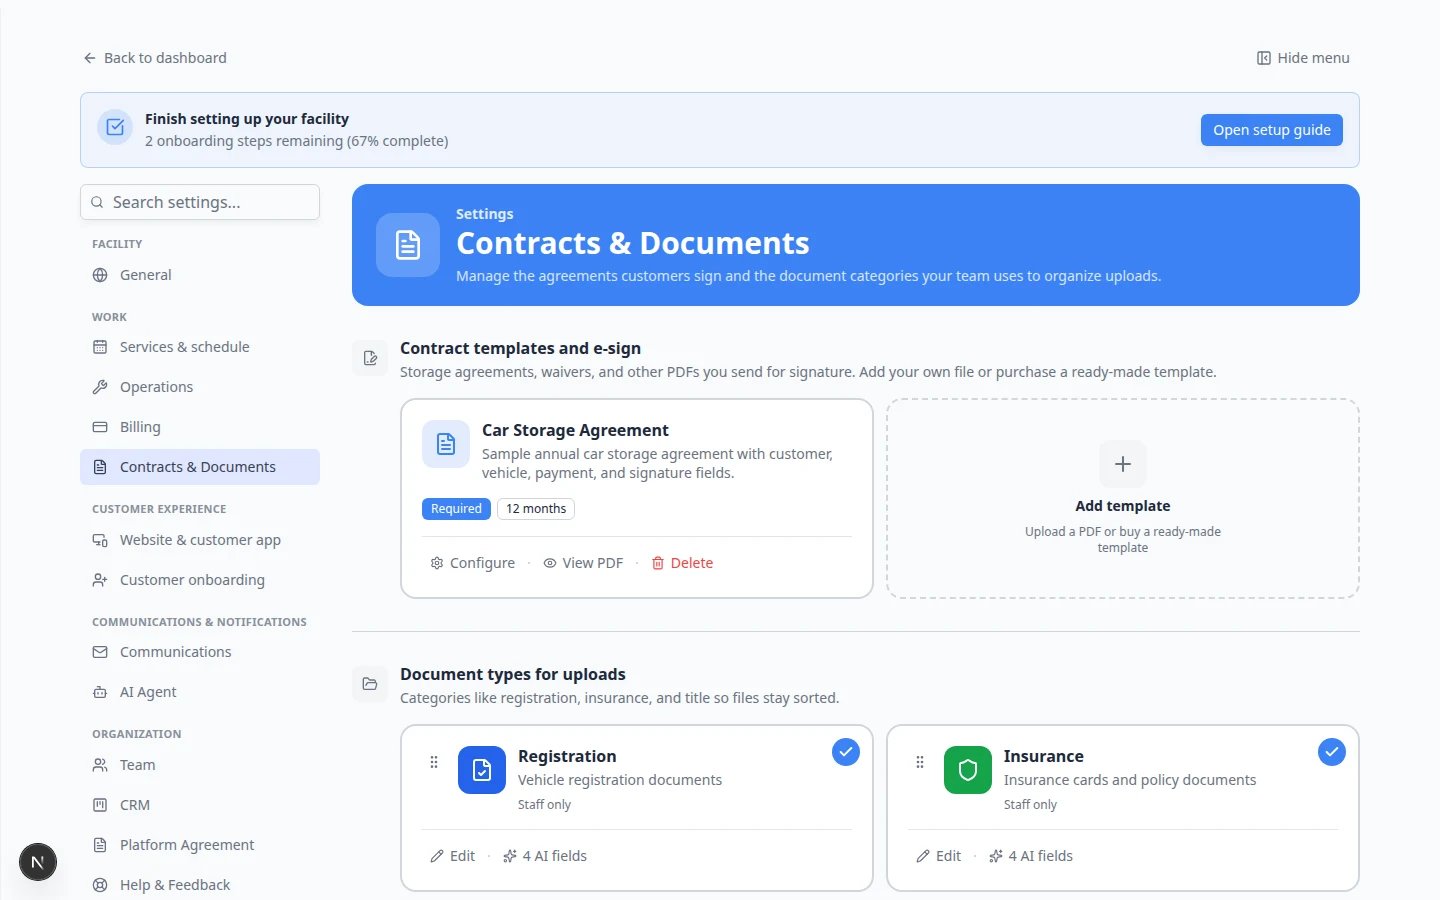
Open Contracts & Documents
2
Check the template list
Confirm your agreement appears and is Active. Only ready templates should be connected to onboarding.
Step 2: Open Customer onboarding
- In the sidebar, click Settings.
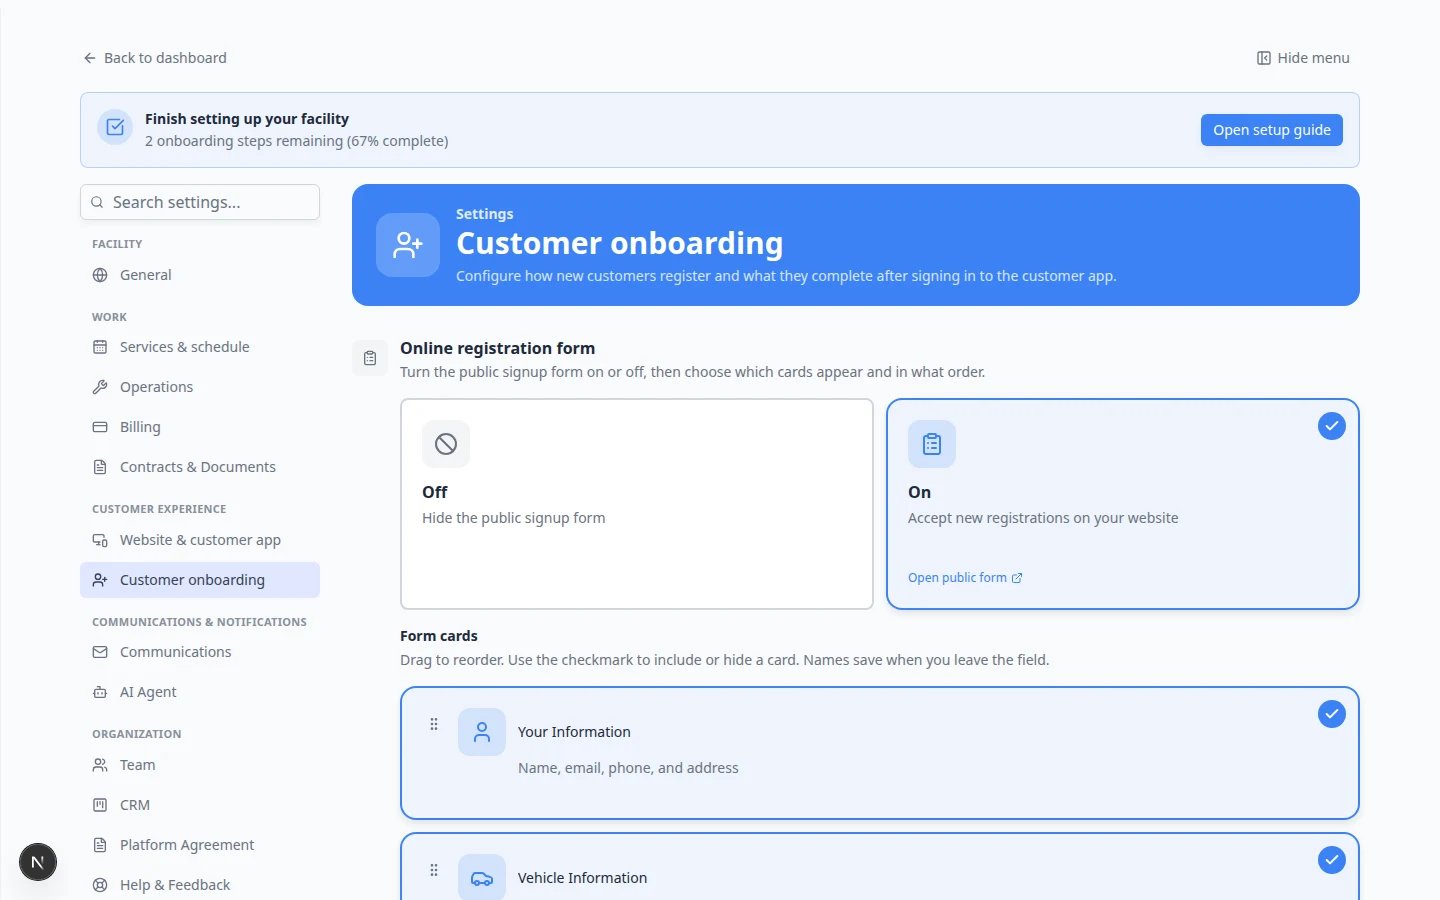
- Open Settings > Customer onboarding.
Step 3: Turn on Customer app onboarding
1
Find Customer app onboarding
Scroll to the Customer app onboarding section.
2
Turn the main switch on
Turn Customer app onboarding on.Until this switch is on, the step list stays hidden.Why this matters: This is the master switch for first-time portal setup after a customer signs in.
3
Review the Onboarding steps list
Below the switch, find Onboarding steps. Your facility may show steps such as:
- Welcome — welcome screen with your branding
- Accessibility — text size preference
- Profile — review contact details
- Cars — add vehicles to the account
- Payment — card on file or product checkout (if billing is set up)
- Contract Signing — sign required agreements
- Document Upload — upload insurance, registration, or other files
Step 4: Configure Contract Signing
1
Enable Contract Signing
Find Contract Signing in the step list. Turn its switch on.The row description reads Require contract signature during onboarding. A Configure link appears when the step is on.
2
Click Configure
Click Configure next to Contract Signing.Expected result: A window titled Contract Step Configuration opens.
3
Select required templates
Under Required contracts, turn on each template customers must sign. Example: Car Storage Agreement.Templates with a Car-linked badge need vehicle details on the customer record before signing.Expected result: At least one template is selected. If you map every customer type in the next step, the defaults are optional: customers with no mapped type then sign nothing.
4
Optional: pick a contract by customer type
Under Contracts by customer type, click Add customer type and choose a CRM customer type (for example Storage), then choose the contract that type signs (for example Storage Agreement). Repeat for other types, such as Events → Social Agreement.Customers whose type has no contract here sign the contracts selected above (they become your Default contracts).If you map two or more types, choose what happens when a customer has more than one:
- Top of list wins (default) — they sign one contract: the one for whichever of their types is highest in the list. Use the arrows to reorder.
- Sign all matching — they sign the contract for every type they have.
- A customer whose type is mapped signs only the mapped contract. They don’t also sign the default contracts.
- Contracts are picked when they’re created. If you change a customer’s type afterwards, the contracts they already have don’t change. Send them the new contract yourself.
- If a mapped contract is deleted, the customer gets the next matching type’s contract, or the default contracts.
- A deactivated customer type doesn’t match. Its customers sign the default contracts, or the contract for another of their types.
- Some customer types are added automatically by what the customer does. For example, a public event RSVP adds Events. With Top of list wins, a storage customer who RSVPs before their contracts are created gets the Events contract if Events is higher in the list. Put the type whose contract matters most at the top.
- Customers can’t change their own customer type from the portal. Only staff can.
5
Close and save
Close the configuration window. Onboarding settings save as you make changes—confirm the Contract Signing step stays on.
Step 5: Put vehicle steps before vehicle contracts
If the contract uses car fields (year, make, model, VIN, license plate), the customer needs a car on their account before the agreement can fill in correctly.1
Drag Cars above Contract Signing
In Onboarding steps, drag the Cars row above Contract Signing.Why this matters: Customers who sign before adding a vehicle may see blank vehicle lines on the PDF.
Step 6: Configure Document Upload (if needed)
If customers must upload insurance, registration, or other files during onboarding:1
Create document types
Add types in Settings > Contracts & Documents if you have not already.
2
Turn on Customer Access
For each type customers should upload themselves, edit the type and turn Customer Access on.Why this matters: Types without Customer Access are for staff-only uploads—even if the onboarding step is on.
3
Enable Document Upload
In Onboarding steps, turn Document Upload on and click Configure.
4
Choose required types
In Document Upload Step Configuration, turn on each type customers must provide—for example Insurance and Vehicle Registration.Expected result: Only types with Customer Access appear in this list.
Step 7: Test with a test customer
Before using this with real customers:1
Pick a safe test customer
Use a customer record your team can experiment with—for example a test account from your seed data or a staff member’s personal vehicle.
2
Invite them to the portal
Follow your normal invite process from Invite a customer to the portal.
3
Walk through onboarding
Sign in as the test customer (or open their portal link) and complete each enabled step: profile, cars, uploads, and contract signing.
4
Sign the test contract
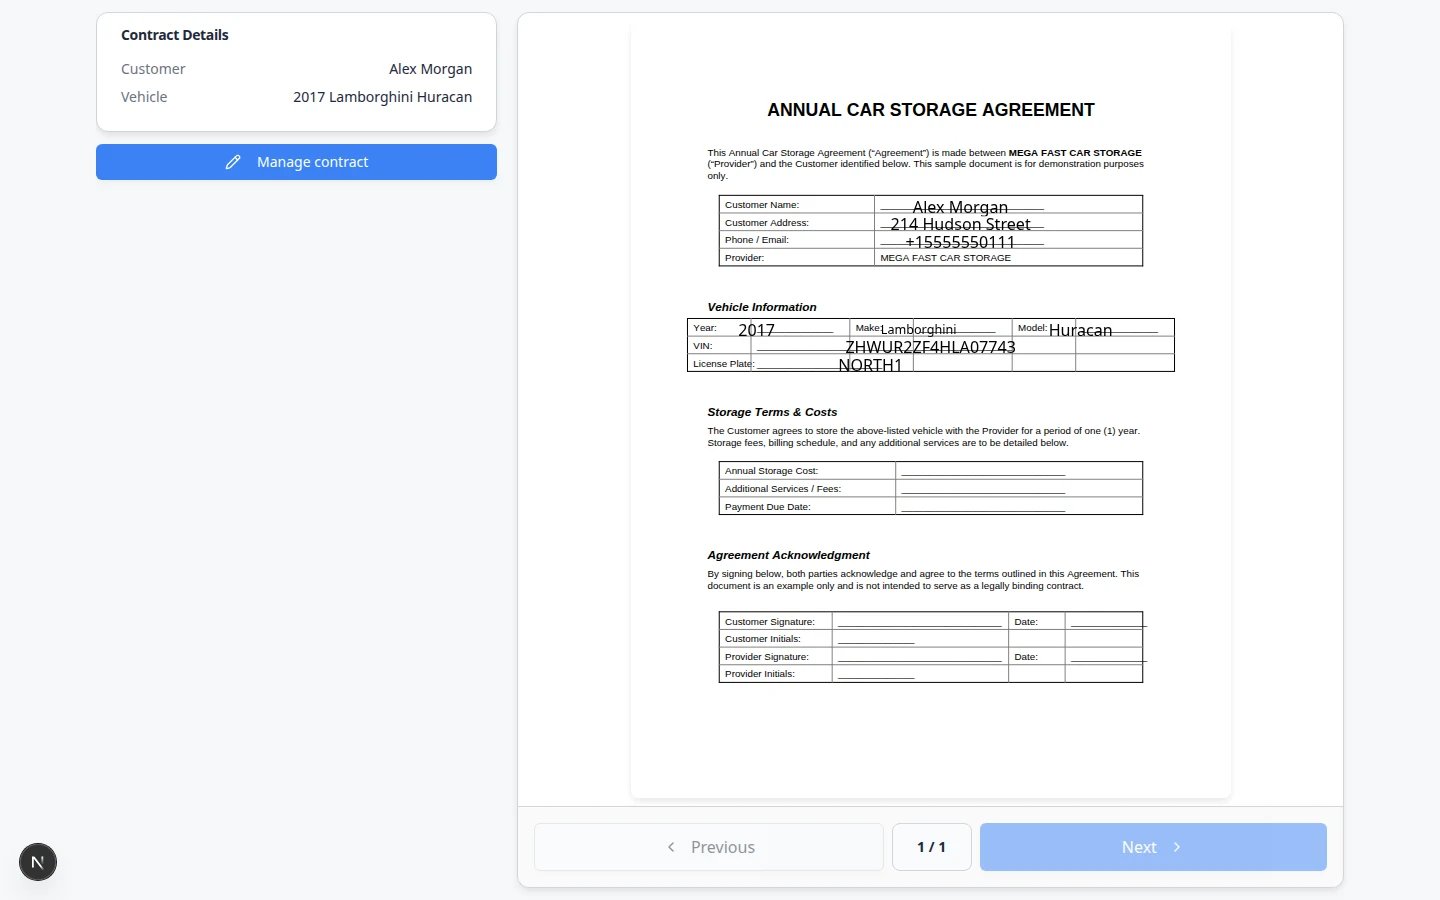
Confirm the agreement opens, vehicle details look correct, and signing finishes without errors.
Step 8: Confirm on the customer record (staff view)
1
Open the test customer in Contacts
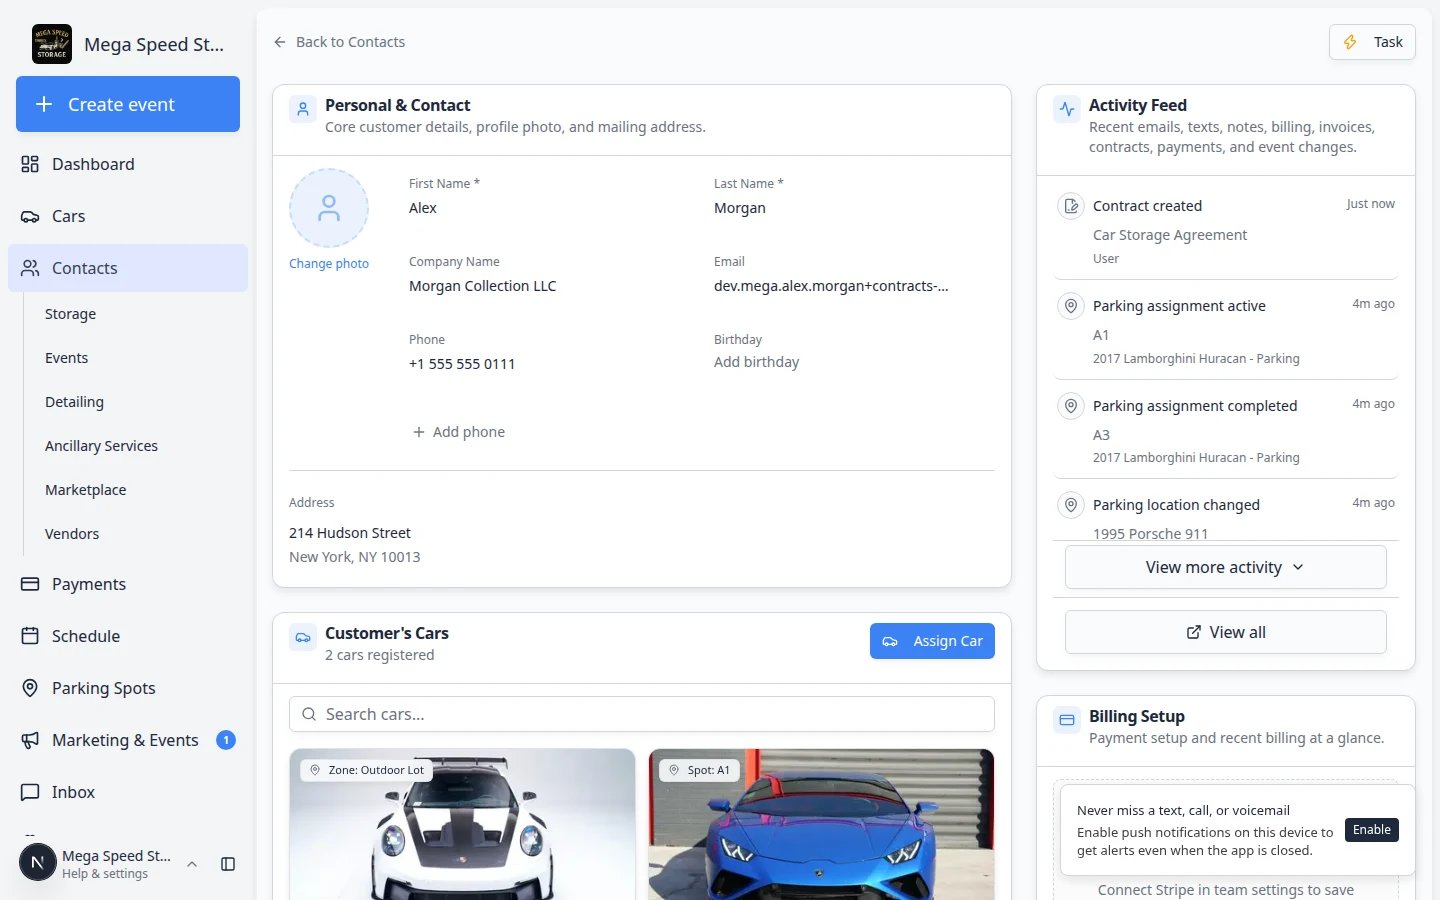
Go to Contacts and open the test customer.
2
Review Documents & Contracts
Scroll to Documents & Contracts and confirm:
- Uploaded files appear with the correct document type.
- Contracts appear with status Signed or Completed after signing.
- The signed PDF can be viewed or downloaded.
What success looks like
- Customer app onboarding is turned on.
- The correct template is selected in Contract Step Configuration.
- Cars comes before Contract Signing when the contract needs vehicle details.
- Required document uploads appear only when Customer Access and Document Upload are configured.
- A test customer completes the full flow without getting stuck.
- Staff can find signed agreements and uploads on the customer record.
Troubleshooting
What to do next
After onboarding is tested:- Share portal invites or registration links with real customers.
- Train front desk staff with Upload a document for a customer for email attachments that arrive outside onboarding.
- For a single customer outside onboarding, use Send a contract for signature.
- When customers need help during first login, share Help customers complete onboarding paperwork.