Documentation

How-to guides for Car Storage Software

Practical guides for setting up your facility, managing cars and customers, and running day-to-day operations.

Search documentation

Search documentation guides and how-to articles.

Browse documentation

Schedule

Find and filter scheduled work

Use search, filters, calendar controls, and view settings to quickly find the right scheduled events.

What you will accomplish

  • Search by customer, vehicle, plate, or notes.
  • Filter to Assigned to me or Needs Approval when those views help.
  • Switch between Calendar, Table, Whiteboard, and Progress views.
  • Open the correct event without changing the wrong one.
Use this guide when the Schedule page has many events and you need to find the right one quickly.

Finding the right event matters because it helps your team answer customer questions, prepare for the next appointment, and avoid changing the wrong scheduled item.

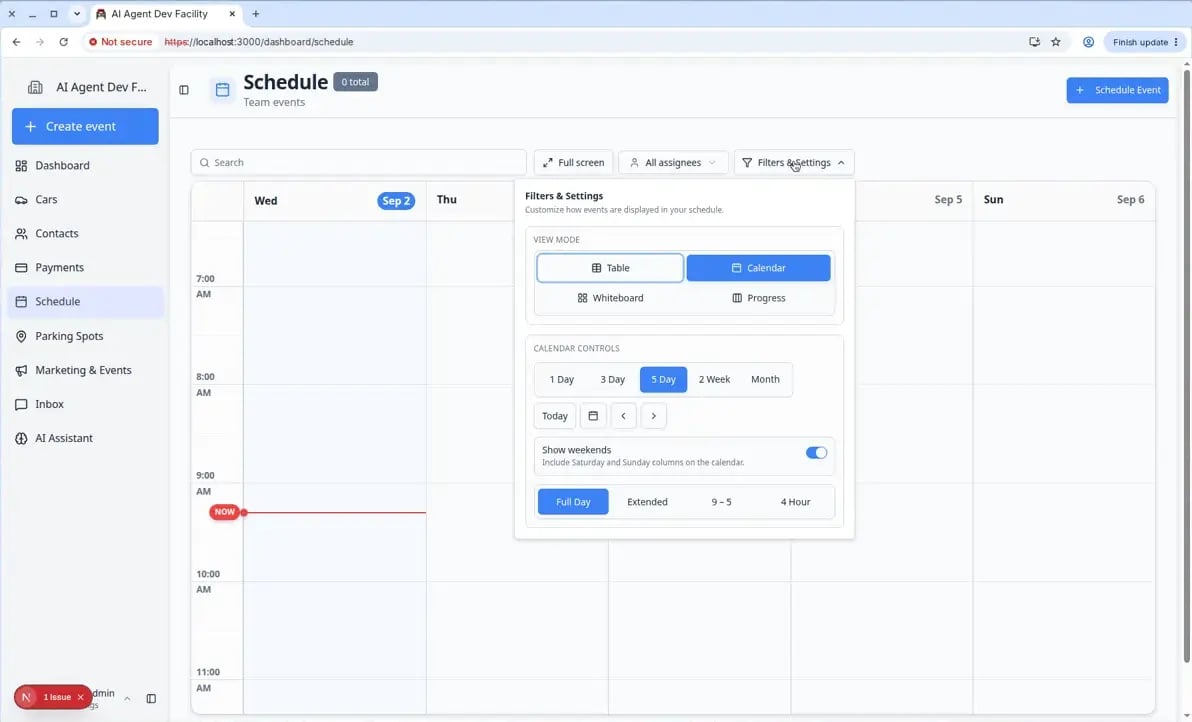
Filters & Settings panel open showing view mode options (Table, Calendar, Whiteboard, Progress), calendar range buttons (1 Day, 3 Day, 5 Day, 2 Week, Month), and visible hours options (Full Day, Extended, 9-5, 4 Hour)
Open Filters & Settings to control which view you see, how many days are shown, and which hours are visible.

Before you start

  • Open Schedule.
  • Know what you are looking for, such as the customer name, vehicle, event type, date, or staff member.
  • If you are looking for your own work, make sure events are assigned to you.

Search by name, vehicle, or notes

  1. Click the Search field

    The Search field is near the top of the Schedule page. It looks like a text box with a magnifying glass icon.

  2. Type what you know

    Type a customer name, vehicle make, vehicle model, license plate, event type, or a word from the notes.

    You do not need to type the full word. Start with the part you know. For example, typing "Porsche" will show all events connected to a Porsche.

  3. Review the results

    The schedule updates instantly to show only matching events. Non-matching events are hidden.

    If nothing appears, remove part of the search and try a broader word.

  4. Clear the search when finished

    Delete the search text or click the X to clear it. The full schedule reappears.

    Expected result: Every event returns to the calendar or list, not only the ones that matched your search.

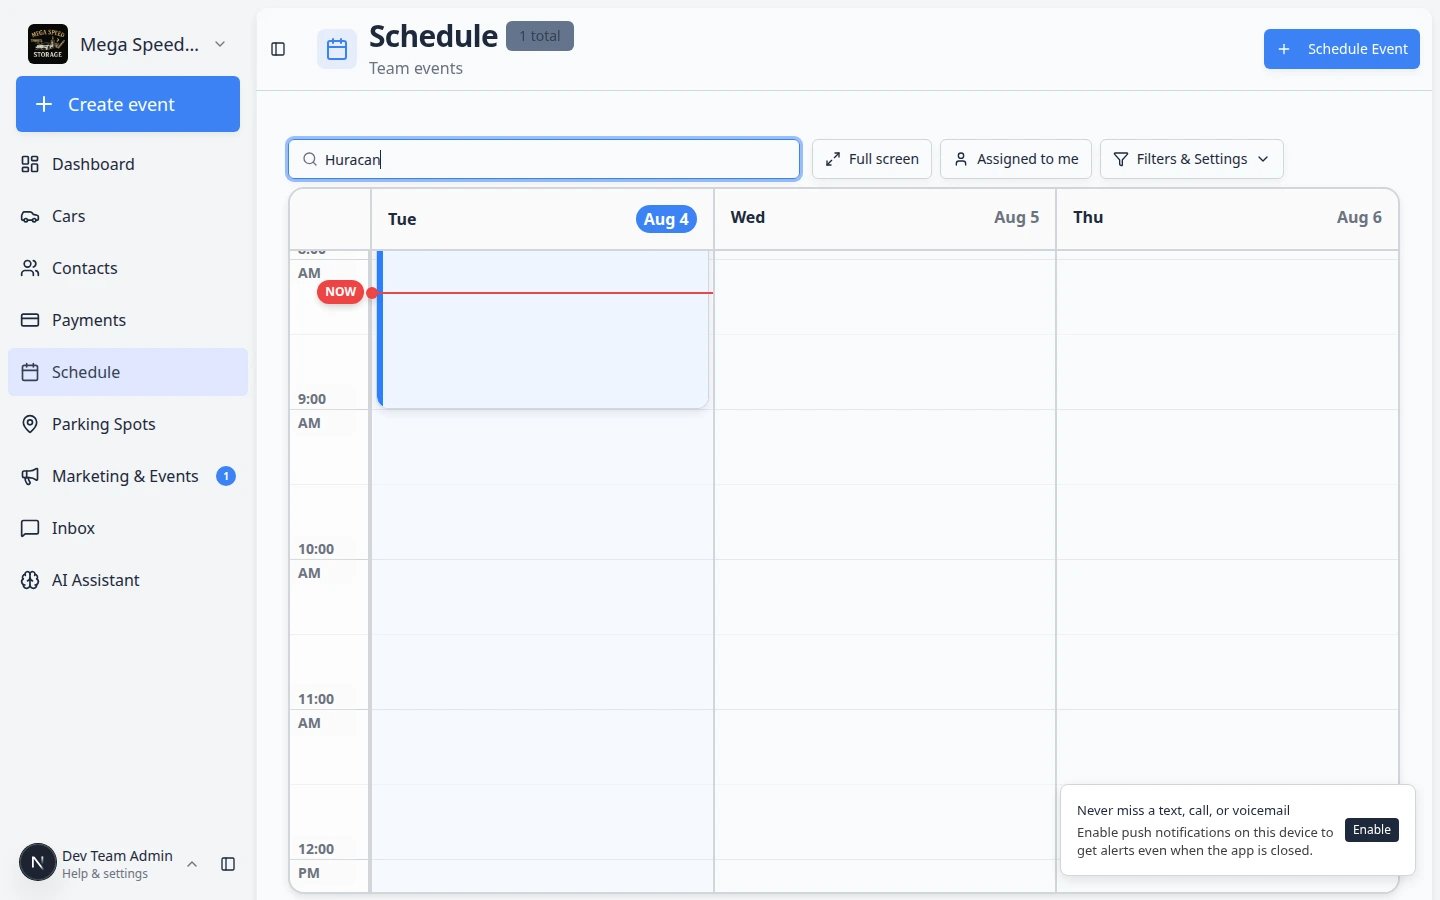
Schedule page with Porsche typed in the Search field and only matching appointments visible on the calendar
When you type in **Search**, the schedule hides everything that does not match. Clear the field when you need the full team view again.

Show only work assigned to you

  1. Click Assigned to me

    Click Assigned to me near the top of the Schedule page. This button acts as a toggle.

  2. Review your filtered schedule

    The page shows only events assigned to your user account. Everything else disappears from view.

    This is helpful at the start of the day when each person needs to see their own work without distractions.

  3. Click Assigned to me again to turn it off
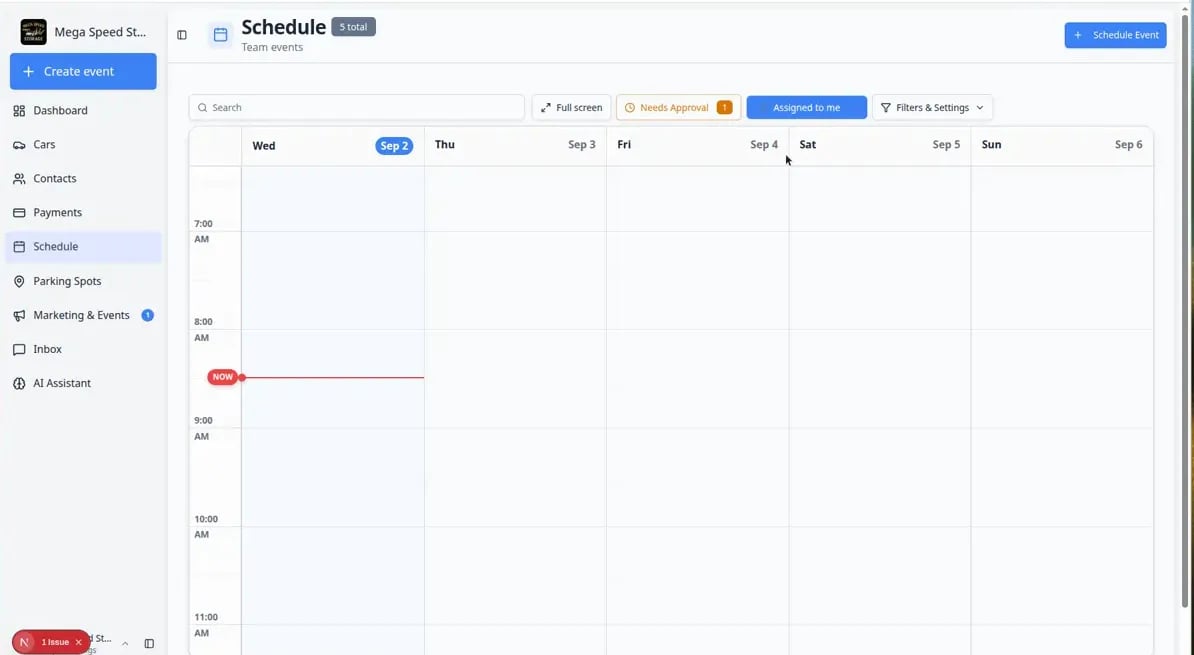
    When you need to see the whole team's schedule again, click Assigned to me one more time. All events return.

Find bookings that need approval

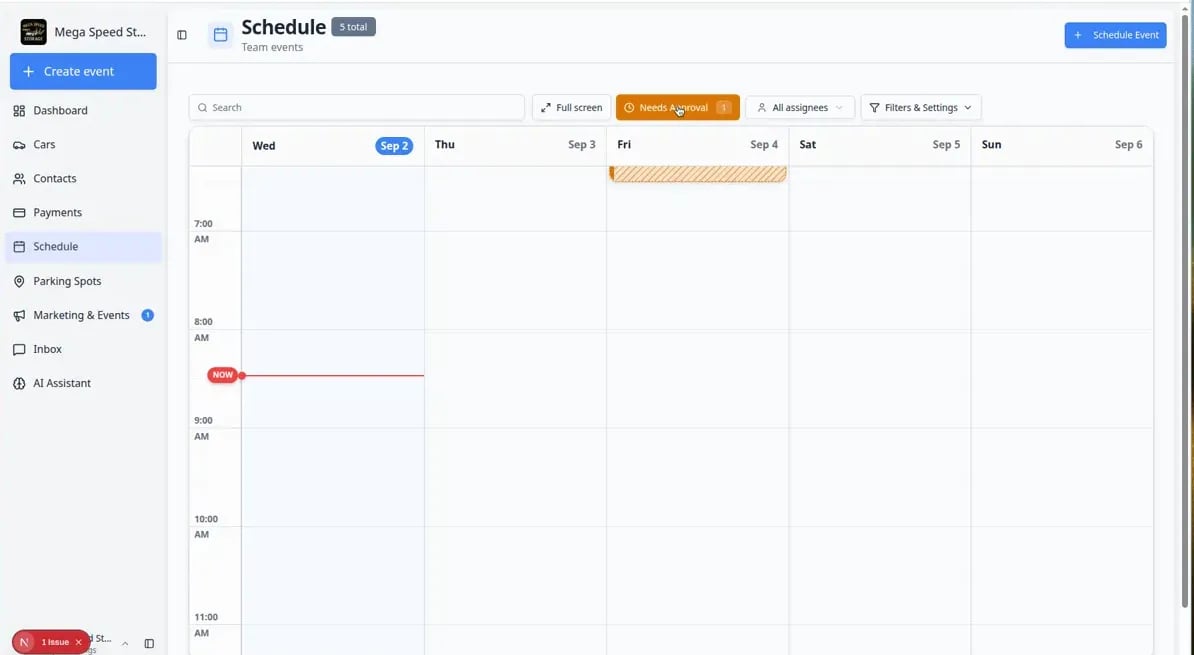
Schedule page with Needs Approval filter active and pending booking requests highlighted
Click Needs Approval to focus on online booking requests that still need a yes or no from your team.
  1. Look for Needs Approval

    If any customer bookings need review, a Needs Approval button appears near the top of Schedule. A number badge shows how many are waiting.

  2. Click Needs Approval

    The page shows only bookings waiting for a team member to approve, decline, or suggest a new time.

  3. Open each booking

    Click an event to review the customer, vehicle, requested time, and notes before making a decision.

For step-by-step instructions to approve, decline, or suggest a new time, follow Approve or decline a customer booking request.

Change the calendar date or time range

  1. Click Filters & Settings

    Click Filters & Settings near the top-right area of Schedule. A panel slides open.

  2. Make sure Calendar view is selected

    In View Mode, make sure Calendar is highlighted. If you are in Table or Progress view, click Calendar to switch back.

  3. Choose the number of days

    Use 1 Day, 3 Day, 5 Day, 2 Week, or Month to control how much time you see at once.

    • Use 1 Day for a busy day with many details — each event gets more visual space.
    • Use 3 Day when you are planning a few days ahead.
    • Use 5 Day for a full work week overview.
    • Use 2 Week when you need fourteen days visible for transport or service planning. See Use the 2-week view and day detail panel.
    • Use Month when you need a wide planning view to spot gaps or busy periods.
  4. Optional — hide weekends or open the day panel

    In the same panel you may see Show weekends (hide Saturday and Sunday when your shop is closed) and Day detail panel (keep a side list when you use Month or 2 Week). Full walkthrough: Use the 2-week view and day detail panel.

  5. Use Today or the arrows to navigate

    Click Today to jump back to the current day. Use the left and right arrows to move backward or forward through time.

  6. Choose the visible hours

    Use Full Day, Extended, 9 - 5, or 4 Hour to control which hours are shown on the calendar.

    • 9 - 5 hides early morning and late evening hours so the workday is easier to read.
    • Full Day shows all 24 hours in case events happen outside normal hours.
    • If an event seems missing, switch to Full Day — the event may be outside the hours you are currently viewing.
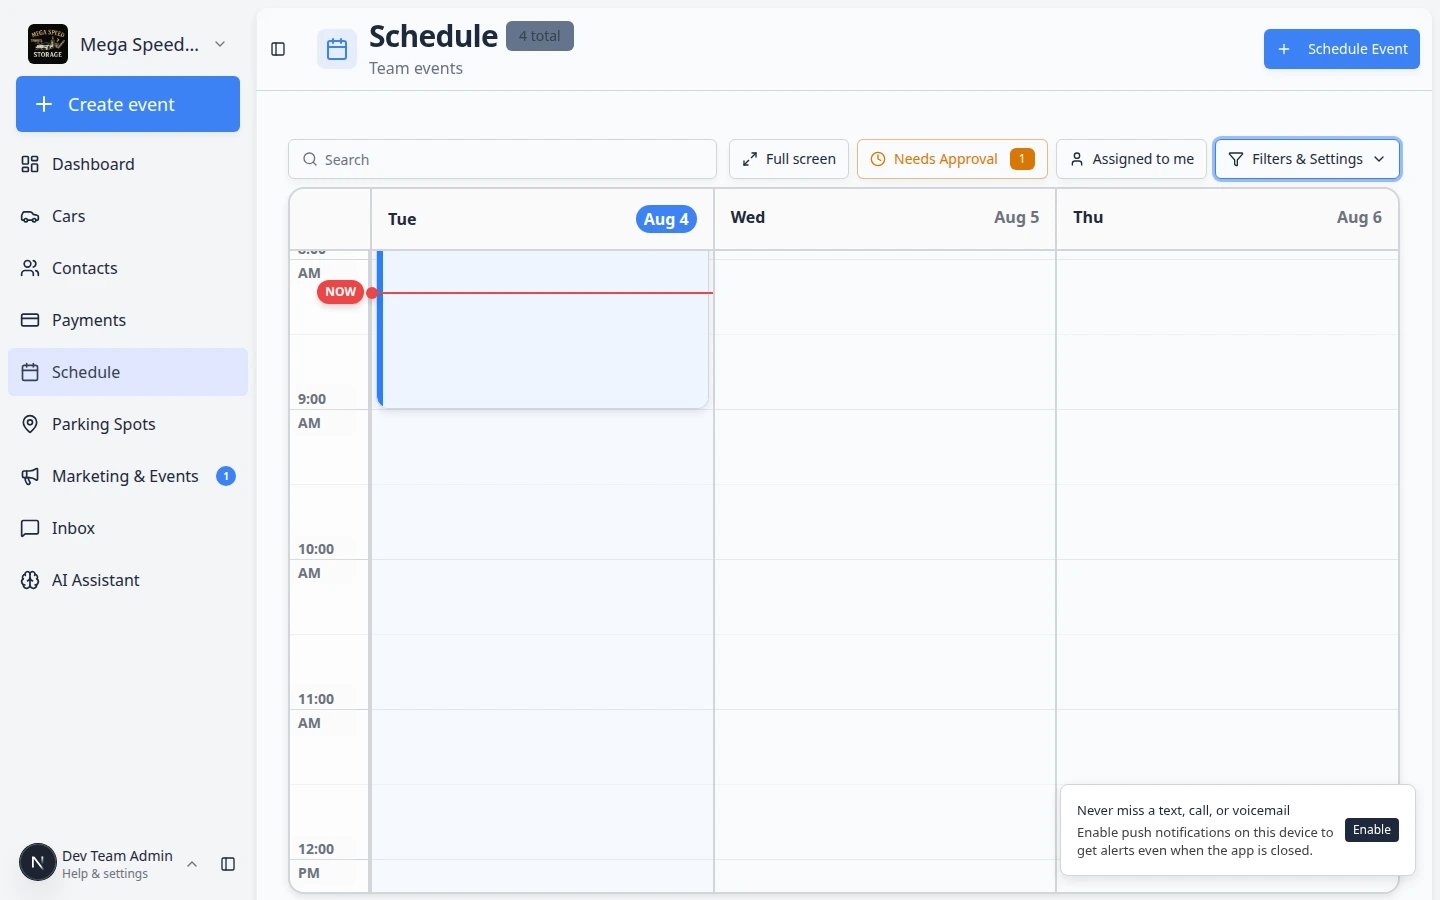
Schedule calendar in 3-day view showing Tuesday through Thursday with color-coded events in their time slots
The 3 Day view gives a focused look at the next few days. Use it when 5 days feels too wide.

Read the small icons on calendar events

On Calendar view, each event block can show tiny icons that save you from opening every visit.

  • A clock icon in the corner often means the booking still needs approval before it is confirmed.
  • A warning dot can mean the visit still needs to be marked complete.
  • A small colored dot near the bottom can mean billing needs attention (for example an open invoice).
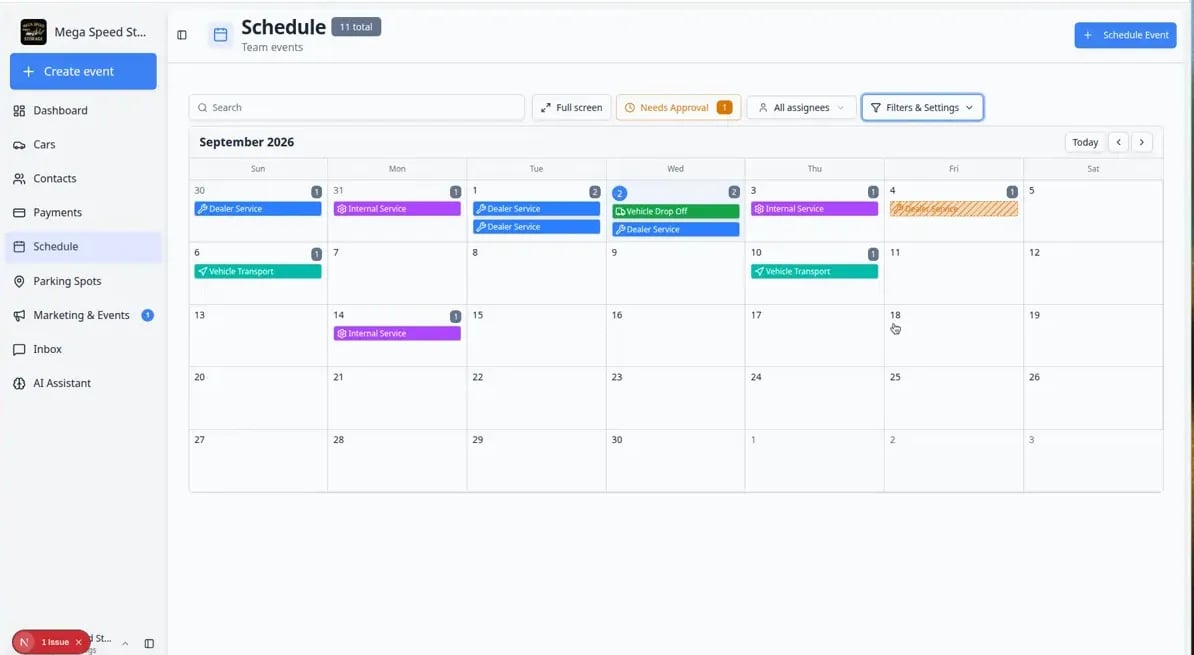
Schedule calendar in 5-day view showing multiple color-coded events with small status and billing indicators on each block
Glance at the calendar for icons and colored dots before you open each event. If an event seems missing, switch visible hours to **Full Day** in **Filters & Settings**.

Switch to Table view for a detailed list

The Table view shows your scheduled events as rows in a sortable list. This is useful when you want to scan many events quickly or sort by a specific column. For a full walkthrough of sorting, columns, pagination, and the Details button, read Use Table view on Schedule.
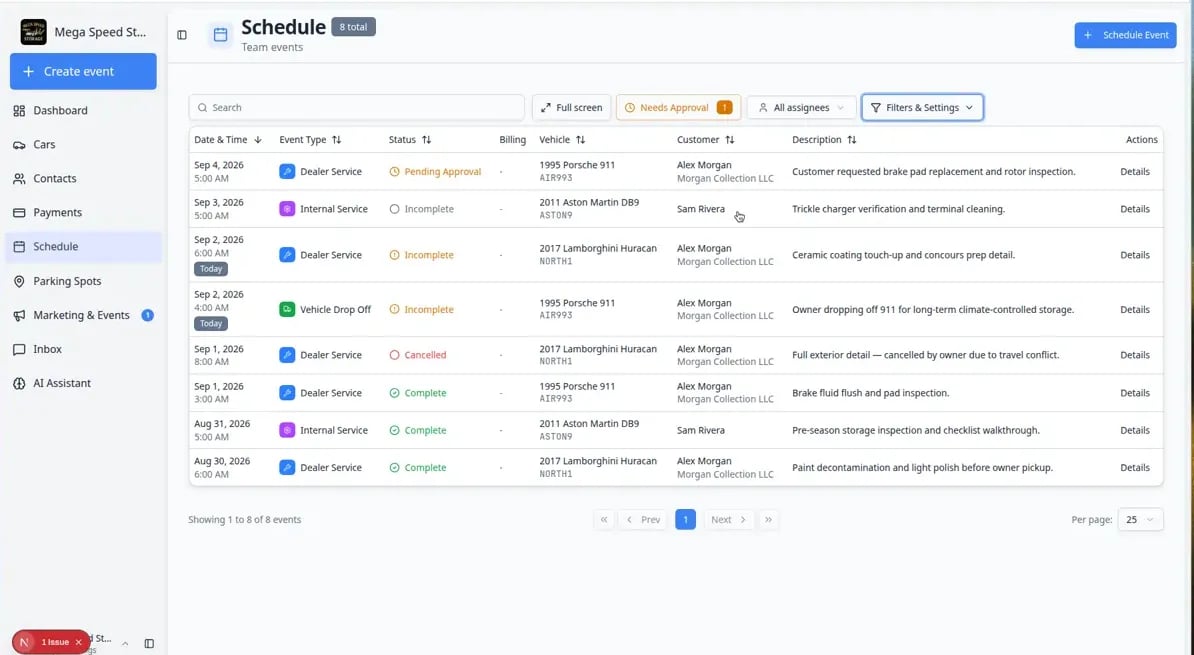
Schedule in Table view showing events listed with columns for date and time, event type, status, vehicle, customer, and description
Table view turns the schedule into a sortable list. Use it when you need to see details for many events at once.
  1. Open Filters & Settings

    Click Filters & Settings near the top-right of Schedule.

  2. Choose Table

    In View Mode, click Table. The page changes from a calendar grid to a list of rows.

  3. Sort and scan

    Click any column header to sort. For example, click Date & Time to see events in order, or click Status to group completed and scheduled events together.

    Expected result: Rows reorder so you can scan many events quickly — helpful on busy Mondays or after a holiday weekend.

  4. Open Details from a row

    In the rightmost column, click Details on the row you need.

    Expected result: The event panel opens on the side (or as a sheet on smaller screens) with the full customer, vehicle, time, and notes — the same information you would see after clicking an event on the calendar.

  5. Show or hide columns when needed

    In Filters & Settings, use the column controls to show helpful fields such as Billing or hide columns your team does not need on a small screen.

    Expected result: The table matches how your team actually works — for example, billing status visible for front-desk staff.

  6. Turn pages when the list is long

    At the bottom of the table, use the page controls to move forward or backward. You can often choose how many rows show at once (for example 25, 50, or 100 events per page).

    Expected result: You can review a busy week without scrolling endlessly—open Details on the row you need from any page.

Understand billing, damage, and approval marks on events

On Calendar view, you do not have to open every block to spot certain problems. Small marks in the corners tell part of the story at a glance.

Schedule month calendar with event blocks showing corner indicators for pending approval and status dots
Pending online bookings often show a diagonal stripe on the block. Billing and damage marks appear as small colored dots or badges in the corners.
  1. Look for the stripe pattern first

    When Needs Approval is off but you still see a striped block, that visit is probably a customer booking request. Click Needs Approval to focus on those rows, or open the event and use Approve, Decline, or Suggest New Time.

    See Approve or decline a customer booking request.

  2. Check colored dots for billing

    A small dot on the block may mean an invoice is linked to the visit. Green often means paid. Yellow often means open or draft. Red may mean payment failed.

    Open the event and scroll to Billing (when your team uses invoicing) for the full invoice link and status.

  3. Check red badges for damage photos

    A red badge with a number means damage photos were marked on that event. Open the event and use Open Event to review photos in the workflow.

    See Run event workflow from Schedule.

When several events share the same time slot

On Calendar view, two or more visits can land on top of each other when your shop is busy. Instead of hiding them, the calendar may show a summary such as 2 Events or 3 Events in one block.

  1. Look for a grouped block

    When events overlap, you might see one block with a count instead of separate colors for every visit.

    Expected result: You know more than one appointment shares that hour.

  2. Click the grouped block

    Click the block labeled with the event count.

    Expected result: A list opens showing each event in that time slot—customer, vehicle, and event type for each one.

  3. Open the event you need

    Click the correct row in the list.

    Expected result: The usual event detail panel opens so you can Edit Event, Open Event, or change status.

Grouped events dialog listing multiple appointments that share the same busy time slot on the calendar
Click a dashed block that shows how many events overlap (for example **5 events**). The list opens so you can pick the correct visit.

Read icons and badges on event blocks

Small symbols on calendar blocks—repeat arrows, dollar signs, stripes, warning triangles—carry extra meaning.

When a block looks unusual, open Read calendar icons and badges before you change or cancel the wrong visit.

Choose the best view for the job

Calendar is best for seeing time and availability. Use it when you need to answer "What is happening at this time?"

Table is best for sorting, scanning many events, and reviewing details across columns. Use it when you need to answer "Show me all events this week sorted by status."

Whiteboard is best for a visual card list of scheduled work. Use it when your team likes to see work as movable cards.

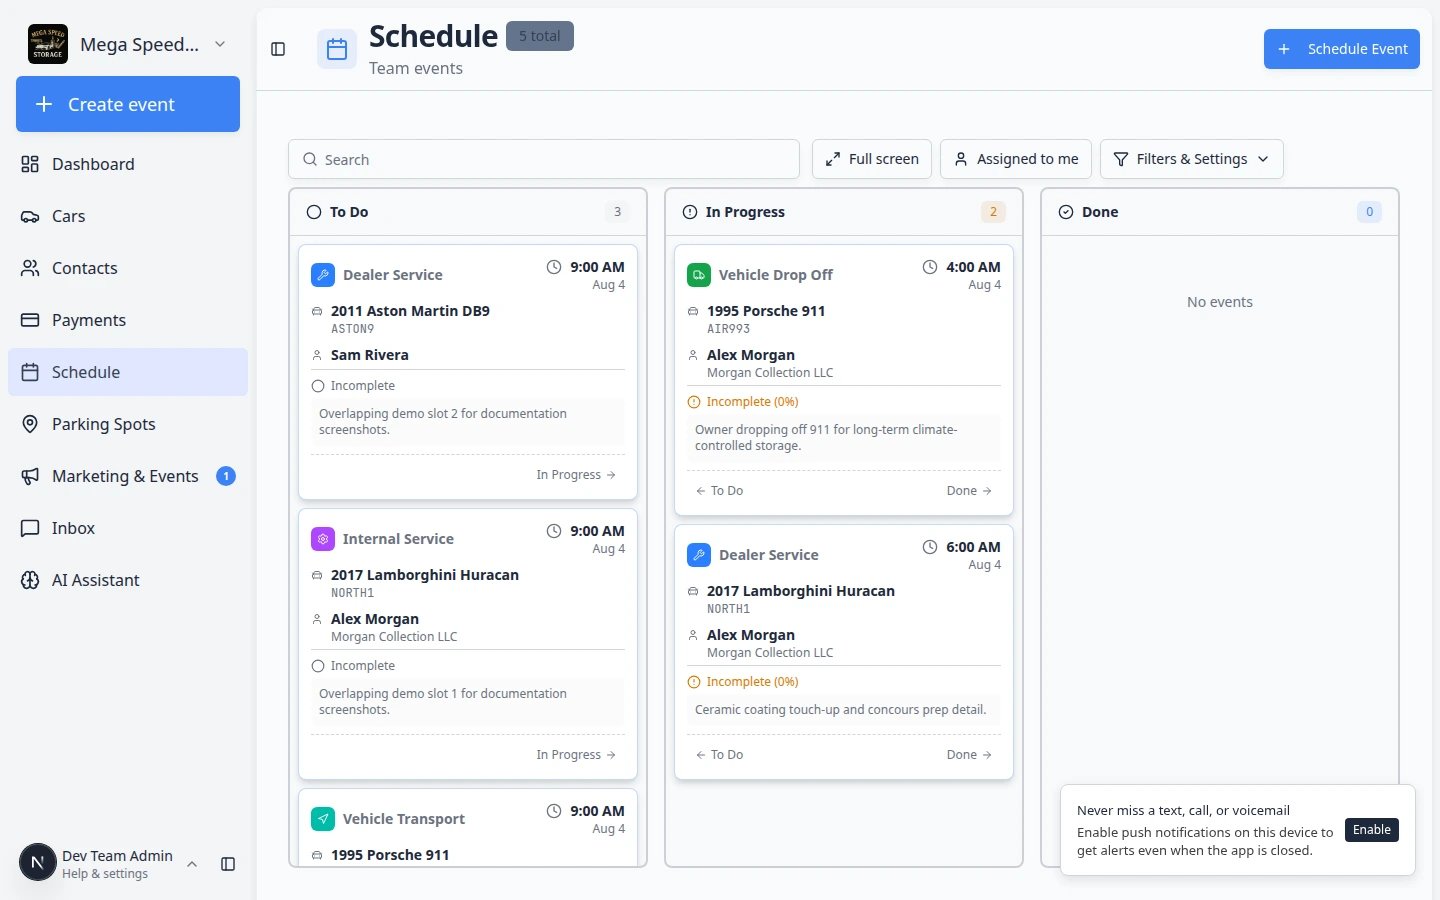
Progress is best for tracking work through stages like To Do, In Progress, and Done. Use it when you need to answer "What still needs to be finished?"

Use full-screen mode on a large monitor

  1. Click Full screen

    On Schedule, click Full screen near the top-right.

    Expected result: The schedule opens in display mode for a TV or wall monitor. Your filters and view choice stay the same — only the layout gets larger.

  2. Exit when you are done

    Click Exit full screen or press Escape on a keyboard.

    Expected result: You return to the normal dashboard Schedule page.

For a full walkthrough, see Use full-screen schedule display.

Switch to Month view and use the day detail panel

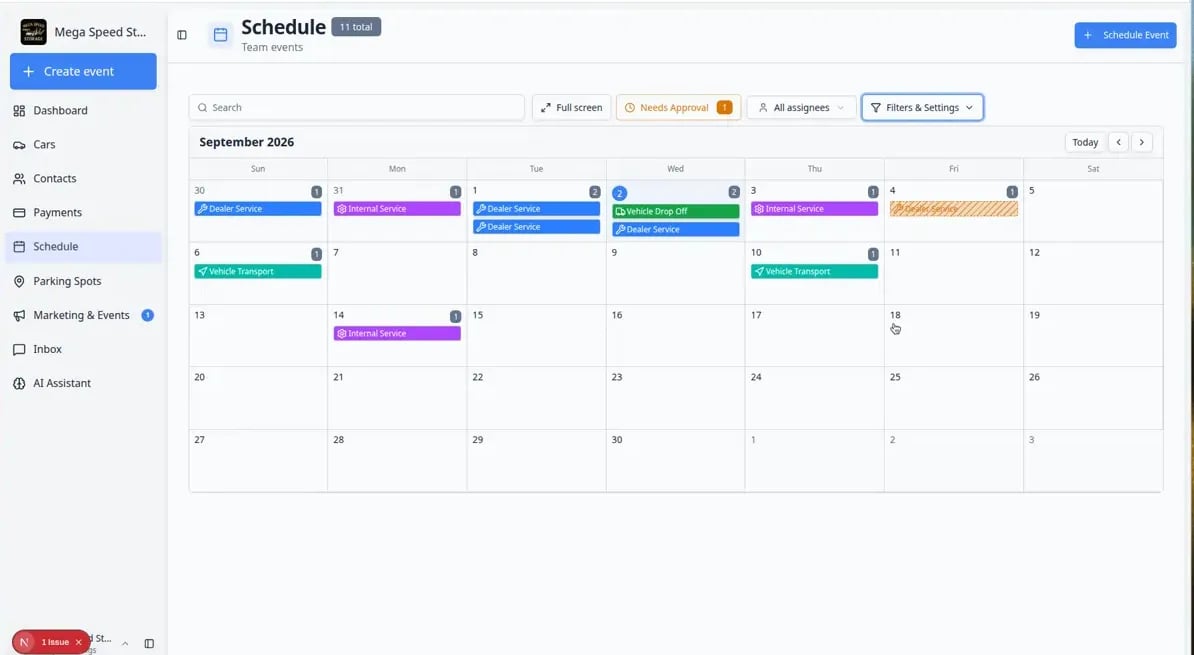
Month view helps you plan weeks ahead. You can open each day in a pop-up or keep a day detail panel on the right side of the screen.

Month view helps managers plan ahead. It shows which days are light or heavy before the week gets busy.

  1. Open Filters & Settings

    Click Filters & Settings and make sure Calendar is selected under View Mode.

  2. Choose Month

    Click Month under the calendar range buttons.

    Expected result: You see a month grid instead of hour-by-hour columns. Busy days often show colored markers or counts.

  3. Click a day on the grid

    Click any date on the month grid.

    Expected result: A panel opens listing every event that day—customer name, vehicle, event type, and time. You can read the day’s workload before adding more work.

  4. Open an event from the list

    Click one row in the day list to open the same event detail panel you would see on the calendar.

    Why this matters: Month view is faster than clicking tiny blocks when you only need to confirm “What do we already have on the 15th?”

  5. Add work from the day list when the day is empty
    If the day has no events yet, click Create Event on This Day.

    Expected result: The Create New Event form opens with that date already selected. See Create an appointment for the rest of the fields.

Schedule Month view showing a calendar grid with dealer service, internal service, and transport events on multiple days
Month view is helpful for planning ahead. Click a day to see the full list for that date.

Switch to Whiteboard view

For screenshots, tips, and mistakes to avoid, see Use the Whiteboard view on Schedule.

  1. Open Filters & Settings

    Click Filters & Settings near the top-right of Schedule.

  2. Choose Whiteboard

    In View Mode, click Whiteboard. The calendar grid changes to a card-style layout.

    Expected result: You can browse scheduled work as cards and click a card to open full event details.

What success looks like

After filtering or changing views:

  • You can see only the events that match your current task.
  • You know whether you are viewing one day, several days, a month, or a filtered list.
  • You can open the correct event without guessing.
  • You can turn filters off when you need the full team schedule again.

Troubleshooting

What to do next

After you find the right event, click on it to review its details. If something needs to change, continue with Update, assign, or reschedule an event.